There’s no such thing as the perfect pole for every person. Understanding how to choose the right hiking poles for your needs is a balancing act between functional design features, quality of materials, weight ratios and, of course, budget.
Hiking poles – or trekking poles – can be beneficial to alleviate pressure on your joints, to stabilise your movements over rough terrain, and to help you find your pace and flow as you walk. Remain unconvinced? Discover why trekking poles can be important for hiking.
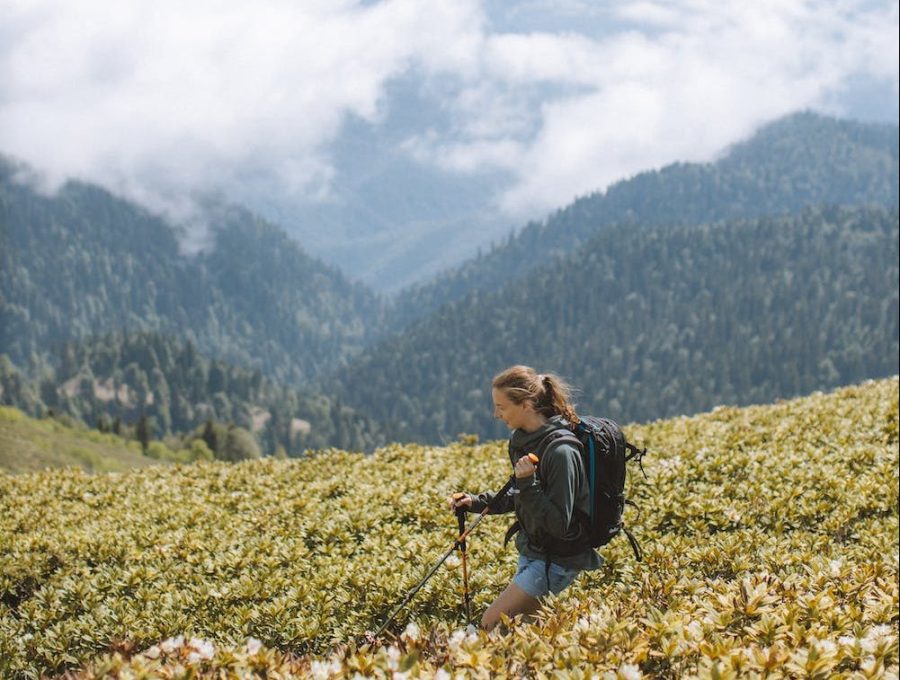
Main image credit: Yaroslav Shuraev
Now you’re ready to put poles through their paces, the right pair for you will depend on which of these benefits you prioritise. For example, if you use hiking poles regularly over long distances to help balance and give weary legs a boost, you’ll need a very comfortable grip and ergonomic design as well as good durability. If you’re planning to carry poles to be used only intermittently when the going gets tough, you’ll need a lightweight design that is compact and easily collapsible to be packed away.
How do I choose the right hiking poles for my needs?
So, let’s take a look at the components and features of hiking poles you’ll need to consider.
We’ll take it from the top!
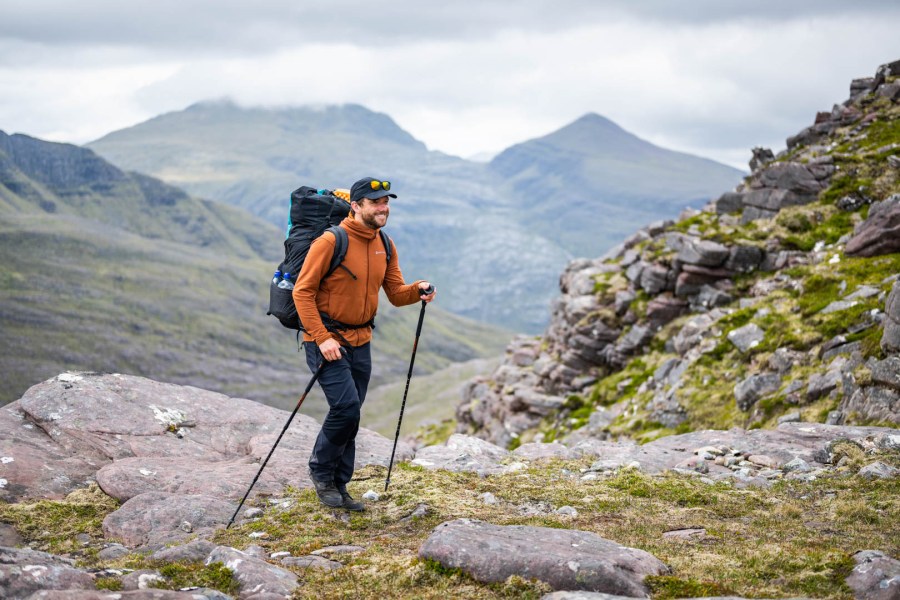
The Great Outdoors editor Carey using Pacerpole trekking poles in the Scottish Highlands. Photo: James Roddie
Handle
Perhaps the most important piece in the hiking pole puzzle is the handle, particularly if you’re to be using them for extended periods of time. Comfort comes from an ergonomic fit to your hand – it’s advised to try a few shapes out in person before investing – and breathable yet grippy materials. Designs of handles mostly follow a similar format, but the distinctive Pacerpoles, with their ergonomic ‘joystick’ style grip, have a devoted following and are worth checking out.
To keep weight down, handles are often made with foam or cork – as in these Silva trekking poles – which is great for moisture management. Rubber is a heavier alternative. If you only plan on using poles over technical terrain and know they’ll spend a lot of time strapped to your pack, avoiding bulky handles can be a good idea.
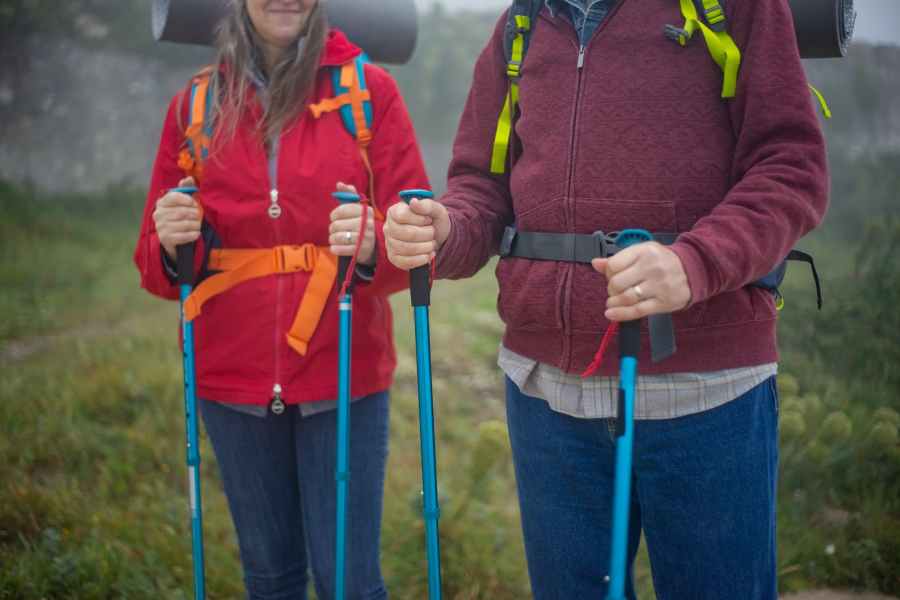
A couple trekking in Portugal. Credit: Kampus Production
Ideally, the handle will also be flexible on the pole shaft, offering a little extension down the pole so that you’re not constantly having to make tiny adjustments to the pole height.
Straps
From simple hoops that loop around your wrist to complex systems designed for better leverage – such as the fabric gloves straps that feature on the Leki MCT 12 Vario Carbon – straps can greatly vary. Your choice should be based on your needs. For extended use on simple terrain without much elevation, opt for something padded that has a great deal of comfort – you don’t want rubbing. The cheaper the material – take nylon, for example – the more likely it is to chafe.
If you are using straps for leverage, they’ll need to be durable. But be cautious as being ‘tied in’ to poles can lead to nasty wrist breaks if you have a slip or trip. Indeed, some pole users prefer to not use straps at all. In this case, it’s key that the handle grip is good.
Shaft
Aluminium is lightweight and resistant to bending – an ideal material for many hiking pole designs as in the Black Diamond Trail. Around 75% of all aluminium is recycled so it’s also fairly environmentally-conscious. Alternatively, for those with a bigger budget, carbon fibre has a good strength-to-weight ratio and is incredibly durable; a good option for multi-day backpacking trips over rough terrain when your poles will get a lot of use.
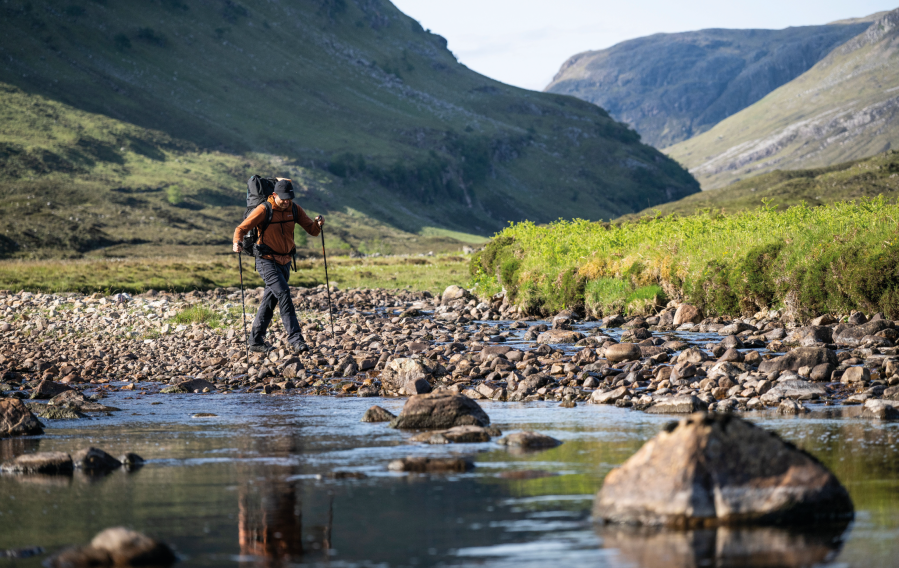
A river crossing below Beinn a Chlaidheimh. Credit: James Roddie
If you feel you need a particularly durable pole, and know you’ll be facing river crossing or rocky areas, you could also look for one with a greater shaft diametre – as in the Komperdelle Carbon C3 Cloud Compact. If you’re looking to protect your joints with hiking poles, invest in a pair with an anti-shock mechanism which will further cushion you from impact. If you’re merely looking for a bit of balance on unstable terrain, this may be an unnecessary expense.
Height adjuster
The joints of your hiking poles will also allow you to adjust the height of the pole. Sizes generally range from 100cm (39 inches) to 130cm (51 inches). To gauge what height you need, ensure you can comfortably use the poles while keeping your forearms at a right angel with your body.
For anyone over six foot, look for a maximum pole length of at least 130cm (51 inches). For those below 6 foot, you should be able to adjust most pole models to a comfortable height. Most pole manufacturers create unisex models so it’s a matter of trying a few out and seeing which suit you best.
Quick and easily adjustability is very important if you’re planning on using your poles throughout long days with variable ascents and descents. This is because you’ll need a shorter pole to help boost you on the ascents without getting in the way but longer pole for better support on the way down. You can learn more about how to use hiking poles here.
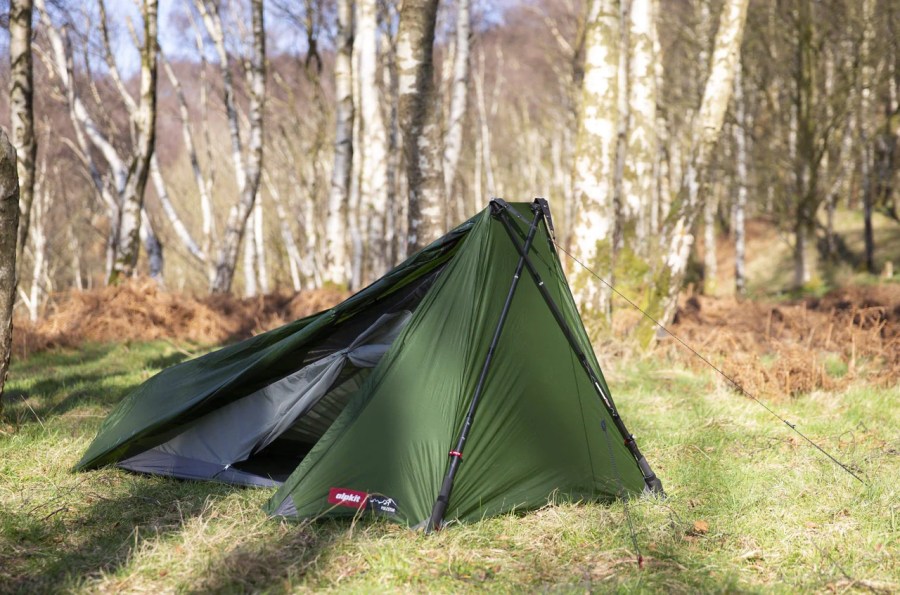
The Alpkit Polestar on test. Credit: Chris Townsend
Furthermore, adjustability is important if your tarp or tent requires a pole to pitch – such as the Alpkit Polestar. With an adjustable height pole, you can cater to the tarp more effectively and construct a more stable pitch which will prove necessary in gusty conditions or snowfall. Ensure your poles are compatible with your tent or tarp before heading into the hills.
Locks
Foldable or collapsible poles will be designed with a locking mechanism to keep them neat and tidy when stashed on your pack – as in the Trekmates Fold Lock trekking poles.
These systems include:
- External lever lock: this hinge-based system – sometimes a clamp – is easy and quick to use
- Push-button lock: simply press an external button and, thanks to a tension cord running internally down the shaft, poles will collapse with a single pull
- Twist lock: a strong fricton-based system often using a durable expander and screw setup
- Combination lock: a combination of any of the above
Remember, as with any piece of kit, these locking mechanisms can get worn and less effective over time so check they’re working properly before heading out.
Baskets
These removable extras might prove useful if you are trekking in snow as baskets are designed to stop your pole sinking into the ground. While they are not essential, some pole manufacturers – such as Salewa – provide two sets of baskets, one with a greater diametre for winter conditions and another for three-season use.

Two hikers crest the scree ascent up to Crib Goch from the Pyg track. Credit: Benjamin Cannon
Baskets will serve to make your movements feel more secure – but some hillwalkers do find them cumbersome especially over rocky terrain where they may be more likely to get stuck. It’s a personal preference.
Ferrule
The ferrule is the tip of your hiking pole and they come in many materials. The most common is metal. Entry level poles generally are tipped with steel which isn’t much of a match for rocky terrain. More expensive but with greater durability is a tungsten tip.
You might also be supplied with a protective rubber tip – these can be a bit of a faff to pop on and off but do also extend the life of your gear. They are a good idea, however, in areas of heavy footfall when metal tips can can contribute to soil erosion and you want to reduce your impact on the environment.
One final tip (no pun intended) is to ensure you always stash your hiking poles with the tip facing down on your pack. Should you slip or fall, you will not want to come face to face with the business end of your shiny new hiking poles!
Read more: The trouble with trekking poles – according to readers of The Great Outdoors