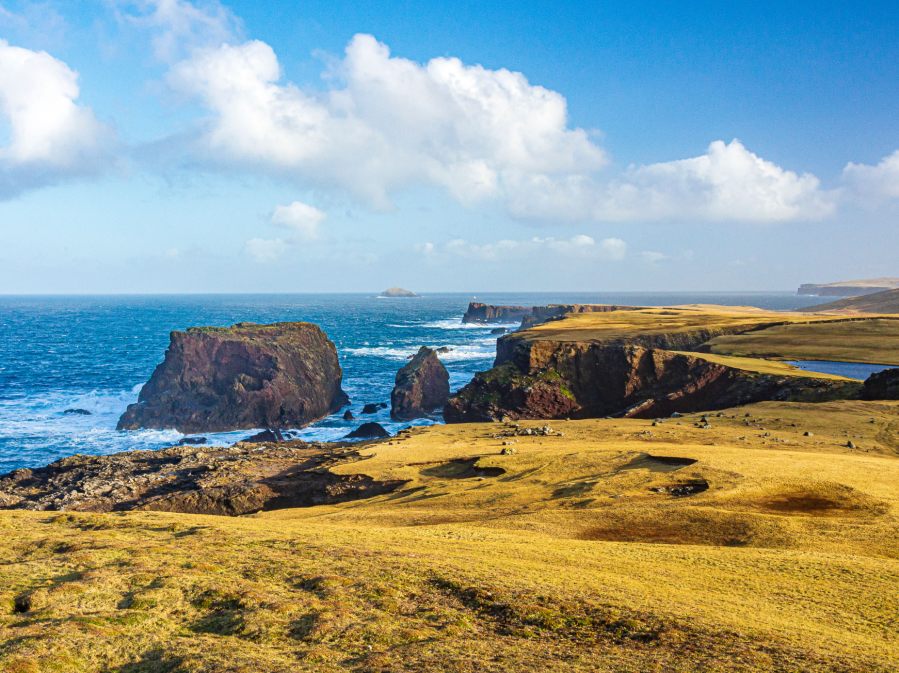
Ian Battersby wonders at a ferocious past and present on a calmer day along the Atlantic coast of Shetland on Esha Ness.
Esha Ness is a stocky peninsula that sits at the northern limit of the immensity of St Magnus Bay. Studying the map it’s easy to imagine closing the circle of this C-shaped bay, and let imagination contrive notions relating to its geological birth. Academics have done just that, along with practical studies to uncover evidence left by a violent past.
One theory postulates a mighty meteor strike that sired a titanic crater, which was later flooded by rising sea levels, leaving Atlantic attacks to realise the demise of its western wall. While this theory clings on, the second, which suggests brutal volcanic action here, holds more sway. Whether a huge crater or colossal caldera, both rousing histories fit with the tortured, ocean thrashed inlets, arches and stacks we can venerate today, reasonably safe from elemental forces that continue to work here on Esha Ness – if you wait for the right day.
Esha Ness: route description
START/FINISH: Tangwick Haa Museum car park (GR: HU232777) | MAPS: OS Explorer OL469 (1:25k), OS Landranger 3 (1:50k) | DISTANCE: 13.6km / 8.5 miles | ASCENT: 255m / 835ft | DURATION: 4.5 hours
1. HU232777: Head WSW past the old laird’s house, and continue along a gritty track to the first bay, where you may find seals holed up on rocky outliers, or cruising the sheltered cove. Now begin a long walk embracing the coastline as much as possible, with the ocean on your left. Visible paths extend most of the way through easy going pasture. Even this local southern coast, which doesn’t face the unwavering power of the Atlantic, is a tangled delight, where the land contorts and sea storms through arches seen and unseen. The first visible arch comes at Gro Taing, where there is also an old, lichen encrusted stone shelter. Another long, rocky shoreline follows, stretching NW to a ruin by a stream descending from East Loch, from where the land rises towards the cliffs of Stenness. A fence runs along much of the edge here, and stiles steer to either side, depending on the proximity of the cliff. Follow the loop S past natural arches and a stone cross, down onto the headland, while admiring the giant arch on Dore Holm out to sea, then turn E and N to the car park at Stenness.
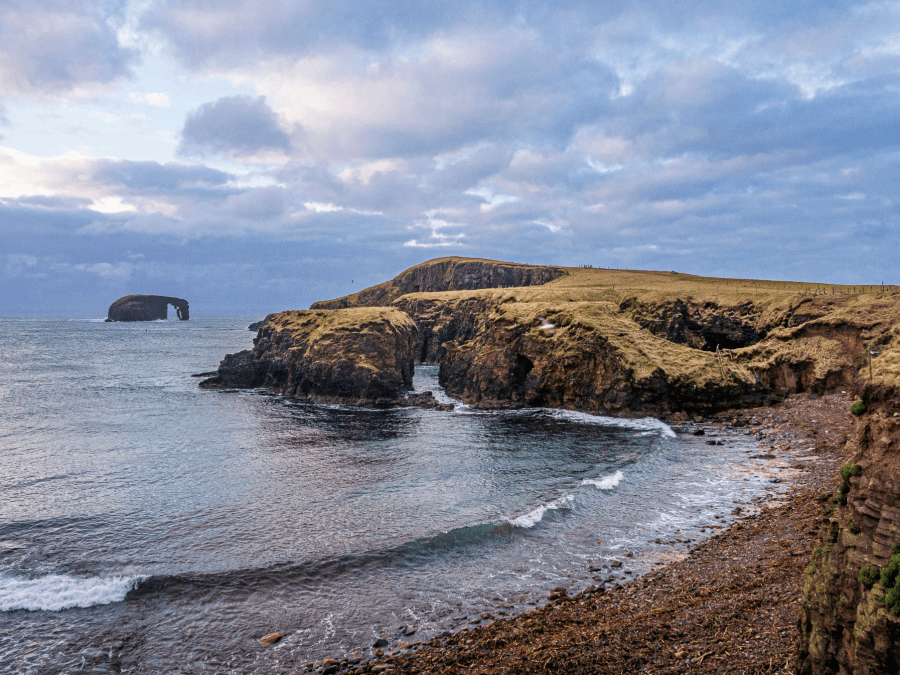
Dore Holm and cliffs at Stenness, Shetland.
Credit: Ian Battersby
2. HU214772: Exit the car park using a stile by an information board, and head SW down to a second stile by the shore, and resume the shoreline path. Two more stiles show the way, before heading W to The Bruddans, with views out to the Isle of Stenness, waves battering its western edge. As the path turns N the sea becomes increasingly violent being exposed to waves thousands of miles old. After passing Gerdie Loch, which lies unseen on the rise on the right, the path veers NE to reach the lighthouse at the South Head of Caldersgeo at a stile.
Lighthouse at South Head of Caldersgeo from Drid Geo.
Credit: Ian Battersby
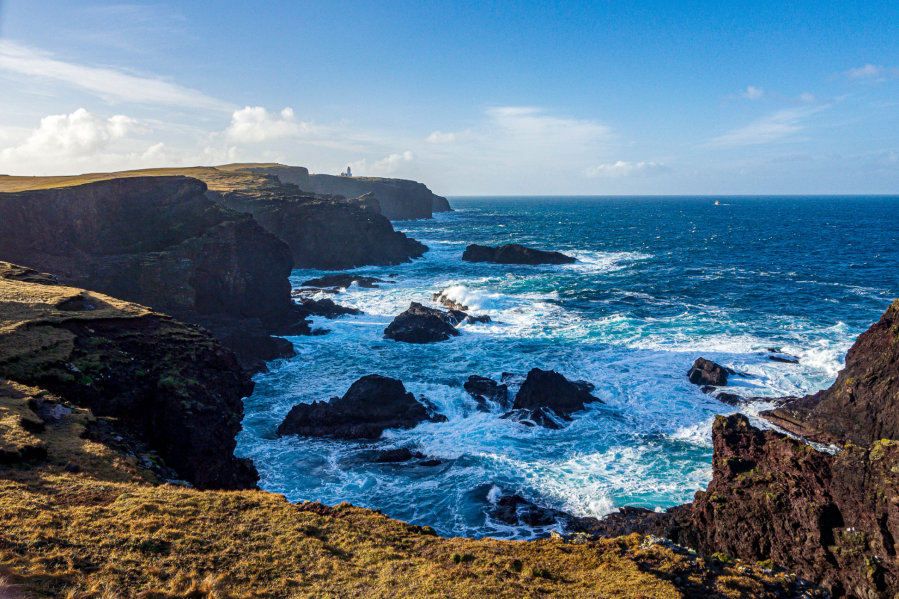
3. HU206784: Head directly N to the edge of Calder’s Geo for a spectacular view of waves thrashing the coastline to come, but as we will see, this is nothing compared to what can occur. Follow the geo E to its inland limit. A sign also points the way from the car park by the lighthouse. Then head W, back out to the mouth of the geo. The path now runs NE, wriggling around inlets, lochs and outcrops, and passing reefs and stacks (notably Moo Stack) just offshore. There are many areas strewn with stone and rock cleaved from the cliffs and skerries and hurled inland, evidence of days when wind and water are in a foul mood. Continue NE crossing regular fence stiles along the Villians of Ure to reach a wall where the route turns E between The Burr and Croo Loch, before turning SE around the Hill of Ure and arriving at a stile at Geo of Ure.
Moo Stack and Drid Geo.
Credit: Ian Battersby
4. HU223802: Two stiles allow passage across the stream falling into the Geo of Ure. Continue NE, then SE around the head of the next promontory. Ure Farm is to the S of here. Head S away from the coast following a choice of sheep tracks across grazed grass, keeping left of an obvious two chimney ruin, and reaching a stile in a fence.
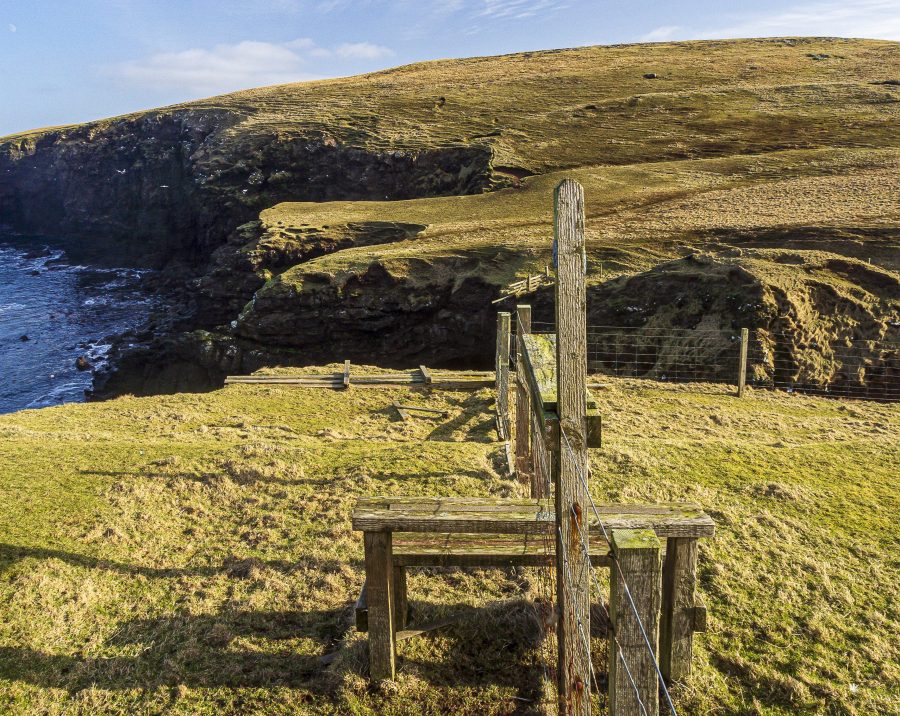
The first stile at Geo of Ure.
Credit: Ian Battersby
5. HU225801: Cross the stile and follow the Shetland Access arrow right, heading SW to the tarmac farm lane. Follow this S climbing to Bordigarth Farm, and turn right, following the lane as it swings left and crosses a cattle grid. Follow the lane SE to the junction with the B9078. Turn left to the next junction in 200m.
Turn off the B9078 to Tangwick.
Credit: Ian Battersby
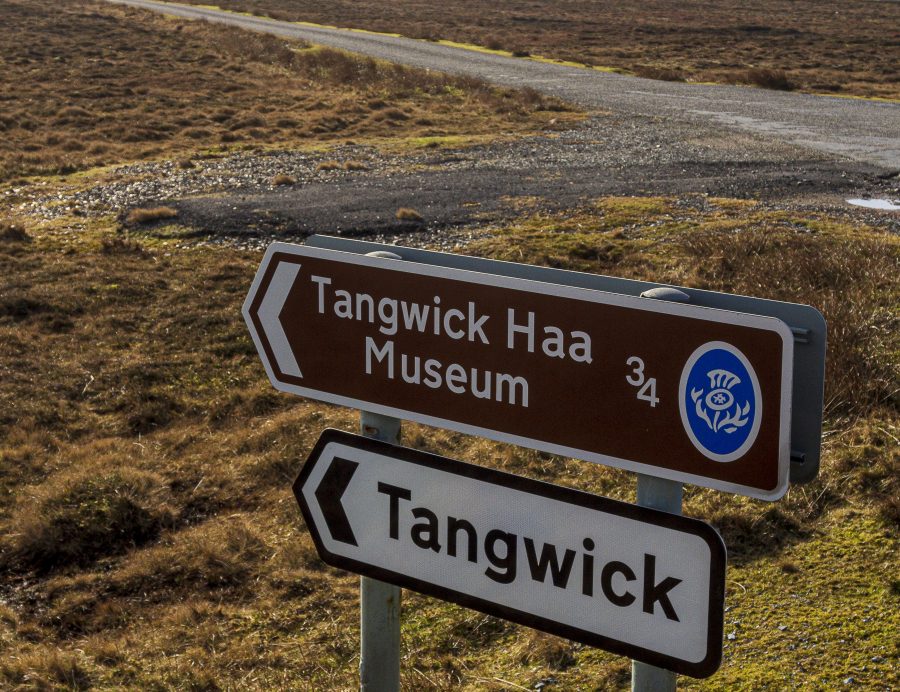
6. HU235787: Turn right, following the sign to Tangwick Haa Museum, which is 1km S down the road.
Further information
PUBLIC TRANSPORT: None to start
TOURIST INFORMATION: Lerwick iCentre, 01595 693434
Discover more of the best walking routes in Scotland, as mapped by The Great Outdoors’ expert contributors.