Alex Roddie stretches his legs over two fine Munros and a Corbett in the Mounth, challenging the concept of “boring” hills.
The concept of “boring” hills rubs me up the wrong way. In some circles, that reputation has become attached to the Mounth – the vast region of mountains south of the Cairngorms. But there are some superb mountains tucked away in the Mounth, and this route is one of the most adventurous. Some of the easiest Munros to climb can be reached from the Cairnwell Pass. East of this, Glen Isla carves deep into the mountains, providing access to several Munros and Corbetts. This circuit visits two Munros – Glas Maol (1,068m) and Creag Leacach (987m) – as well as the Corbett Monamenach (807m).
Although there is plenty of smooth, gentle, rolling terrain here – which makes for delightful easy walking in dry conditions – you’ll also find views of deep, dramatic corries, as well as exciting rocky ridge walking. The route packs in plenty of variety and is just as good as many classic rounds in the Cairngorms, but with the virtue of much quieter trails. Navigation requires care in places and a good level of fitness is required.
Glas Maol, Creag Leacach & Monamenach: route guide
START/FINISH: NO193798, parking area beside river just past Auchavan (farm) in Glen Isla | MAPS: OS 1:25,000 Explorer sheet OL52 (Glen Shee & Braemar), OS 1:50,000 Landranger sheet 43 (Braemar & Blair Atholl) | DISTANCE: 21.2km / 13.2 miles | ASCENT: 1,209m / 3,967ft | DURATION: 6 to 8 hours
1. NO193798: From the parking area, head north on a clear track following the left bank of the River Isla. Ahead are good views of the mountains at the head of the glen. After 3km the track crosses a bridge over a burn and enters a sparsely wooded area; ignore a left turnoff to Tulchan Lodge (a cluster of estate buildings), and instead continue straight on. A green signpost marked “The Monega Path to Braemar” is best ignored, as this shortcut involves a rough burn crossing. About 300m past this is a clearer left turn.
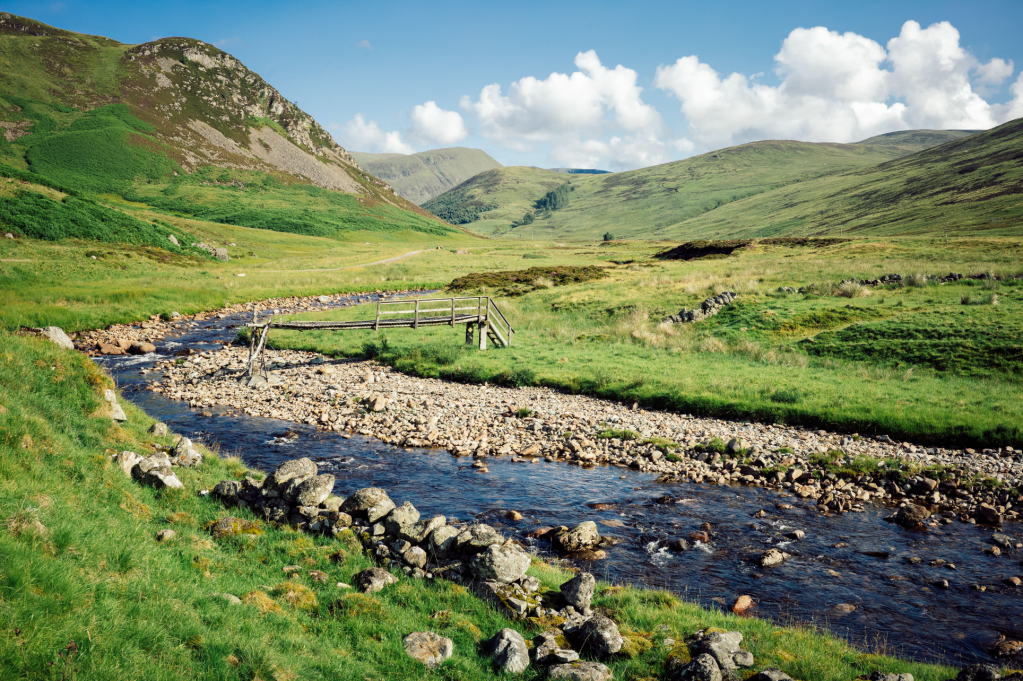
The River Isla. Credit: Alex Roddie
2. NO186736: On the other side of a small burn, take a left turn up a grassy track, which climbs gently uphill on the right-hand bank of the burn. It soon steepens and veers north, aiming towards the broad southern pur of Monega Hill. Views open up back south along Glen Isla. This is a steady climb that maintains a fairly even gradient on the way up, quickly making height.
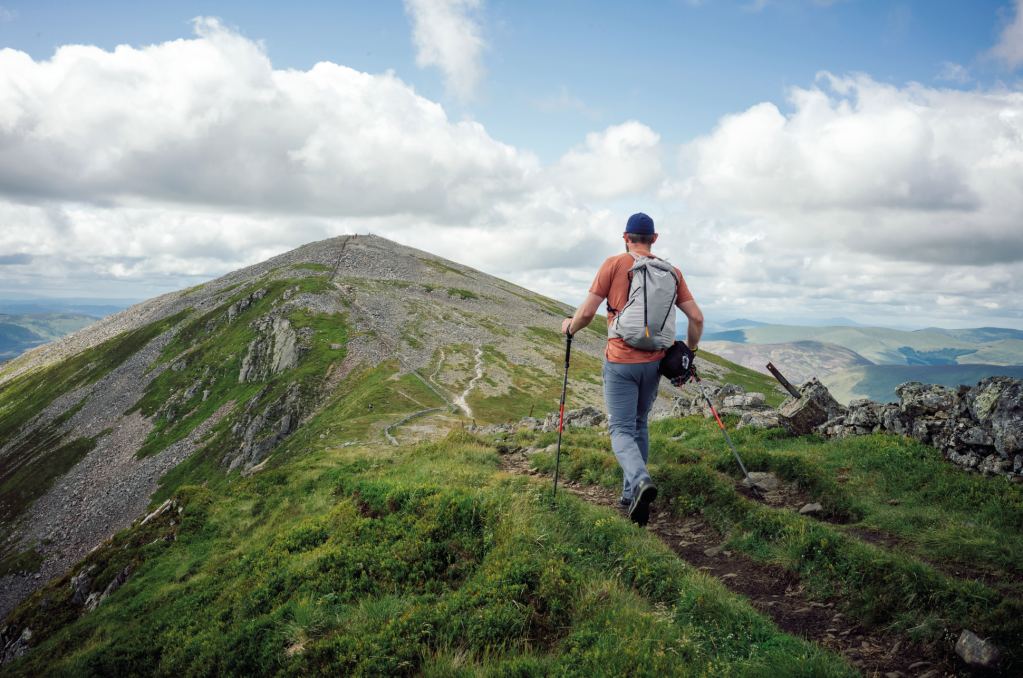
Looking down on the River Isla from Monega Hill, a prominent viewpoint. Credit: Alex Roddie
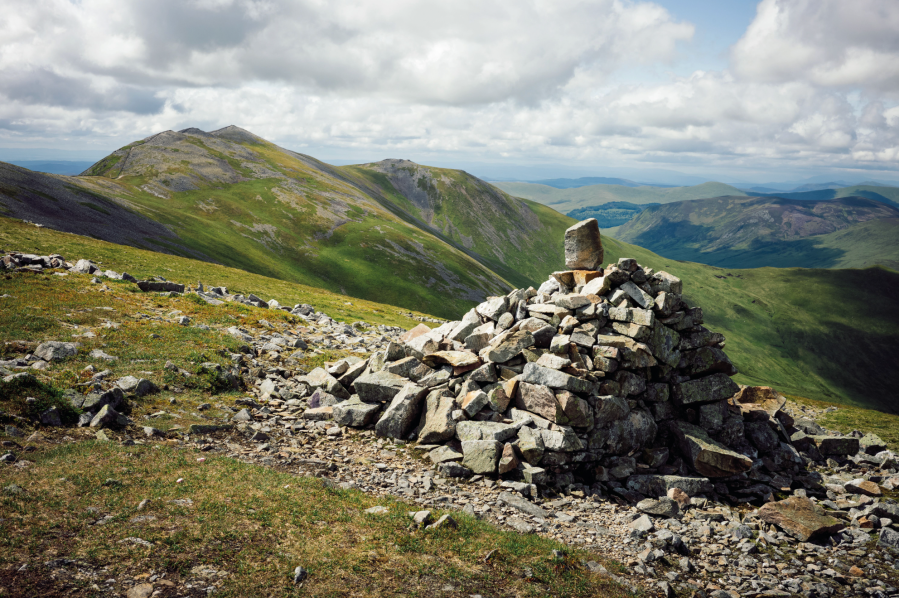
3. NO185750: At about 865m elevation, the path forks. The left fork is the more direct route, while the right fork to Monega Hill (908m) offers excellent views into the deep trough of Canness Glen. Both routes converge at a gentle 881m bealach between Monega Hill and Little Glas Maol. Clear paths continue to climb gently towards this 973m summit, but bypass it to the north instead of reaching it. Northward, views across Caenlochan Glen, another U-shaped corrie, lead to the cliffs of Druim Mor and Carn of Claise (1,064m, a Munro) beyond. The path descends slightly to a gentle 950m bealach: the start of the ascent to Glas Maol. Paths are vague on the ground here, but climb NW for about 0.8km to reach the summit.
Approaching the summit of Creag Leacach. Credit: Alex Roddie
4. NO167766: At the 1,068m summit of Glas Maol is a trig pillar and substantial (if ramshackle) wind shelter. Continue NW for about 0.3km beyond this, then turn SW to join the boundary wall that runs over the ridgeline ahead (a useful handrail in mist). Follow the path that hugs this wall over an undulating ridge towards Creag Leacach, a more impressive rocky peak rising up ahead. The path picks its way through pale scree as it ascends to the summit.

Views west. Credit: Alex Roddie
5. NO154745: From the summit of Creag Leacach (987m) the path descends rocky ground, again roughly following the boundary wall; there is a short ascent to a minor 943m top, followed by a steep descent. Make a short ascent following the wall to a cairn at 860m.
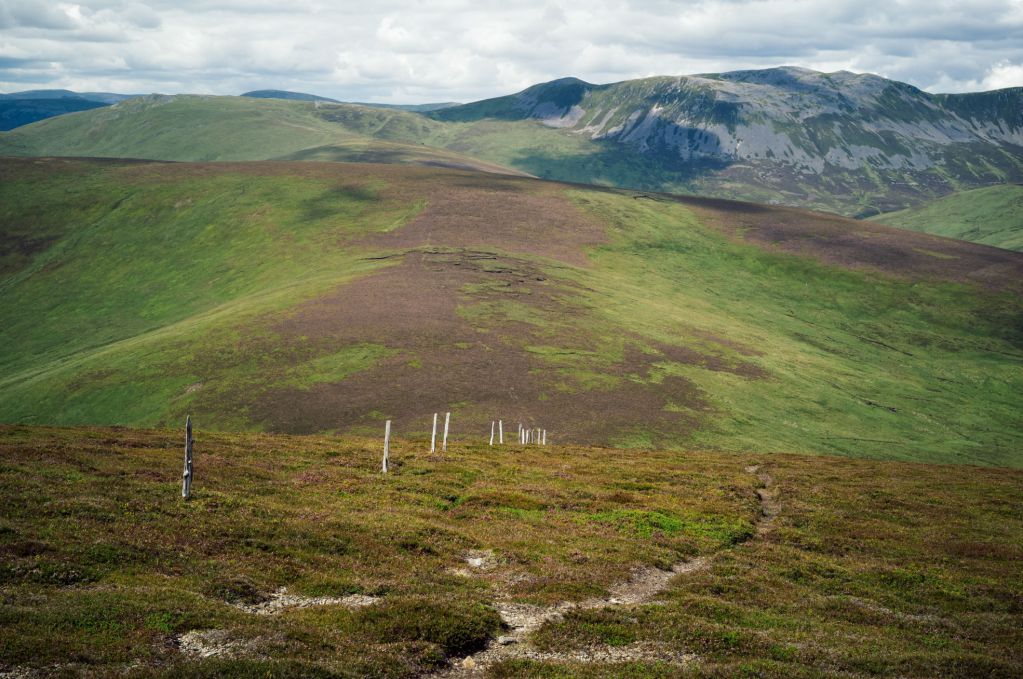
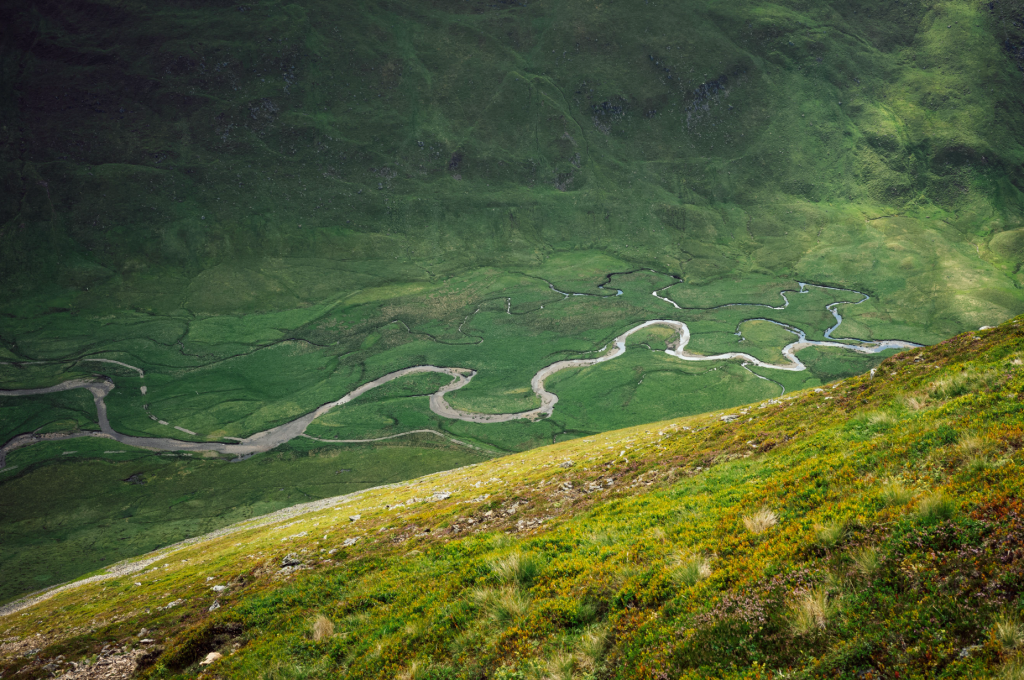
Broad heathery slopes heading over Black Hill and Monamenach. Credit: Alex Roddie
6. NO143734: This cairn, just north of the top named Carn Ait, marks a turning point in the route. Head east from here, descending a broad ridge to a bealach, where a fence rises to the broad heathery top of Mallrenheskein (767m) and then down to a bealach at 668m. Another gentle climb follows – this one involving some boggy ground and peat hags

The summit of Monamenach. Credit: Alex Roddie
7. NO163719: Reaching the rounded summit ridge of Black Hill (757m), descend the SE ridge to Glack of Glengairney (again following the fence) before a final steeper climb to Monamenach (807m) on close-cropped heather. The views from here are extensive and show most of the day’s route. Continue down the southern flank to meet a track at a bealach.
8. NO179700: Descend the clear track east, following the Glack Burn on its left bank, back towards Glen Isla and the car park.
Further information
PUBLIC TRANSPORT: none to start
TOURIST INFORMATION: discoverblairgowrie.co.uk, 07777 694827
Discover more walks in Scotland as mapped by our expert contributors.