Stefan Durkacz spends twenty-four hours in the Cairngorms foothills on an epic and wild Caenlochan round.
The A93 road between Perth and Braemar crosses the Cairnwell Pass at 665m above sea level, making it the highest public road in Britain. As such, it’s a convenient and popular starting point for the surrounding Munros, giving easy access to miles of high altitude walking over a wide and haunting plateau. It’s also the site of the Glenshee Ski Centre. The hillsides are covered with ski runs, fences and tows, making for fairly uninspiring surroundings. Fortunately, there is an excellent, lesser-known alternative approach: upper Glen Isla, accessible via minor roads from the A93 far down Glen Shee. From the road-end at Auchavan, this long and meandering route explores the plateau via four Munros and the dramatic upper reaches of the Isla where its headwaters, the Canness and Caenlochan burns, cut deeply into the uplands.
The Monega Path adds historic interest, an old droving route across the heights between Glen Isla and Glen Clunie. This is a tough route to navigate in claggy conditions. At 18 miles, it’s best attempted on a long day with no snow underfoot. The Glen Isla track is bikeable to the place where the Monega Path leaves the glen, trimming the miles at either end of the day.
Caenlochan and Upper Glen Isla: route description
Start/Finish: Parking area by track just beyond Glen Isla road end at Auchavan farm. To reach it, turn R where the public road ends outside Auchavan farm. Drive a short distance down a bumpy track and park between the track and the river just before a bridge. (GR: NO 193 697) | Maps: OS 1:50,000 Landranger sheet 43 Braemar & Blair Atholl and sheet 44 Ballater and Glen Clova; OS 1:25,000 Explorer OL52 Glen Shee & Braemar and OL53 Lochnagar, Glen Muick & Glen Clova | Distance: 29km/18 miles | Ascent: 1087m/3566ft | Duration: 10-12 hours
1. NO 188 913: Head north, staying on the W bank of the river. Follow the sign for Braemar via Monega Path. After a few metres turn L through a gap in the wall and up a steep bank to a broad, unsurfaced road. Turn R and follow this up the glen towards Tulchan Lodge. Reaching the gates of the lodge after 2.5km, turn R following a sign for the ‘Monaga [sic] Path – only official route’. Continue north on the track with forestry on your L and the River Isla below on your R. Beyond the forestry, at the top of a rise, a green signpost points vaguely left towards Monega Hill which rises steeply ahead. Keep on the track for a few hundred metres, descending to cross the Glas Burn.
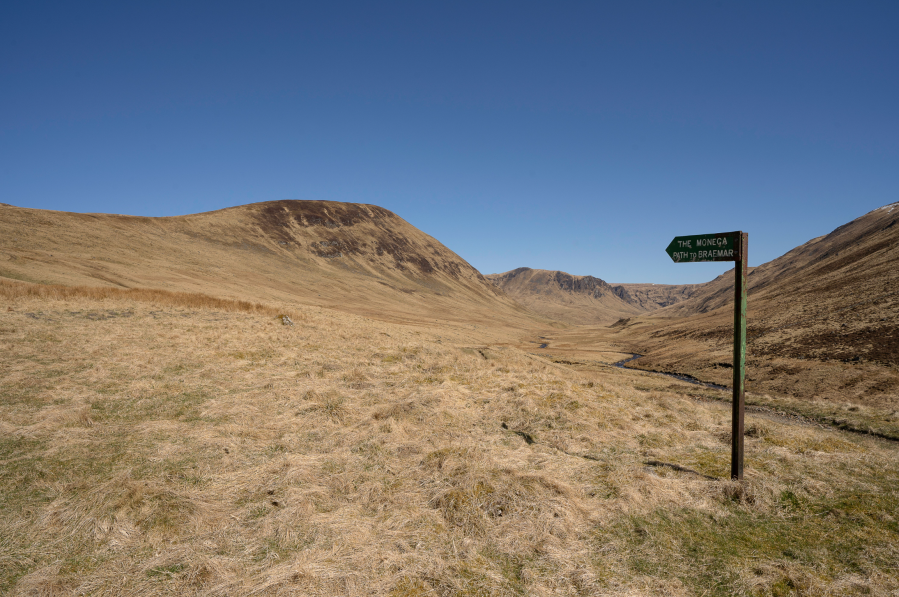
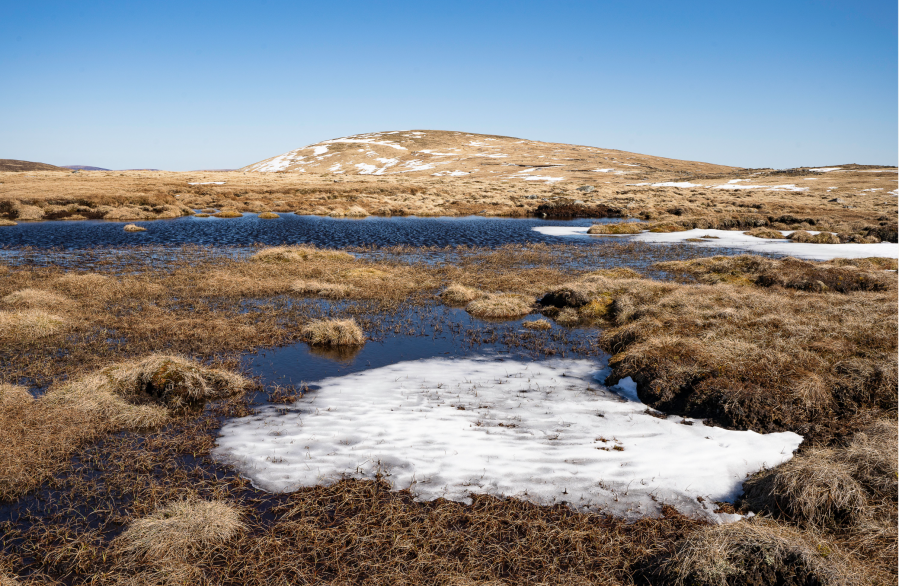
Monega Hill and the upper reaches of Glen Isla. Credit: Stefan Durkacz
2. NO 185 736: Climb the grassy track towards Monega Hill. Higher up, the track steepens and bears R to ascend the southern shoulder of the hill, dwindling to a faint path – the Monega is lightly trodden these days. Views open up W to the scree-clad hulk of Creag Leacach, whilst the River Isla winds to the S. The Monega Path veers L before the summit. Stay on the crest to reach the top of Monega Hill (908m). Venture onwards to the brink of the precipice to take in the sweep of the wild glens of Caenlochan and Canness. Descend L to a shallow col. Pick up the track again to Little Glas Maol (973m) and another col beyond marked by a cairn. Climb the broad slopes of Glas Maol, leaving the path where it tends R across the N side of the hill and continuing up to the broad summit (1068m) marked by a trig point and summit shelter-cum-cairn.
Approaching Glas Maol on the Monega Path. Credit: Stefan Durkacz
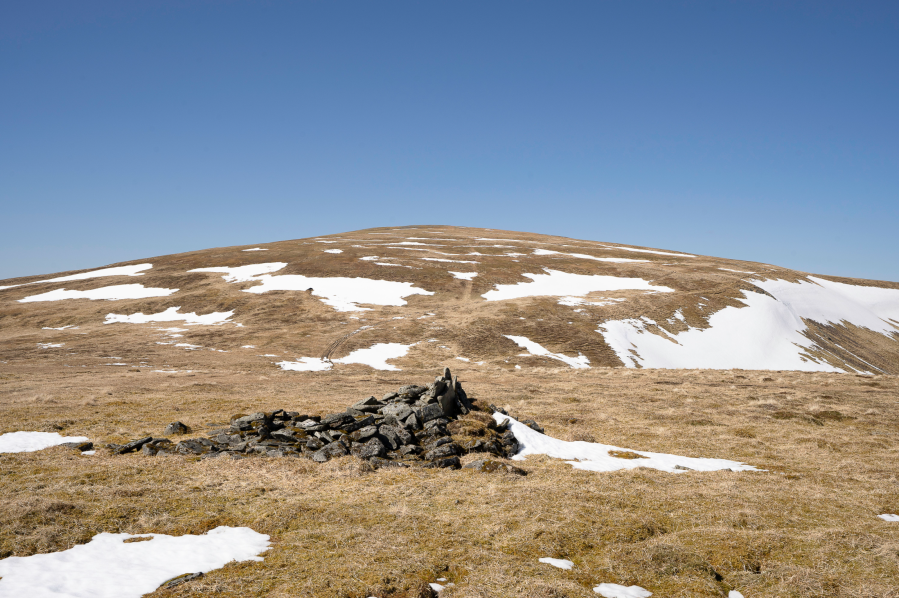
3. NO 167 766: From Glas Maol descend N over intermittently stony and steep ground. Pick up the Monega Path again and follow it N for around 500m. The Cairngorm massif fills the horizon. Bear R on another rough track towards Cairn of Claise, about 2½km NW. The final climb steepens over scree to reach the summit cairn (1064m).
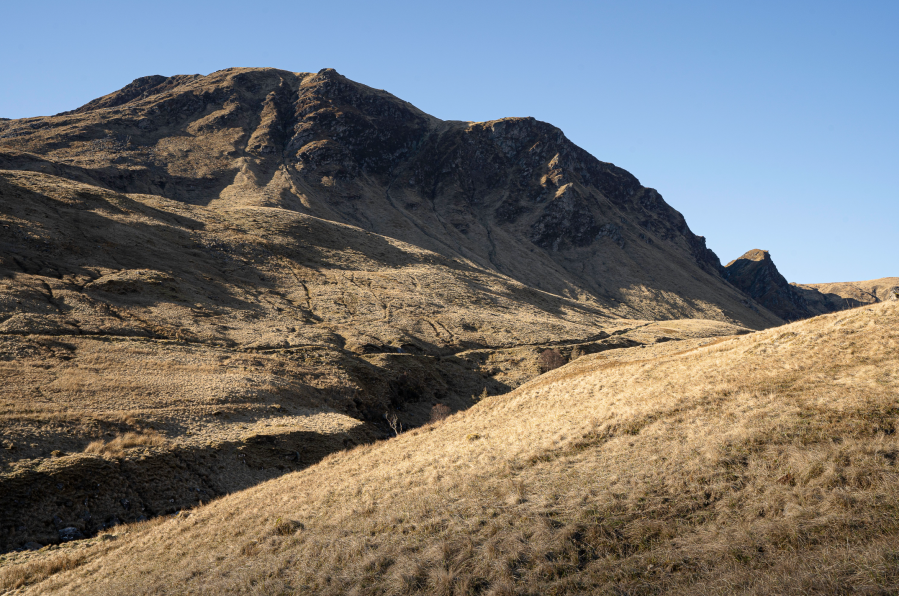
Glas Maol from Cairn of Claise. Credit: Stefan Durkacz
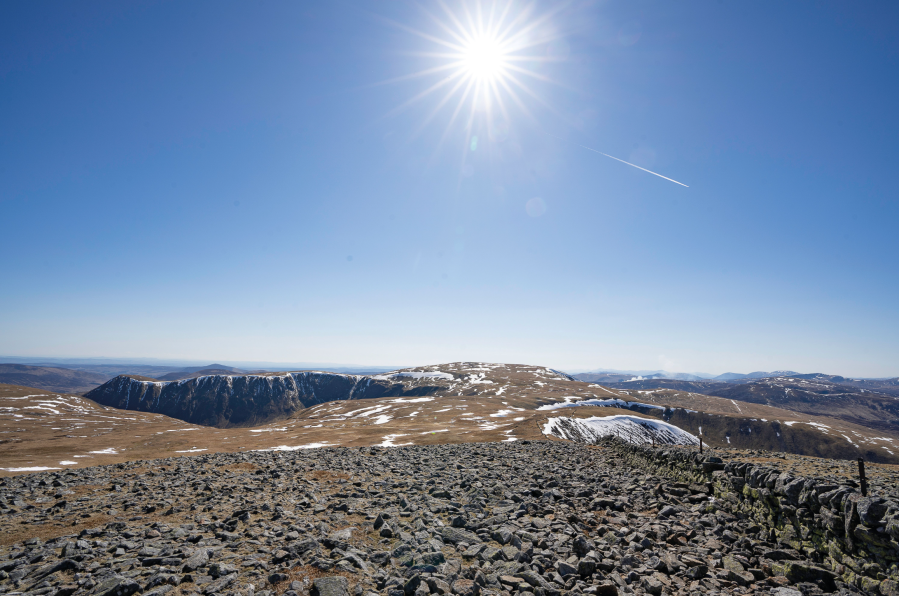
NO 185 789: Continue N alongside the drystone wall to its end in about 100 metres, then bear R, looking for a faint descending heading E. Ahead is an intimidatingly wide and wild upland of rough grass and peat, a tough navigational proposition in bad visibility. Even on clear days Tom Buidhe and Tolmount, modest swellings on the plateau, are hard to discern against the higher uplands of Broad Cairn, the White Mounth and Lochnagar beyond.
Tom Buidhe rising above acres of peat hags and bogs. Credit: Stefan Durkacz
These open spaces make for exhilarating walking. After 2km cross a boggy col of peat hags and pools. The path is easily lost here, but bear L towards Tolmount where a path can be seen climbing across its flank. Follow to the summit (958m), passing a ruined stone howff near the top. It’s worth walking a short distance NE from the summit cairn to the brink of the cliffs overlooking Glen Callater.
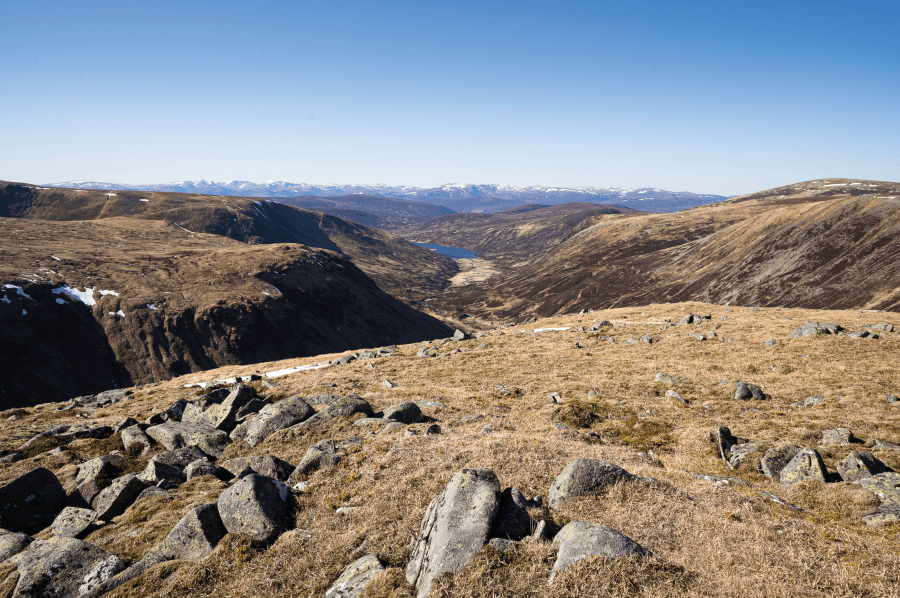
Glen Callater and the Cairngorms from Tolmount. Credit: Stefan Durkacz
4. NO 211 800: From the cairn, retrace your steps past the howff and descend S. Where the path to Cairn of Claise branches R, ignore it and continue S towards the grassy hump of Tom Buidhe. Cross the peat-hagged upper reaches of a burn and climb the slope opposite, veering L to reach the summit of this fourth and final Munro (957m). Now Driesh and Mayar are prominent to the SE over miles of empty upland wastes.

13_Tom Buidhe from a ruined howff on Tolmount, with Driesh and Mayar beyond on the left. Credit: Stefan Durkacz
From Tom Buidhe, descend S. A keen eye is required to pick out the twin undulations of Meikle and Little Kilrannoch ahead, separated by a shallow saddle. The going underfoot is the roughest of the day. There’s no discernible path and the ground is a mix of bog and tussocks. Bear R to pass across the west flank of Little Kilrannoch, taking care not to be drawn into the wide, peat-hagged basin of The Dacies above the gulf of Canness Glen. Bear SE for around 1km to reach a rough Landrover track at or near its end.
The rocky edges above Canness Glen. Credit: Stefan Durkacz
5. NO 213 760: There are now two options for the return journey. The easiest way, avoiding tricky river crossings, is to head S on the track. It climbs for 1km to Finalty Hill (906m) where another track comes in from the R. Bear SE, taking the right hand fork at another junction 400 metres further on. After another 600 metres there’s another junction of tracks; bear R to follow the track down the shoulder of Spying Hillock and across the River Isla by a sturdy bridge to meet the outward route near the entrance to Tulchan Lodge. Turn L and follow the unsurfaced road back to the start. Rewinding to the point where you first reach the track on the plateau, the more scenic return route involves bearing R and following a steep shoulder shadowing the Fean Corrie burn to the north. Care is needed towards the lower part of the descent as there are some outcrops to be turned, but you’re rewarded with fine views into the hidden, cliff-girt fastnesses of the Caenlochan and Canness glens. The Canness Burn is a substantial torrent that will be impassable in spate. Ford with care and bear W to ford the Caenlochan Burn, a smaller water but still likely to cause problems after wet weather.
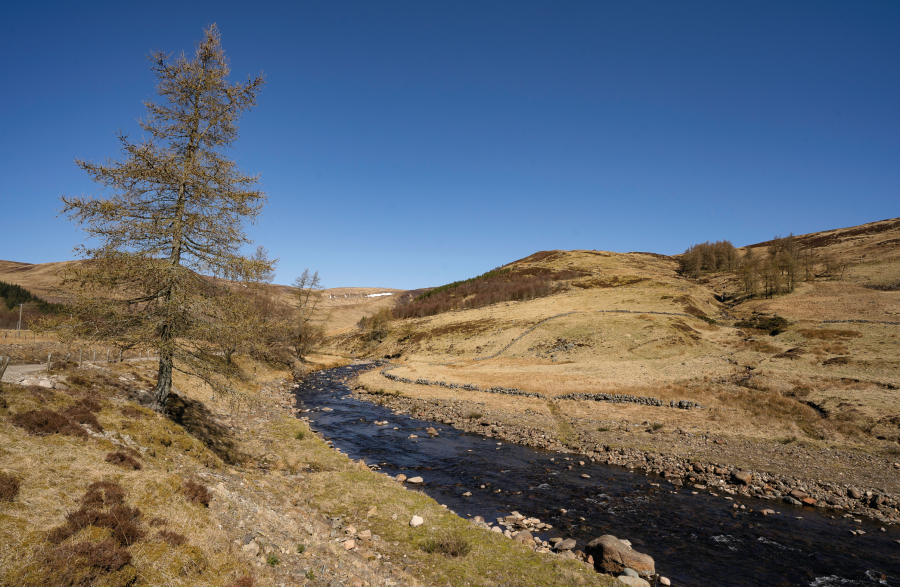
By the River Isla en route for Tulchan Lodge. Credit: Stefan Durkacz
6. NO 195 757: Pick up a rough track on the W bank of the Caenlochan Burn. The track quickly improves as you head south, which is a good thing as it’s a long walk back to Auchavan. Bessie’s Cairn stands on a grassy knoll to the R of the track about 1km south of where you forded the Caenlochan Burn. It’s worth a tiny detour up to the pyramidal cairn with built-in stone seats for a final look up to the wild head of Glen Isla.
Further information
Public transport: None to start
Tourist information: Pitlochry VisitScotland iCentre (Tel: 01796 472215)
Discover more walks in Scotland as mapped by our expert contributors.