Instructor John Chivall looks at the basics – the crucial basics – of navigation. Check your up to speed with these techniques ahead of your spring and summer of walking
When you’re on your own you have to rely on your own skills. GPS technology – either a dedicated unit or a smartphone app – can be very handy but batteries run down and phones can break when dropped, sat on or rained upon. If your navigation is a bit rusty then it’s worth brushing up on the basics. The Mountaineering Council of Scotland’s “Navigator’s Dozen” is a good place to start, covering the 12 most important mountain navigation skills. If what follows doesn’t jog any memories, then consider taking a course – check out the Mountain Training website for details of providers.
[1] Setting the map
Turn the map in your hands so that north on the map points to the real north. If you can see them, use the features around you to help – but in poor visibility you may need to use your compass. Once the map is set it is much easier to plan your next steps.
[2] Ticking off features
As you use the map to plan the next stage of the journey, you should tell yourself the story of what you’ll see on your way: “Walk north, downhill, until the ground levels out by the tarn…” then tick off the relevant features as you pass them.
[3] Contour interpretation
Steep ground or a gentle slope? Ridge or valley? Summit or spur? The contour lines can tell you pretty much everything about the shape of the hill.
[4] Taking and following a compass bearing
A common mistake is to end up 90° or 180° out. Check that the big arrow on the compass points on the map in the direction you want, and that you’ve lined up the north lines on the needle housing with the north-south gridlines on the map, not the east-west ones.
[5] Estimating distance travelled
Do you know how many double paces you take in 100m and long it takes you to walk one kilometre? If not, go away and check – these are your basic tools for knowing how far you’ve gone. Use pacing for short distances (under 1km), timing for longer. Going uphill will slow you down – an extra minute per 10m contour is a decent rule of thumb.
[6] Route choice
Planning a practical route following features that are easy to identify while avoiding hazards takes practice but is very satisfying. Catching features and attack points, time and distance, handrails and contour interpretation may all be useful.
RELATED: How to read a compass
[7] Relocation strategies
Temporarily positionally challenged? Take a deep breath, get a snack out, and have a ponder while looking at the map. Information like how long it’s been since you definitely knew where you were, distinctive features you’ve passed and the aspect of any slope you’re on can help you to home in on a likely position.
[8] Catching features
These will tell you if you’ve overshot your target. Changes of slope, valleys, cliffs, rivers and forest edges can all be used when planning a leg of your journey. On a big and relatively featureless moor or plateau, pacing and timing might do the job instead.
[9] Map Scales: Your map will tell you whether it’s 1:25,000, 1:40,000 or 1:50,000 – other scales are much rarer. Your compass should have romers (like ruler markings) for each of those three. Make sure you know which is which, so you can measure distances on the map accurately.
[10] Slope aspect
The way the slope faces is its aspect, and you can use your compass to find it. This is very handy when relocating as there is usually only one slope in a particular area that faces that particular way. Remember that directly uphill or downhill is at right angles to the contour lines.
[11] Aiming off, attack points and handrails
Useful for planning journey legs. Aiming off to a catching feature means that when you reach it you know which way to turn to get to where you want. An attack point is an easy-to-find feature near the harder-to-find thing you really want. Handrails are linear features that can guide you in the direction you need.
[12] Symbols and grid references
It’s much easier to navigate when you know what all the marks on the map mean. Grid references are very handy for telling people where you are or where you’re planning to be – and for following published routes.
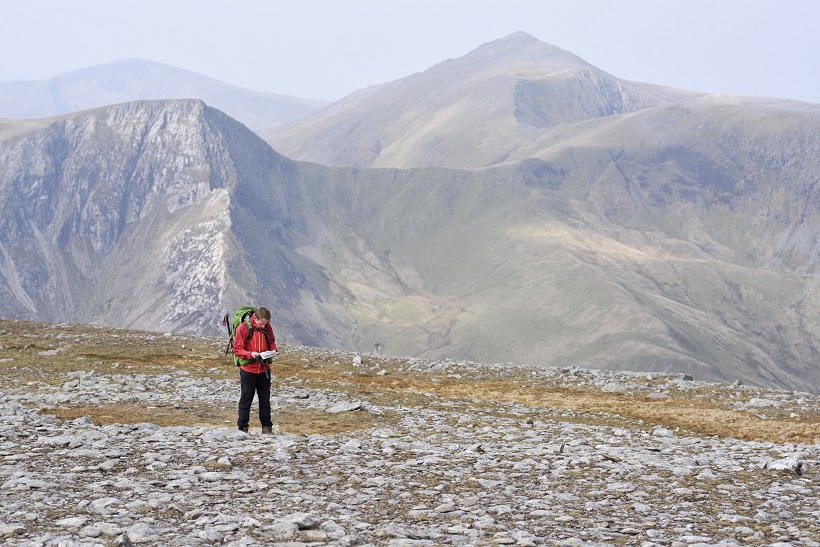
Image by Ray Wood