Walking for miles with wet feet really takes the fun out of it. The good news is, anyone can learn how to waterproof your walking boots.
Learning how to waterproof your hiking boots will save you discomfort and potential blisters, leaving your feet free to enjoy your excursions into the outdoors. Get into a good cleaning and waterproofing habit and your boots will also last longer, making the big investment worthwhile.
Words: Francesca Donovan | Main Image: Tony West
How to waterproof your walking boots: Content guide
- When you should waterproof your walking boots
- How to waterproof your leather walking boots
- Waterproofing products
When should you waterproof your walking boots?
Your cleaning, waterproofing and conditioning schedule depends on how often you wear your walking boots and how wet your boots get!
For example, you often won’t really need to clean or re-waterproof your boots after a dry day on the hills when the ground underfoot is hard. But if you’re traipsing through bog and mud or snow or it’s raining heavily, leaving all that muck and debris on your boots is a bad idea – over time it can compromise the fabric of your boots and lead to degradation and cracking.
Some hillwalkers will take the opportunity to reproof and condition their boots with every clean, at least every couple of wears, and this is certainly recommended by most boot manufacturers. However, it’s hardly time-efficient – more time cleaning the boots means less time stomping around in them, after all – and can become costly.
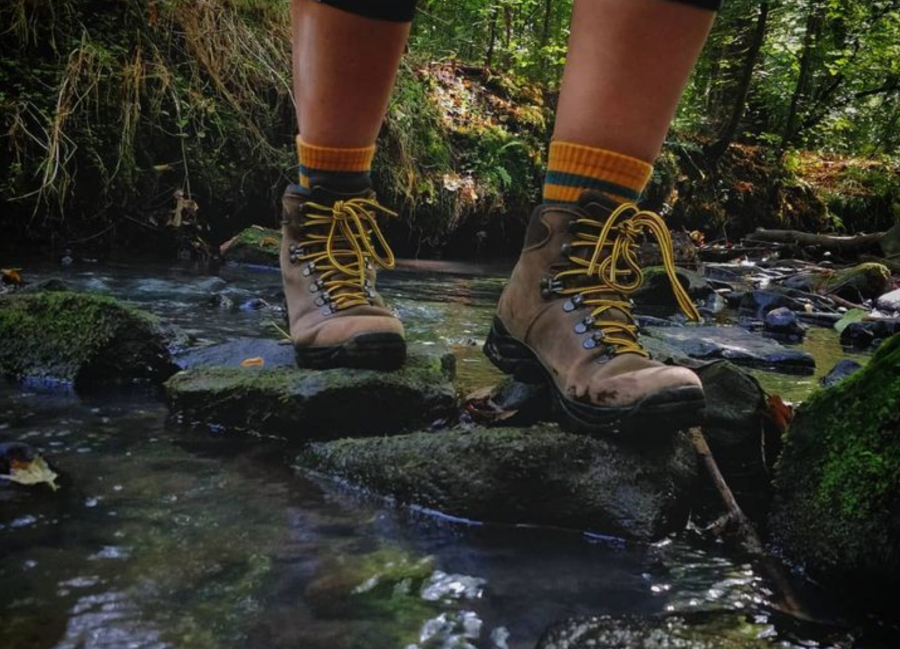
A faded and well-loved old pair of hiking boots. Credit: Francesca Donovan
Others will only re-waterproof their boots when the material becomes discoloured, stained, or stops beading water. These are all sure signs of damage and wear and you should certainly treat the boot fabric at this point.
The answer for most is probably somewhere in the middle. So, let’s take a look at the different ways to keep those boots as waterproof as new.
How to waterproof your walking boots
Firstly, you must ensure you have the right waterproofing product for your boots, depending on the boot composition and materials. We’ll get to that in just a moment but, in the meantime, you can find what your boots are made of through the manufacturer. This is what determines what product you should purchase.
For all waterproofing processes, it’s best to wait for a dry day to clean and treat your boots so they can dry outside. This is preferable as artificial heat can damage or warp the material and thus the shape of your boots.
Your boots will also need some preparation before waterproofing. You should always clean your boots before waterproofing them. This removes any dirt or debris that can act as a barrier to the treatment working properly.
Now, let’s find the right waterproof treatment for your hiking boots.

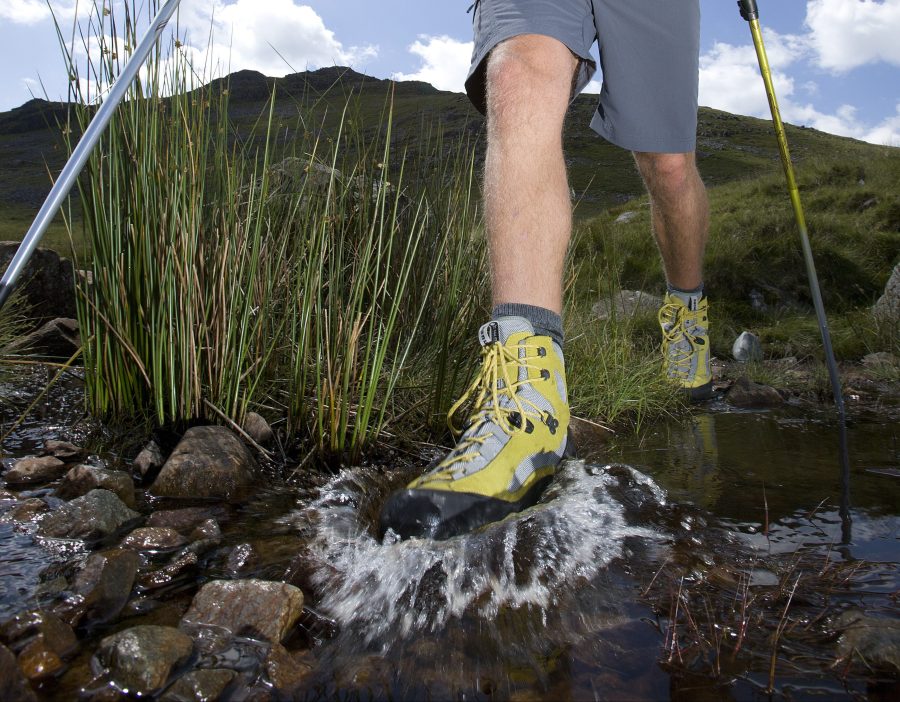
You’ll be snow-ready in no time.
Credit: Dougie Cunningham
Waterproofing products
-
- Spray
By far the most efficient way of waterproofing your hiking boots, there are lots of sprays on the market. Sprays are also often concentrated so require you to use less product.
Your average boot waterproofing spray will suit rough leather, suede and synthetic materials. But always check the label! The likes of NikWax and Grangers are tried and tested options, free of any chemicals that might damage your boot materials.
Treatment generally settles in best on a damp boot so, after cleaning, leave the footwear to partially dry. To use a spray, head outdoors (or to a well-ventilated area), hold the can as far away from the boot as directed and spray away! Generally speaking, a few thin coats are more effective than one thick one so less is more. Leave each layer for as many minutes as directed before returning to spray the next.
Allow the boots to air dry before you wear them out again.
- Waxes and creams
A more traditional approach to waterproofing, wax is slightly more hands-on and time-consuming.
Any good wax or cream will work on your smooth leather hiking boots. While leather is naturally water-repellent, it is subject to wear and will lose this quality. Specialist waxes and creams work with those natural oils to treat and condition boots. Conversely, waxes should be avoided when treating nubuck and suede as it will stain those fabrics and compromise the texture.
The process is a little different for applying waxes or creams. In most cases, you’ll need to clean your boots and leave them to fully air dry before application. If the wax is too hard, it may need melting gently with a hairdryer pre-application. When it’s ready, take a dry cloth and add a small amount of wax – overwaxing can cause boots to harden so it’s best to start small and build layers. Gently apply the wax using the cloth with a gentle amount of pressure and in a circular motion, covering the fabric of the boot. Repeat as necessary.
Once finished, leave the boots to dry naturally for at least an hour, and then buff the wax off with a dry cloth.
Read on for other gear skills, including resoling and repairing hiking boots, and Chris Townsend’s six top tips for taking care of your boots.