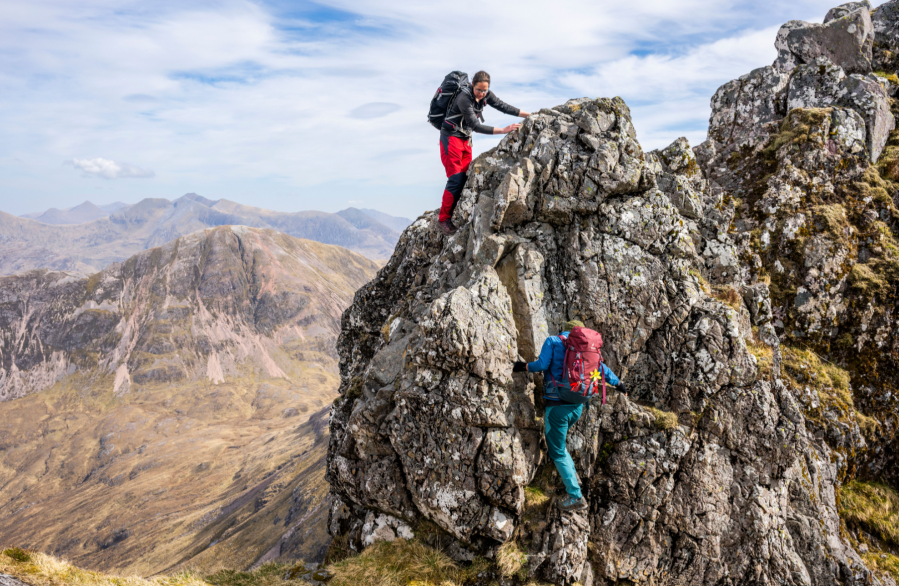
Scrambling describes using your hands and feet to ascend a rocky step, or several steps. This could be as part of a hillwalk, up a buttress, or quite often a ridge between summits or up to a summit. It defines the grey area between hillwalking and rock climbing, where additional skills are required, but not necessarily all the safety precautions that rock climbing provides.
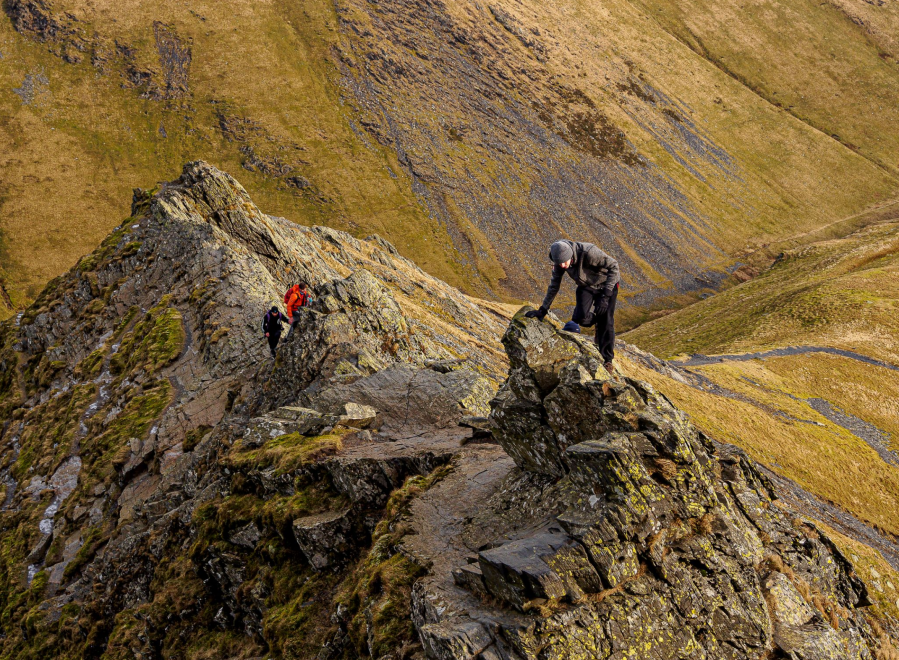
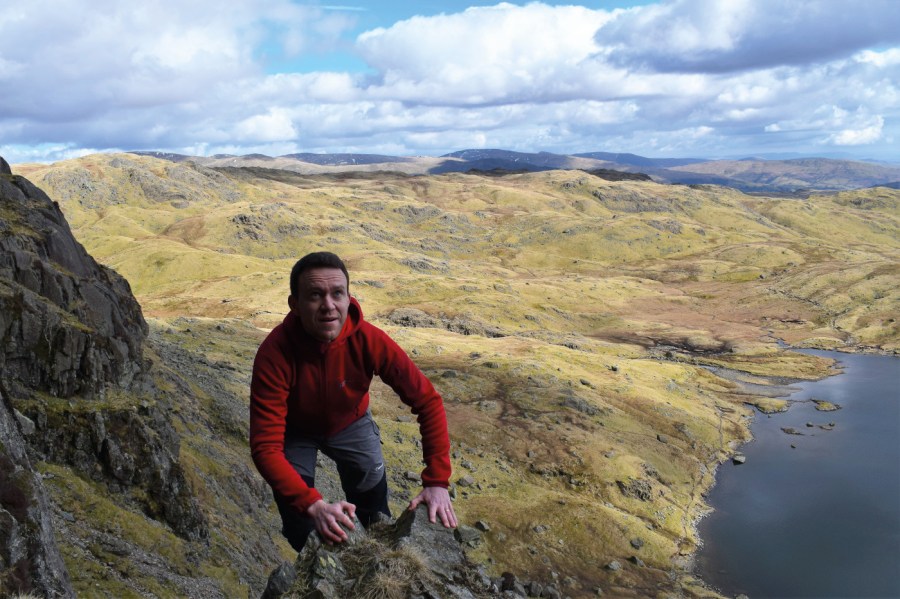
Main image: A stiff downclimb on the Aonach Eagach ridge | Credit: James Roddie
How difficult is scrambling?
Scrambling has grades that are used to describe how hard a certain route might be. These grades take into account the difficulty and technicality of specific sections, the length of scrambling terrain, the exposure, and the potential consequence of a slip.
Using the grades can help you pick something suitable to your skill and comfort level, as well as allow you to gauge when you might be ready to try something harder.
Your guide to scrambling grades
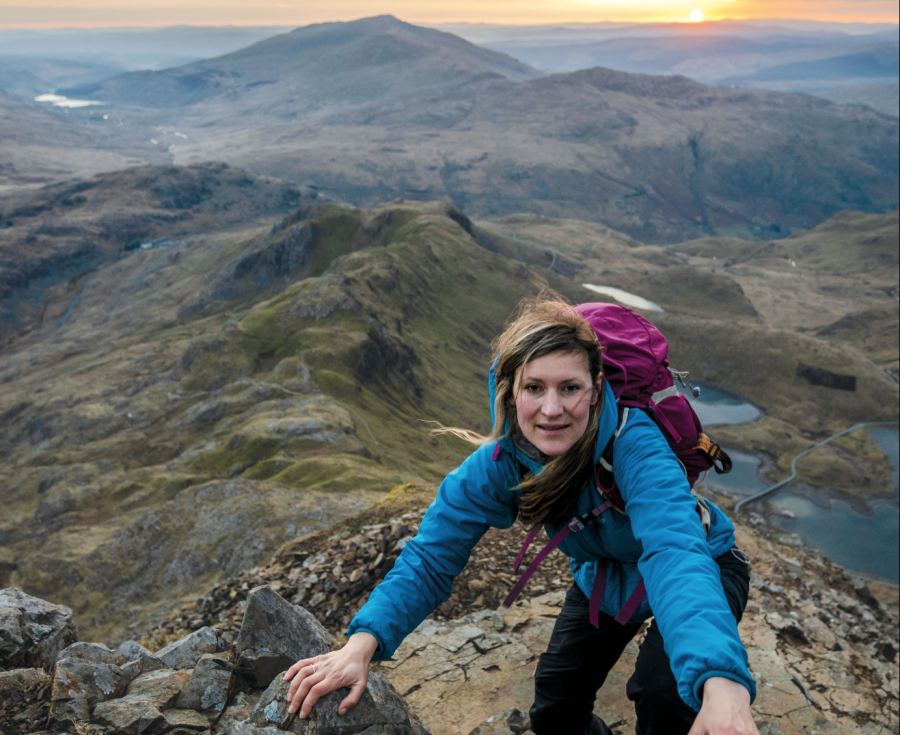
Grade 1: A short or escapable section that requires the use of hands to ascend a small step. This often feels like an exposed hillwalk and is regularly soloed (no use of ropes or additional equipment). Here you might use hands for balance. You don’t really need to pull at any point but moving through the terrain without using hands would be difficult.
- Classic examples include Carn Mor Dearg Arête on Ben Nevis, Crib Goch on Yr Wyddfa and Sharp Edge on Blencathra.

Grade 2: A longer scramble that requires more time using your hands to climb up. Less escapability and increased exposure mean it’s not somewhere you would want to slip. Some people may prefer to be roped up for protection against a slip or to increase confidence on this ground. You might need to make one or two simple climbing style moves where the consequence of getting it wrong are very serious. These sections will be short lived and at times avoidable.
- Routes like Bristly Ridge on Glyder Fach, the Aonach Eagach ridge, and the Forcan Ridge on The Saddle are all Grade 2.

Grade 3: Routes of this grade are sometimes also given a ‘Moderate’ climbing grade, which is the easiest climbing grade. This demonstrates that some climbing skills may be required on this terrain, and that having the skills to use ropes is advised. The scrambling is more technical, with potentially short climbing pitches, and could be very exposed, with a slip being fatal.
- Well-known routes of this grade include Pinnacle Ridge on St Sunday Crag and Curved Ridge on Buachaille Etive Mor.
Grade 3S: This grade is sometimes given to routes that are more serious than Grade 3 and require rock climbing skills to undertake.
- The most well-known route is the Cuillin Ridge on the Isle of Skye – if you miss out the climbing pitches!
Note that the above scrambling grades are given for optimal weather conditions, so be warned – rain and/or wind will make every scramble a much more serious undertaking.
Getting started: where to begin with scrambling
The first step in our guide to scrambling is often the trickiest. It takes a fair bit of confidence in your abilities and lots of research to ensure you are going to be comfortable.
- Choose a scramble in a familiar area.
- Choose a fair-weather day, and carefully note the escape and descent routes in case the weather changes.
- Make sure you read trusted sources.
There is lots of information both in this magazine and online about most routes. Most regions also have their own guidebooks, so check which one covers your area first. Guidebooks give lots of excellent information including route descriptions, grades, options to escape or descend off the route, as well as photos showing route lines (a ‘topo’).
Key skills for scrambling
Even without ropes and climbing techniques, scrambling still requires a few more skills than hillwalking.
Route finding
Just finding the start of a route can be challenging! Read the guidebook descriptions of the approach very carefully to avoid ending up on more serious ground. Use the topo to match what you see on the page to what you see in front of you.
Popular scrambles might have polished rock or crampon scratches that show where people often go. Stepped-out grass ledges (where dirt is visible due to lots of feet eroding the grass) are another obvious sign, but neither are to be relied upon.
Want to know where best to get started? Then check out these great beginner scrambling spots and our guide the the best scrambles in Britain.

Footwork
As routes become more vertical, how you use your feet will change. Placing them precisely on small ledges and holds requires planning and accuracy. Most boots will be suitable for scrambling, but a stiffer sole might feel more secure on those small edges, whilst a ‘climbing zone’ at the front of the sole (a section without lugs) will provide more grip on the rock.
Approach shoes are also suitable footwear and can feel more like a climbing shoe in grip and precision on the rock.
Managing risk
Being able to manage yourself safely is also a highly necessary skill. Think about your comfort levels before committing to something. Try to ensure you can reverse anything you climb – this will mean you are less likely to get ‘cragfast’, where you feel stuck and unable to move up or down. Lots of planning and research into your chosen route before you go helps to reduce the risks.
Your guide to scrambling: next steps
Once you’ve tried a few Grade 1 scrambles, what next? our final step in our guide to scrambling suggests that It’s worth seeking out those more experienced – via a club, or on a course with a mountaineering instructor. Check the instructor holds either the Mountaineering and Climbing Instructor award or the Winter Mountaineering and Climbing Instructor award, or is a British Mountain Guide – as these are the only UK qualifications that allow you to teach scrambling.
Take your new-found skills and passion around the UK! We have some incredible places to scramble including North Wales, the Lake District and the Highlands of Scotland. It really can take you to places that you would never dream of reaching.
Read more: Our pros map the best scrambles in Britain