With the nights getting longer, it’s time to think about extending your adventures and getting into winter mountaineering. Here’s how
By Alex Roddie
You’ve seen the posts on Instagram: ice axe in hand, clad in bright colours, striding over a pristine snowy landscape towards a distant summit. You’ve seen the buzz of excitement on the #scotwinter Twitter hashtag as people report on the ebb and flow of winter conditions. Maybe you’ve even joined one of the winter groups on Facebook and have been ‘liking’ more than your fair share of snowy mountain shots.
Time to admit it: you’ve caught the winter bug.
Most of us start out by venturing into the mountains in summer, but sooner or later the pull of winter mountains becomes impossible to resist. However, actually taking that first step can be daunting: it seems like there’s so much to learn, the risks are greater, and it’s hard to know where to start.
This article won’t teach you everything you need to know, but we’re here to point you in the right direction.
Know what you’re taking on
As an instructor once told me: “There is no such thing as winter hillwalking, only winter mountaineering.” Although this is a bit of a simplification, the premise stands: everything is more serious in winter and takes more effort. The challenges – and rewards – resemble those you might associate with genuine mountaineering, even for hills right here in the UK.
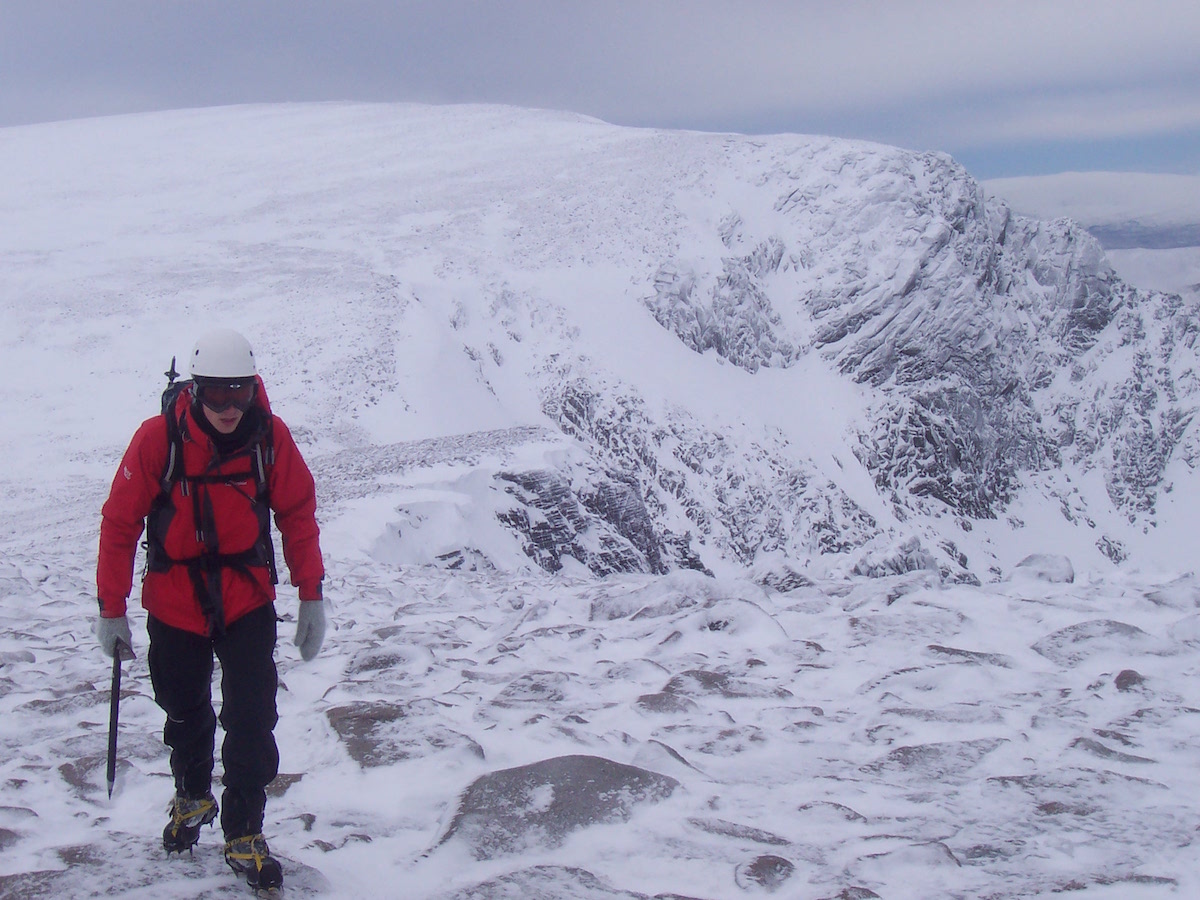
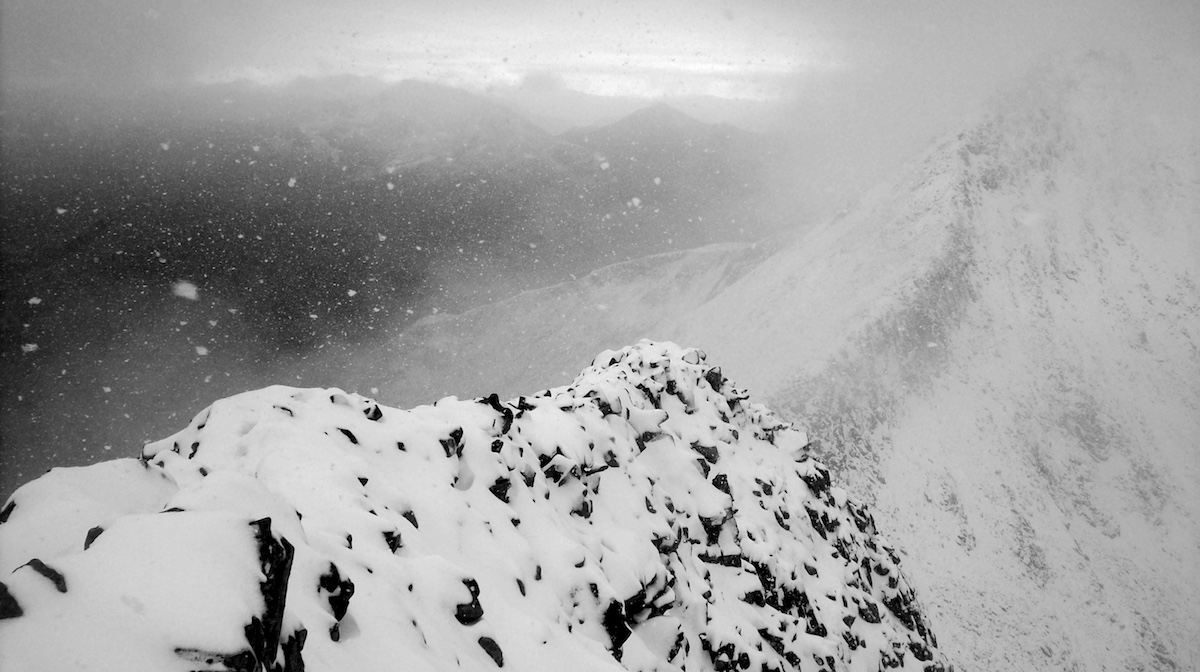
The UK’s winter mountains: tough yes, but also beautiful
The most important thing is not to underestimate the mountain. You might think you know a hill if you’ve been up it a few times in summer, but the same summit in winter is a completely different beast: paths may be buried in snow, weather conditions can be savage, navigation will be more difficult, and there will be additional hazards such as snow cornices, ice, and even avalanche danger.
But don’t let all this put you off. The good news is that ‘mountaineering’ (or whatever you want to call it) is an accessible activity if you take the time to learn the required skills and build up your experience gradually. You don’t need to be a superhuman to participate and there is no exclusive, elite club you have to join.
Get fit
You can’t change the laws of physics – climbing a mountain in winter conditions requires more energy than the same route in summer. It’s cold, which means your body is burning more energy just to keep warm. You’re carrying a greater weight of kit. You might have to do more walking off path, or through deep snow and stronger winds than commonly found in summer. Last but not least, you have far less daylight to play with, making it more important to keep up the pace.
If you regularly go into the mountains you’re likely to already have a better-than-average level of fitness, but if you have winter ambitions it’s a good idea to make even more of an effort. Add on a few extra miles, walk faster, or start cycling to work. It’ll all pay dividends when it really counts.
Learn winter skills
In addition to existing skills that might need updating or sharpening for the winter season, winter requires extra skills that you’ll never have needed before.
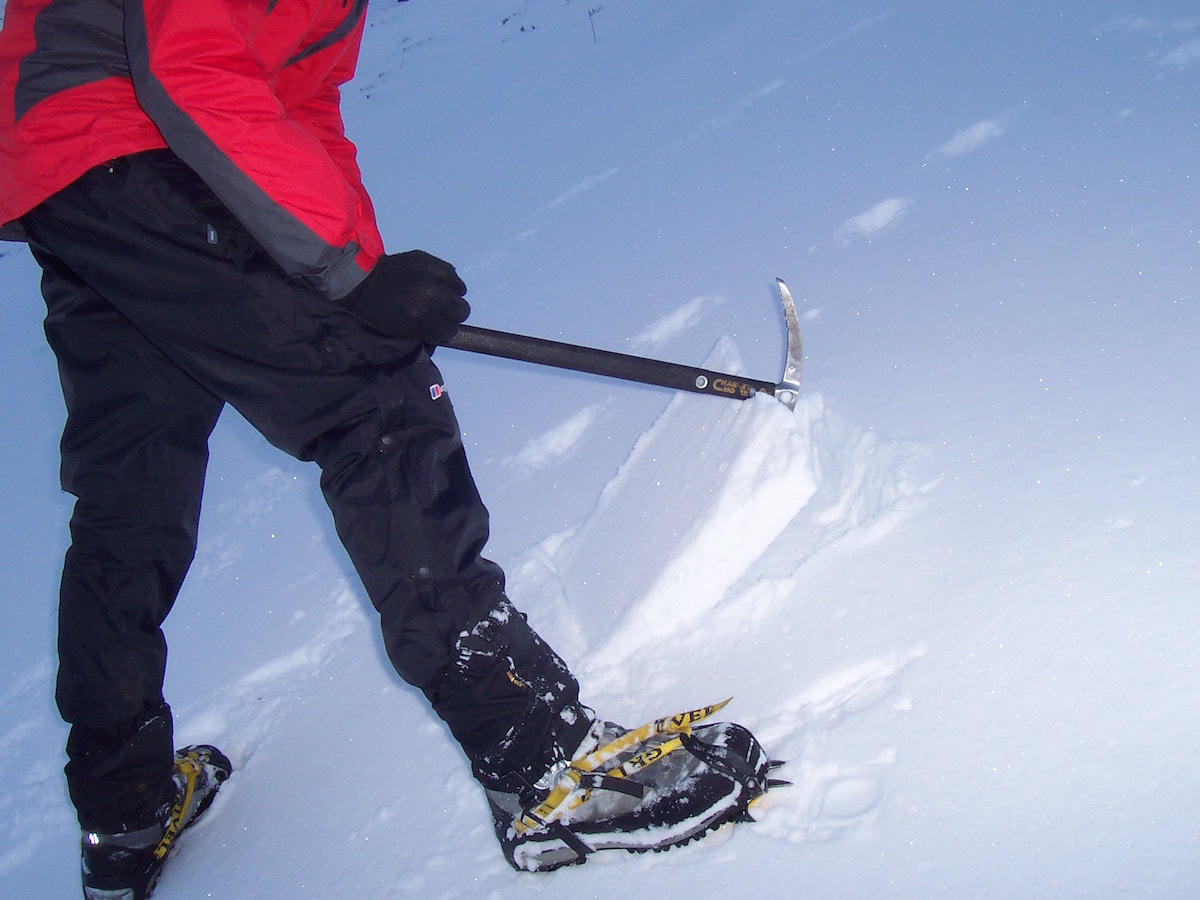
You need to learn how to move safely on steep snow. Most walking terrain lies at an angle of less than 30˚, which is still pretty steep – and can be a death trap if you don’t know what you’re doing. While trekking poles are useful on flatter ground, on any terrain where a slip could occur, you need to put the poles away and carry an ice axe – and know how to use it.
An ice axe is used for keeping balance, cutting steps in hard snow and ice, creating an anchor point in the slope, and stopping a fall – or self-arresting – should the worst occur.
Although kicking steps with your boots is often used in certain conditions, you should also carry (and be proficient in using) crampons fitted correctly to your boots. These metal spikes are used to provide grip on hard snow and frozen surfaces.
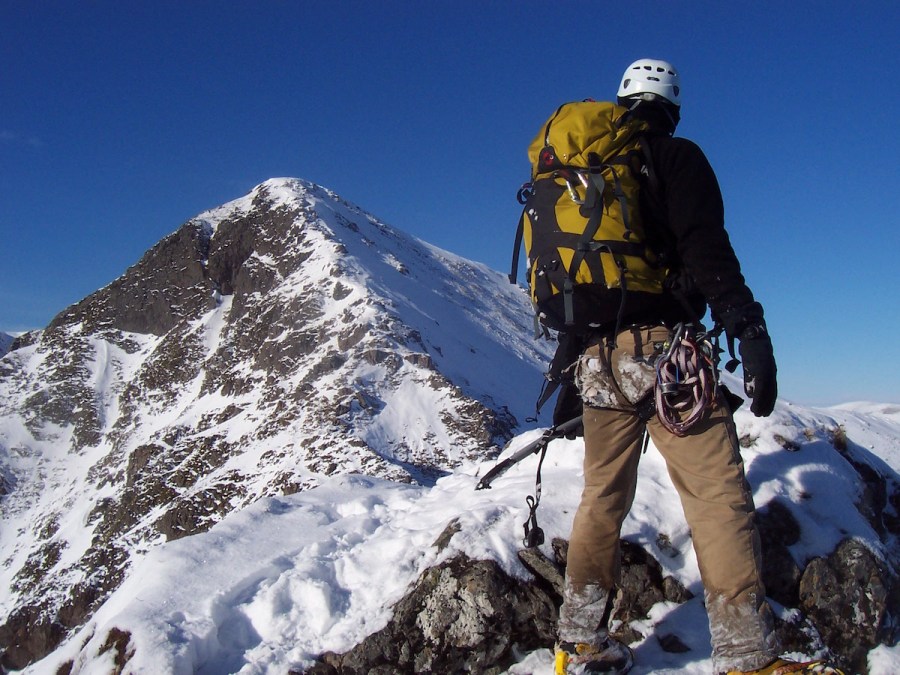
Safe use of ice axe and crampons is a fundamental winter skill
The best way to learn how to safely use ice axe and crampons is through tuition (from an experienced friend, instructor, or winter skills course) combined with practice and experience. Although articles, books and instructional videos can be useful, there are no safe shortcuts here. Your safety depends on these skills so don’t skimp on acquiring them!
In the UK, winter skills courses are offered by Glenmore Lodge, Plas y Brenin, and many independent instructors.
Get the kit
Most of your summer gear can also be used in winter, but there are some important exceptions.
- Winter boots. While ordinary walking boots can be used on easier routes, if steeper slopes are to be encountered you’ll find it useful to have stiffer footwear with a good edge, suitable for kicking steps. You don’t need fully stiffened B3 winter climbing boots for general mountaineering. A waterproof lining is more important in winter than in summer.
- As mentioned above, ice axe and crampons. It’s a good idea to hire some for your first couple of outings so you can get a feel of what works for you. Select an ice axe with a comfortable shaft length (55-65cm is usually best for walking) and crampons that fit your boots. Don’t buy this kit online; go to a reputable shop and take advantage of their expertise. Beware of dangerous fake crampons available on auction sites such as eBay.
- Bigger pack. You’ll be carrying more gear, so look for something with roughly 45 litres in capacity.
- Insulated jacket. Down or synthetic both work well although down is warmer for the weight and synthetic tends to be cheaper. Essential for rest stops.
- Fleece. Fleece may not be trendy these days, but it’s still the most practical midlayer option for walking in cold conditions. Multiple thin layers are more versatile than one thick layer.
- Waterproofs. Just as important in winter as in summer – if not more so. Any good waterproofs can be used, but you’ll find features such as full-length zips (trousers), thicker fabric, and hood with stiffened peak (jackets) more useful in winter.
- Emergency shelter. If going solo, a bivy bag or simple poly survival bag can provide an essential safety margin. If in a group, consider a multi-person ‘bothy’ bag.
- Other bits and bobs. Multiple pairs of gloves, ski goggles for coping with windblown snow, balaclava and woolly hat, extra drybags, spare warm layers, flask for liquids.
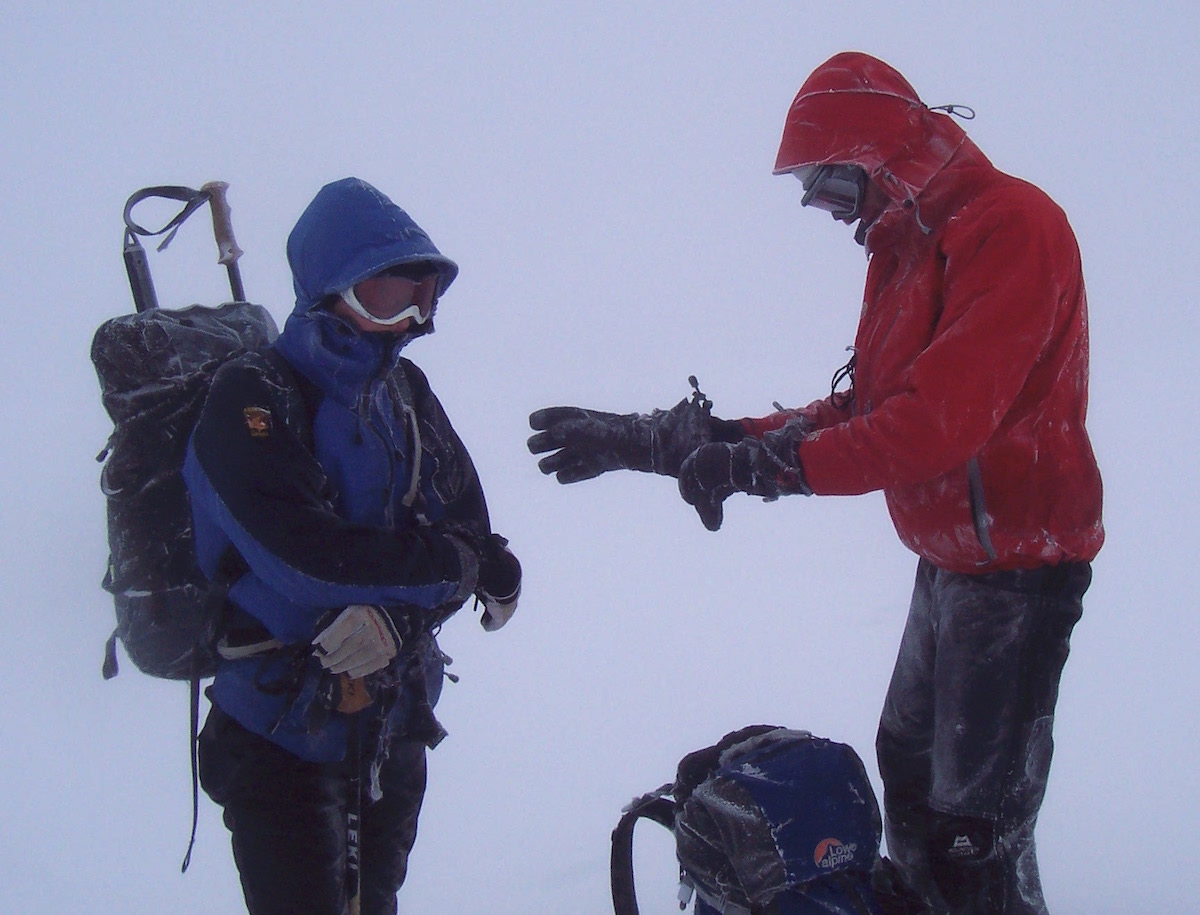
In winter, the small things such as quality gloves and goggles can be as important as the big things
As always, consult out gear reviews both in print and online to help inform your purchases.
Brush up on your navigation
No way around this one: navigation is more difficult in winter! With paths and topographical features often buried under snow, fewer daylight hours, and a higher chance of bad (or even zero) visibility, your navigation will have to be up to scratch. If your map-and-compass skills are rusty, consider getting some tuition – or just head out and practise with a knowledgeable buddy. Get comfortable with skills such as aiming off, handrailing, counting paces, and timing.
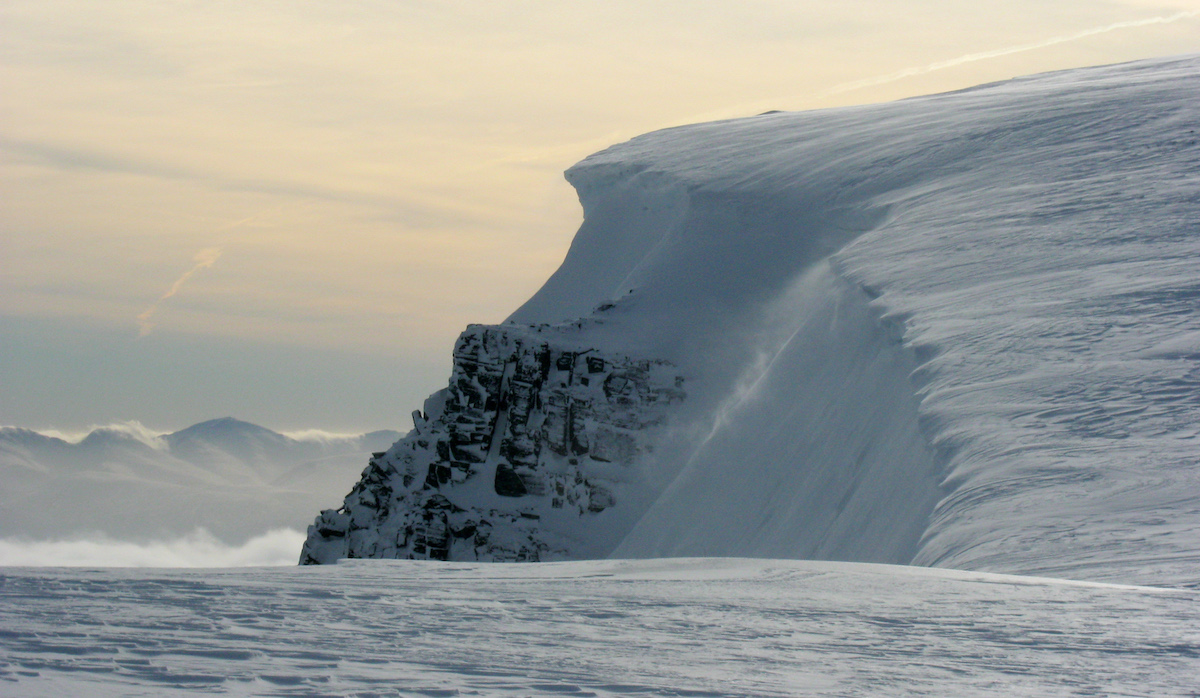
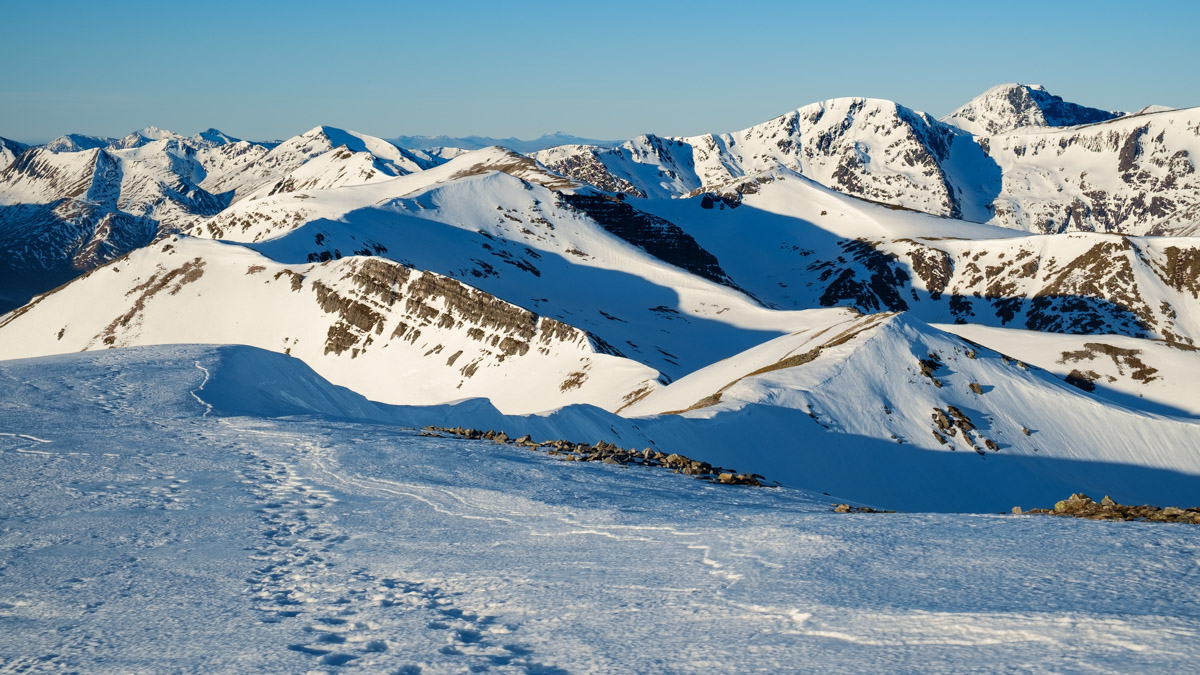
Cornices can be massive
It isn’t cheating to use a GPS and this is especially true in winter, when efficiency is important. However, it’s no substitute for having the core skills.
An important tip for winter navigation: don’t try to follow ridges too closely. Ridges often hide a ‘cornice’ (or overhanging lip of snow) on their leeward side, which can be difficult to see. A cornice may or may not support your weight, and it’s easy to think you’re standing on solid ground while in fact suspended only a foot or two over a massive drop. Give potential cornice areas a wide berth.
Get used to heavier loads
All that extra kit will add weight to your pack – potentially several extra kilos. This is where being a bit fitter comes in handy but don’t underestimate how much of a difference this can also make in terms of strained muscles or even increased risk of blisters. It isn’t a bad idea to get used to a heavier pack before heading out for your first winter trip.
Get avalanche savvy
It might surprise you to learn that avalanches can and do strike in the British hills – and people get caught out in them every year.
Unlike the massive powder avalanches of other mountain ranges, a British avalanche is usually no more than a small slide – but that’s still enough to knock you off your feet and send you hurtling downhill.
An example of windslab, a common cause of UK avalanches
Get familiar with the Scottish Avalanche Information Service forecasts, which divide the Scottish Highlands into six zones and issue daily forecasts during the winter season. The SAIS offer a free guide to help you interpret these reports, but they’re easy to get the hang of: ‘Very High’ and ‘High’ risks are bad, while ‘Low’ is good, but there are nuances, different hazard levels on different slopes, and it’s important to remember that avalanches can still happen even on a ‘Low’ forecast. Also, the forecasts are based on limited observations; the true picture on the ground will be more complex and change from slope to slope.
That’s why personal knowledge of avalanche awareness is vital too. It’s too broad a subject to go into detail here, but this is another area where expert tuition – backed up by experience – could save your life. Again, there are no real shortcuts! To give you a basic grounding, check out our free articles on avalanche awareness:
- Avalanche awareness – do you know the three important stages when approaching avalanche safety?
- Avalanches: how to avoid them and how to survive them
Watch the weather
While important at all times of year, knowing the weather forecast is doubly important in winter when major snowfall could leave you stranded in a remote bothy – or worse. A rule of thumb often used by instructors is to let fresh snowfall consolidate for a couple of days before taking on a big route. Deep, fresh snow is hard to walk through and can lead to increased avalanche risk. Generally speaking snow consolidates (i.e. settles and hardens) more quickly later in the season, from February onwards, but both good and bad conditions can be found at any time of year.
Severe weather is more common in winter…
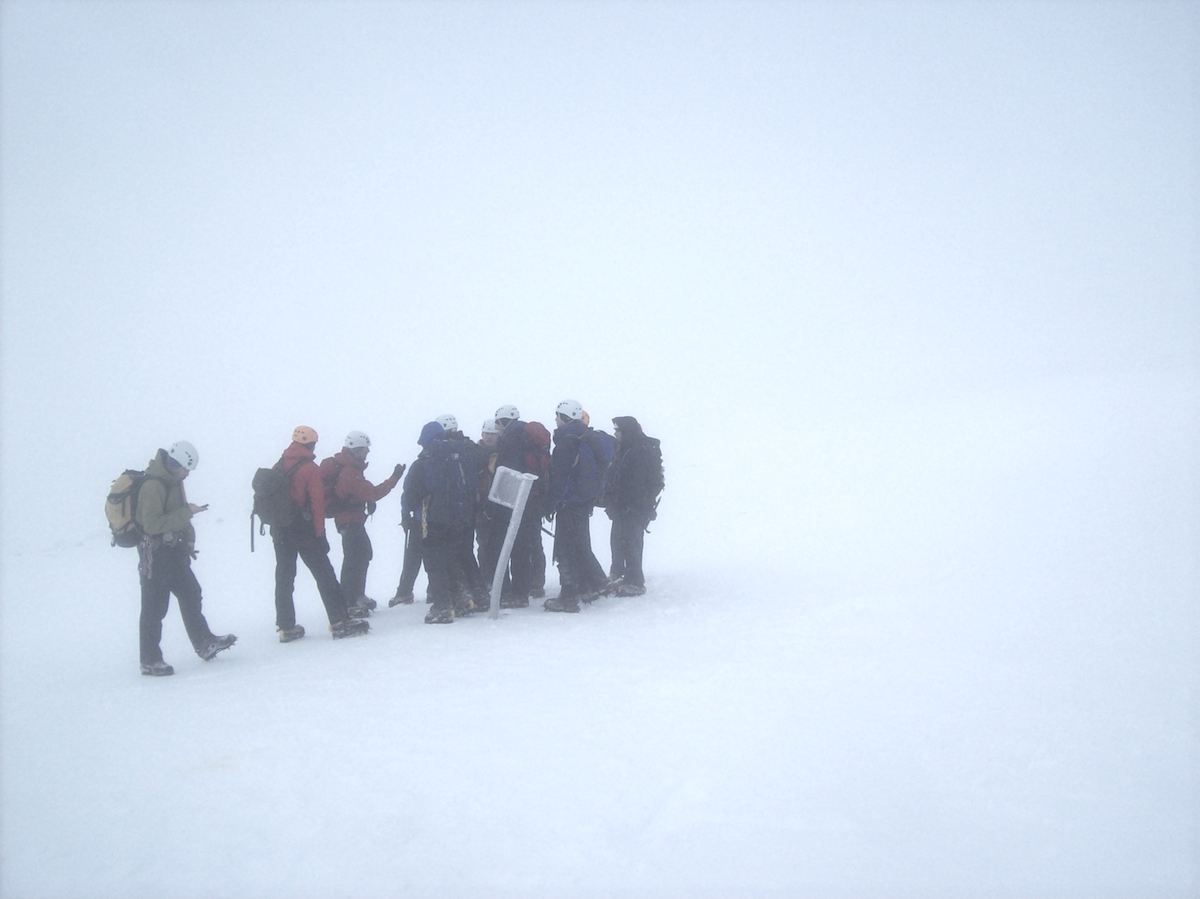
…as are disorienting white-out conditions that require efficient navigation skills
Always check the Mountain Weather Information Service (MWIS) before going on the hill in winter.
Get used to night walking
A winter day is short, and often requires starting before dawn or finishing after sunset to complete your route. That means walking in the dark.
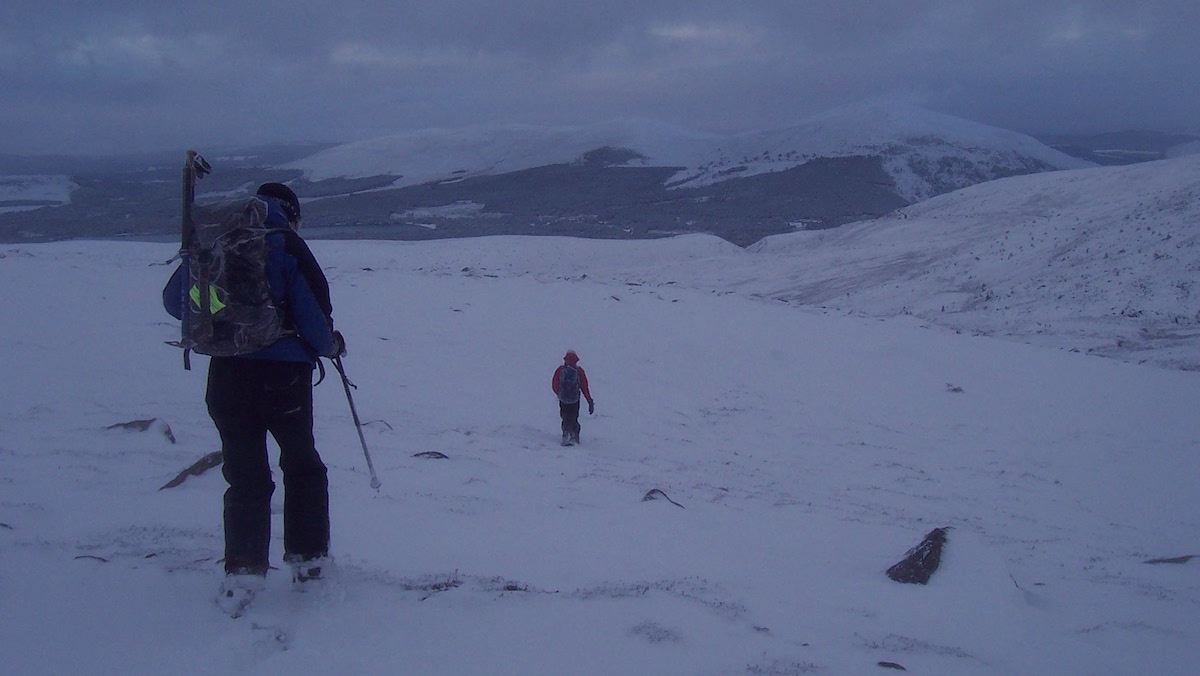
Coming off the hill as darkness falls is common in winter
Walking in the dark requires two things: precise navigation and a decent headtorch. It’s a good idea to go out and practise night walking on a familiar route before throwing yourself in at the sharp end. Think about the terrain you’ll be covering in the dark: easy paths or trackless heather? Try to restrict the intricate navigation and difficult ground to daylight hours.
For your first few trips, try to plan shorter routes you can complete in daylight.
Carry enough food and drink
Because you’ll be burning more energy, you’ll need to take more food with you. Just like in summer, eating little but often is usually the best plan to ensure a steady energy supply to your muscles, but carry more of it than you think you’ll need, and eat even if you don’t feel hungry. Look for no-faff food you can eat while wearing gloves, such as malt loaf. Avoid foods that freeze solid such as Mars bars.
Don’t forget liquid intake. You may not feel thirsty, but you still need fluid. Many winter walkers prefer to take a flask of tea, coffee or hot squash with them, but an ordinary water bottle wrapped up in a jumper works too (fill it with hot water at the start of the day to delay freezing). A wide-mouthed bottle such as a Nalgene is easier to top up with snow. Avoid eating snow directly as it can cause stomach aches.
Get inspired and make plans
Winter walking may seem daunting at first, and good conditions can be ephemeral, but when you find yourself high on a ridge with your crampons biting and spindrift glinting in the sunlight, you’ll see why so many people can’t get enough of it. This is the right time of year to start poring over your maps and guidebooks, drawing up lists of objectives to attack later in the season when conditions come together.

This could be you
Keep an eye on our Wild Walks section, published every month in the latest issue of The Great Outdoors. You’ll find loads of mapped routes suitable for walkers of every level of experience and fitness.
To start you off, why not check out Roger Smith’s list of recommended first winter Munros:
All images © Alex Roddie