If you’re out on the hill and the weather closes in, don’t panic – here are some simple mountain navigation steps to keep you walking in the right direction
October 16-22 is the Ordnance Survey National Map Reading Week, an excellent opportunity to brush up on your navigation skills and perhaps even learn something new.
In clear weather, navigating in the British hills can feel effortless, especially if you’re following a straightforward feature such as a ridge or path. But our weather is unpredictable. Even on days when no bad weather is forecast, it’s common for low cloud to obscure the landscape, plunging walkers into a world of swirling mist and uncertain landmarks. In situations like this it’s important to know how to keep going with confidence.
1. Carry the right tools, and know how to use them
The basic tools of the trade are topographic map (in a waterproof map case, laminated, or printed on waterproof paper) and baseplate compass. GPS or suitable smartphone app can be very useful supplemental tools with major benefits in bad weather, but they aren’t essential. Always carry a map and compass when you venture into the hills.
The basics of mountain navigation include orienting your map, taking (and walking on) a bearing, measuring distances and timing. A complete starter’s guide to navigation is beyond the scope of this article, but we regularly publish skills features in our print magazine. Check out our guide to 12 essential navigation skills here. The Ordnance Survey also has a very handy free PDF guide online. Alternatively, go on a course.
Practice makes perfect. Navigation isn’t a skill you learn once and never forget; it requires regular practice to keep sharp.
2. Keep tabs on your position
Even when the weather’s grand and using a compass would be overkill, keep half an eye on the map and tick off a mental checklist of landmarks as you go. This helps you to build up a picture not only of your current location but where you’ve been and where you’re going, and is a crucial element of mountain navigation.
If visibility deteriorates, you’ll find it much easier if you already have a good rough idea of your position.
3. Be aware of nearby hazards
Hazards that might be obvious and easily avoidable when the weather’s clear can present a bigger risk in hill fog, heavy rain or high winds. That mental checklist of landmarks should include places to avoid as well as places you expect to aim for. If the weather deteriorates, give these hazards an even wider berth.
Examples include:
- Steep or rocky ground
- Scree
- Cliff edges
- Watercourses that could rise in heavy rain
- Cornices (in winter or spring)
- Avalanche-prone terrain (in winter or spring)
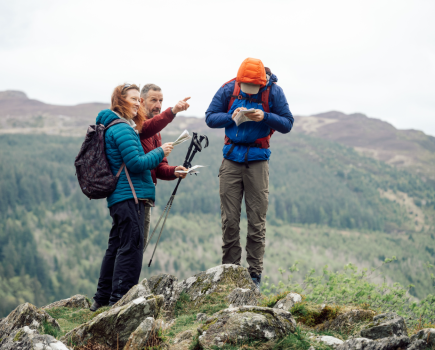
4. Know what to do when the weather changes
If walking with others, get the group together and have a quick chat – compare notes about the route you’ve been taking. Someone else might remember something you missed.
Hopefully you now have a good rough idea of your location and your next landmark along the route, so get out your map and compass, orient the map, and take a bearing to the landmark.
Make sure you keep your group together, and be careful not to lose any stragglers! If walking in a large group, appoint someone to walk at the rear and make sure nobody is left behind.
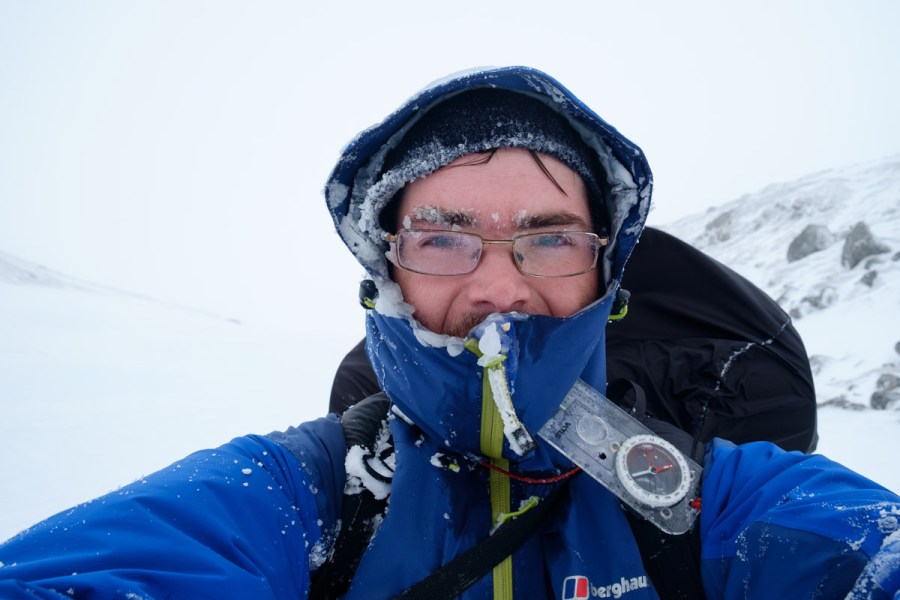
Weather can change rapidly in the mountains
5. Know how to walk on a bearing in poor visibility
There may be no visible intermediate landmarks (such as obvious boulders) to help you stay on a bearing, especially in fog or snow, and in such conditions it can be easy to walk off course. Don’t try to walk while continuously looking at your compass – this is not accurate.
One option is to use your walking partner as a target feature. Both of you must have a compass with the correct bearing set. Agree on arm signals for moving left and right.
The person in front walks ahead, keeping on the bearing to the best of their abilities, while you wait and watch in the rear.
When the person out in front reaches the limit of visibility, check the bearing to your partner and compare it with the bearing you’re trying to follow. They’ll probably be slightly off, so use those arm signals to get them to move left or right until they’re at the correct position.
Now your partner in front stays put while you catch up. Repeat until you find a landscape feature you can use instead.
If walking alone, use a trekking pole or ice axe as a back marker. You’ll need to turn around and take a bearing on your back marker – the bearing should be 180˚ from your target bearing if correct.
6. Trust your compass
In poor visibility, it’s easy to become disoriented. Sometimes you’ll take a bearing and it won’t feel right. Double check, or get someone else in the group to check their own compass. Unless you have specific cause to doubt your compass (such as damage or suspected magnetic rocks nearby) always trust what it says. This is why practice is important – you’ll have more confidence in your abilities if they are well practised.
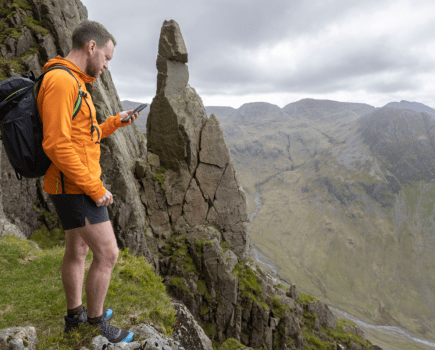
7. Use handrails
Handrailing is the technique of deliberately aiming to one side of a linear feature that passes close by your attack landmark. For example, trying to follow a bearing over several kilometres to a bothy in foul weather can be challenging, but if the bothy is next to a river, aim to one side of the bothy. When you reach the river you’ll know which way to go.
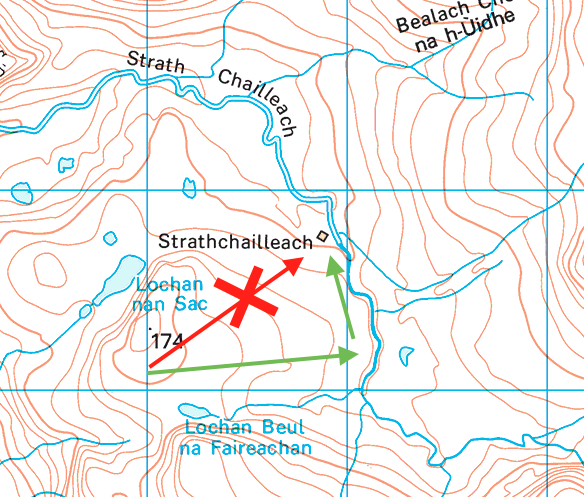
An example of using a handrail
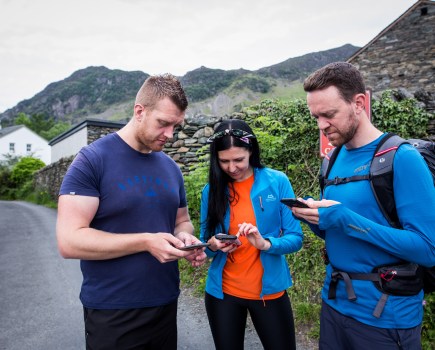
8. Use a GPS
GPS technology has many benefits for the mountain navigator. It really comes into its own if you suddenly find yourself in poor visibility without knowing precisely where you are. The ability to pinpoint your exact position – on a map screen with some models – improves your safety margin and can make navigation significantly easier in challenging conditions.
Check out our guide to using GPS safely by Mountain Safety Adviser Heather Morning.
It’s never a good idea to rely completely on GPS, despite its convenience. Software can crash, signals can be jammed, hardware can fail in the cold. It’s a useful tool in the toolbox but keep using map and compass too. Best practice is to keep map, compass and some form of GPS in your rucksack and be proficient with all three. You could also consider downloading the Ordnance Survey’s free OS Locate app, recommended by Mountain Rescue.
9. Measure distance with pacing
This technique requires a bit of preparation but is one of the most useful skills when faced with poor visibility in the mountains.
First you need to determine your pace count – how many paces it takes for you to walk 100m.
- On a level area of ground (say, a park or football field), use your map to measure 100m.
- Walk at a normal pace and count each double step (for example, steps made by your right foot only).
- Stop at the end of the 100m length and record the number of paces.
- Repeat this several times, making sure you’re counting and pacing at a consistent rate. Take an average; this is your pace count, which usually varies from around 55 to 75 for most people.
On the hill, this can help you to predict how many paces you’ll need to cover any given distance. If calculating distances over 100m, use a tally counter (or an improvised system, such as transferring pebbles from one pocket to another) to count each 100m length.
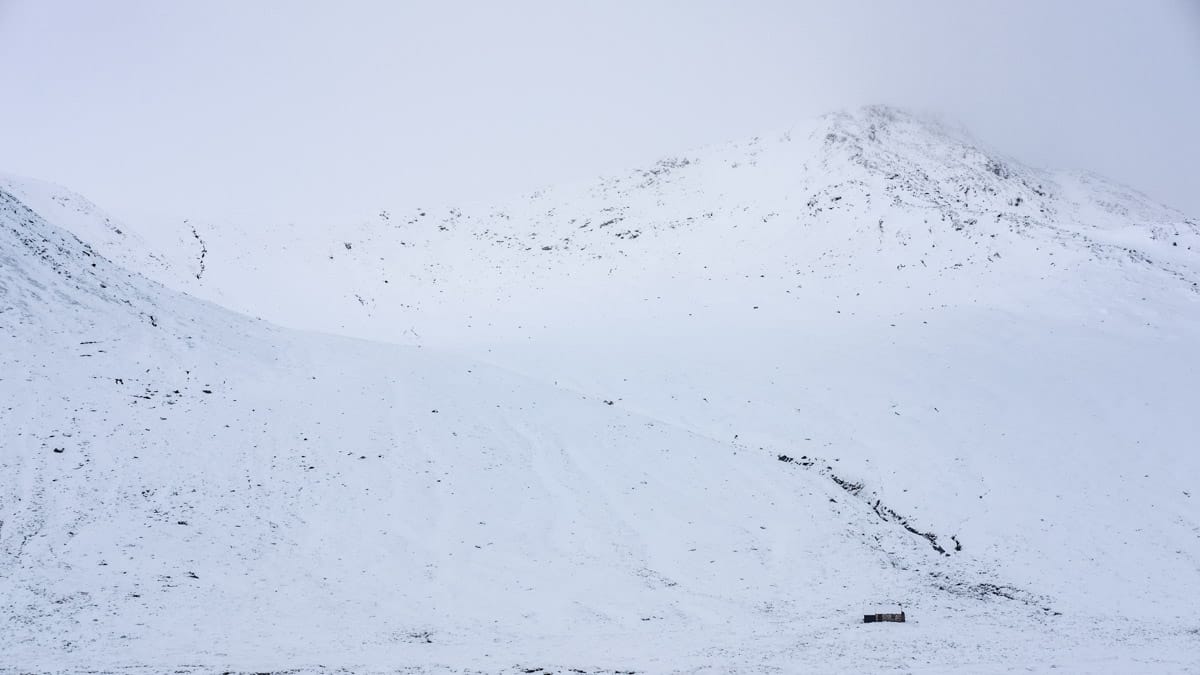
In winter, visibility can be atrocious. In a whiteout you’ll need to be confident in your nav skills
Many factors will affect your pace count, so you’ll need to make adjustments. For example:
- Steep slopes
- Difficult terrain such as scree, mud, heather or snow
- Heavy precipitation or high wind
- Weight carried
- Physical or mental tiredness
With practice, you’ll develop a good feel for how these factors affect your personal pace count.
10. Don’t panic
Finding yourself in an exposed position in bad weather can be alarming, but it’s important to remain calm and examine your situation logically. With experience, you’ll have the confidence to navigate with precision over complex terrain in the worst weather.
All images © Alex Roddie