Chris Townsend explains the basics
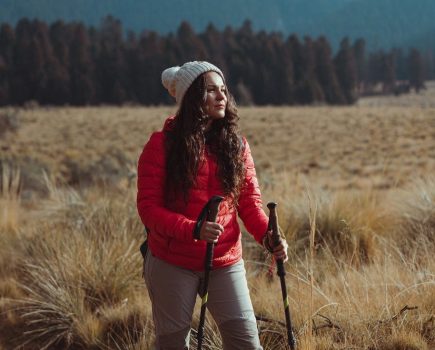
Sleeping out in the snow might sound chilly and unpleasant but with the right skills it can be one of the most enjoyable camping experiences. It’s actually easier to stay dry and warm in freezing, snowy conditions than in rainy cold ones as the air is much drier and gear doesn’t soak up humidity. In snow you can either pitch a tent or build a snow shelter. One tool is essential for the latter and very useful for the former – a snow shovel.
A good snow shovel makes snow camping much easier. I regard one as essential if the snow is more than a thin covering. Shovels need not be heavy. Good ones weigh from 400-700 grams and come from companies like Back Country Access, Black Diamond, Ortovox and G3. Plastic ones are the lightest but don’t cut through ice and hard snow very well. In a group I’d ensure there’s at least one metal shovel.
Tent camping
Pitching a tent on snow requires different techniques to normal pitching. Snow isn’t stable and can both soften and sink and harden and become lumpy.
1. Firstly stamp out a flat platform for the tent, levelling it with a snow shovel. If possible leave it a short while to harden so it makes for a firm base that won’t sag when you get in the tent.
2. If you use standard tent pegs as normal they are likely to pull straight out unless the snow is very hard. instead tie guylines round pegs and bury them horizontally, stamping the snow down on top. Short guys can be attached to pegging points for this. You can also use snow stakes, which are long, wide and curved. These hold better in snow but are still best buried. By morning pegs are likely to have frozen in place. An ice axe or snow shovel can be used to dig them out.
3. Alternatives to tent pegs are ice axes, trekking poles and skis. These can be used to hold down the main guylines and are very strong.
4. Strong winds blowing the snow around can bury the tent. Snow walls
can protect the tent against this and are easy to build if you have a snow shovel. One wall close to the tent is not ideal as snow will build up on the tent side of it. Instead build two walls – a high one some 15 metres from the tent and a lower one half that distance away. Then blown snow should build up between the walls.
5. Heavy snowfall can also bury the tent and could collapse it. Snow can be knocked off the walls from inside but if it starts to pile up round the sides you may need to go outside and shovel it away.
6. In deep snow the edges of the tent can be buried, which prevents wind and spindrift blowing in. If you do this make sure you have ventilation when cooking in the porch.
Snow shelters
If the snow is deep there are a number of different shelters that can be built. Snow shelters are quiet and unaffected by the wind. They can also be roomy and comfortable.
Snow trench
The quickest shelter is a simple trench dug into a bank or, if the snow is deep enough, straight down. Bivvy bags can be used to cover the entrance, held in place by snow round the edges and gear like skis, ice axes or poles across them. Trenches are really for emergencies though as they’re not that comfortable.
Snow holes/caves
These can be dug in deep snow on a steep bank. Dig straight into the bank at first then turn sideways and dig out a cave. Sleeping and cooking platforms can be built with a trench between them for cold air to sink into. It’s best to have the door low down at the end of the trench. It can be blocked with a pack.
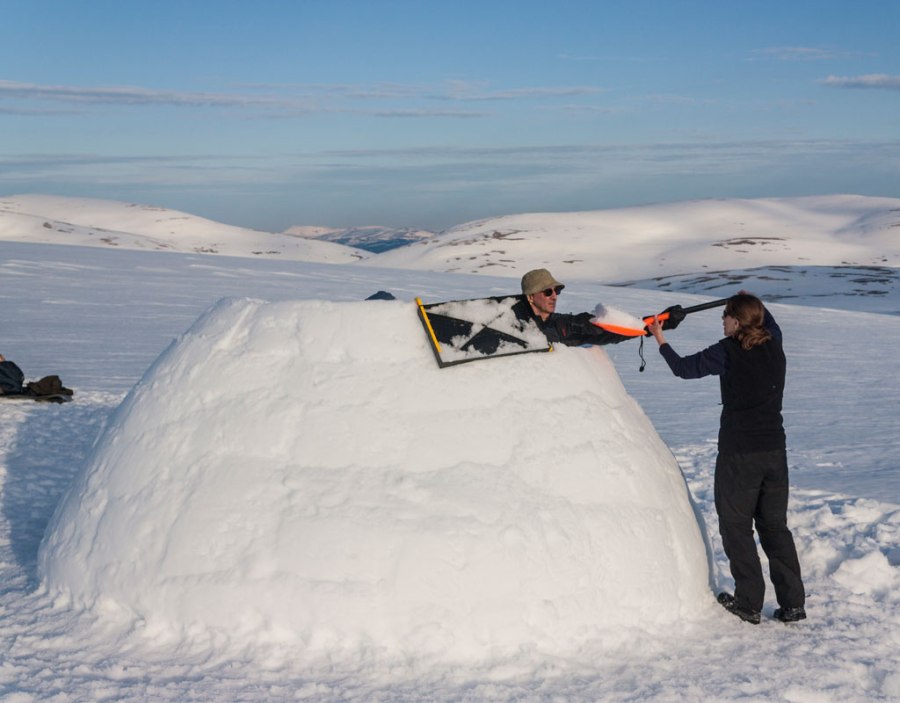
Snow dome
This is a simple form of igloo. To make one heap up a huge mound of snow then leave it to settle before digging out the inside. Trekking poles can be stuck through the walls to give an idea how thick they are.
Igloos
The best snow shelter is an igloo. However building one with just a
shovel is really difficult. There is a tool – the Grand Shelters IceBox – that makes forming blocks and getting the shape right easy. I’ve used the IceBox many times.