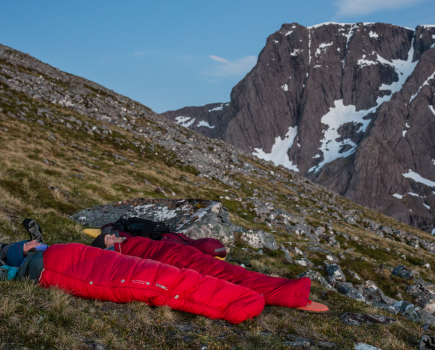
Interested in photographing the night sky while up in the hills? Here’s where you should start.
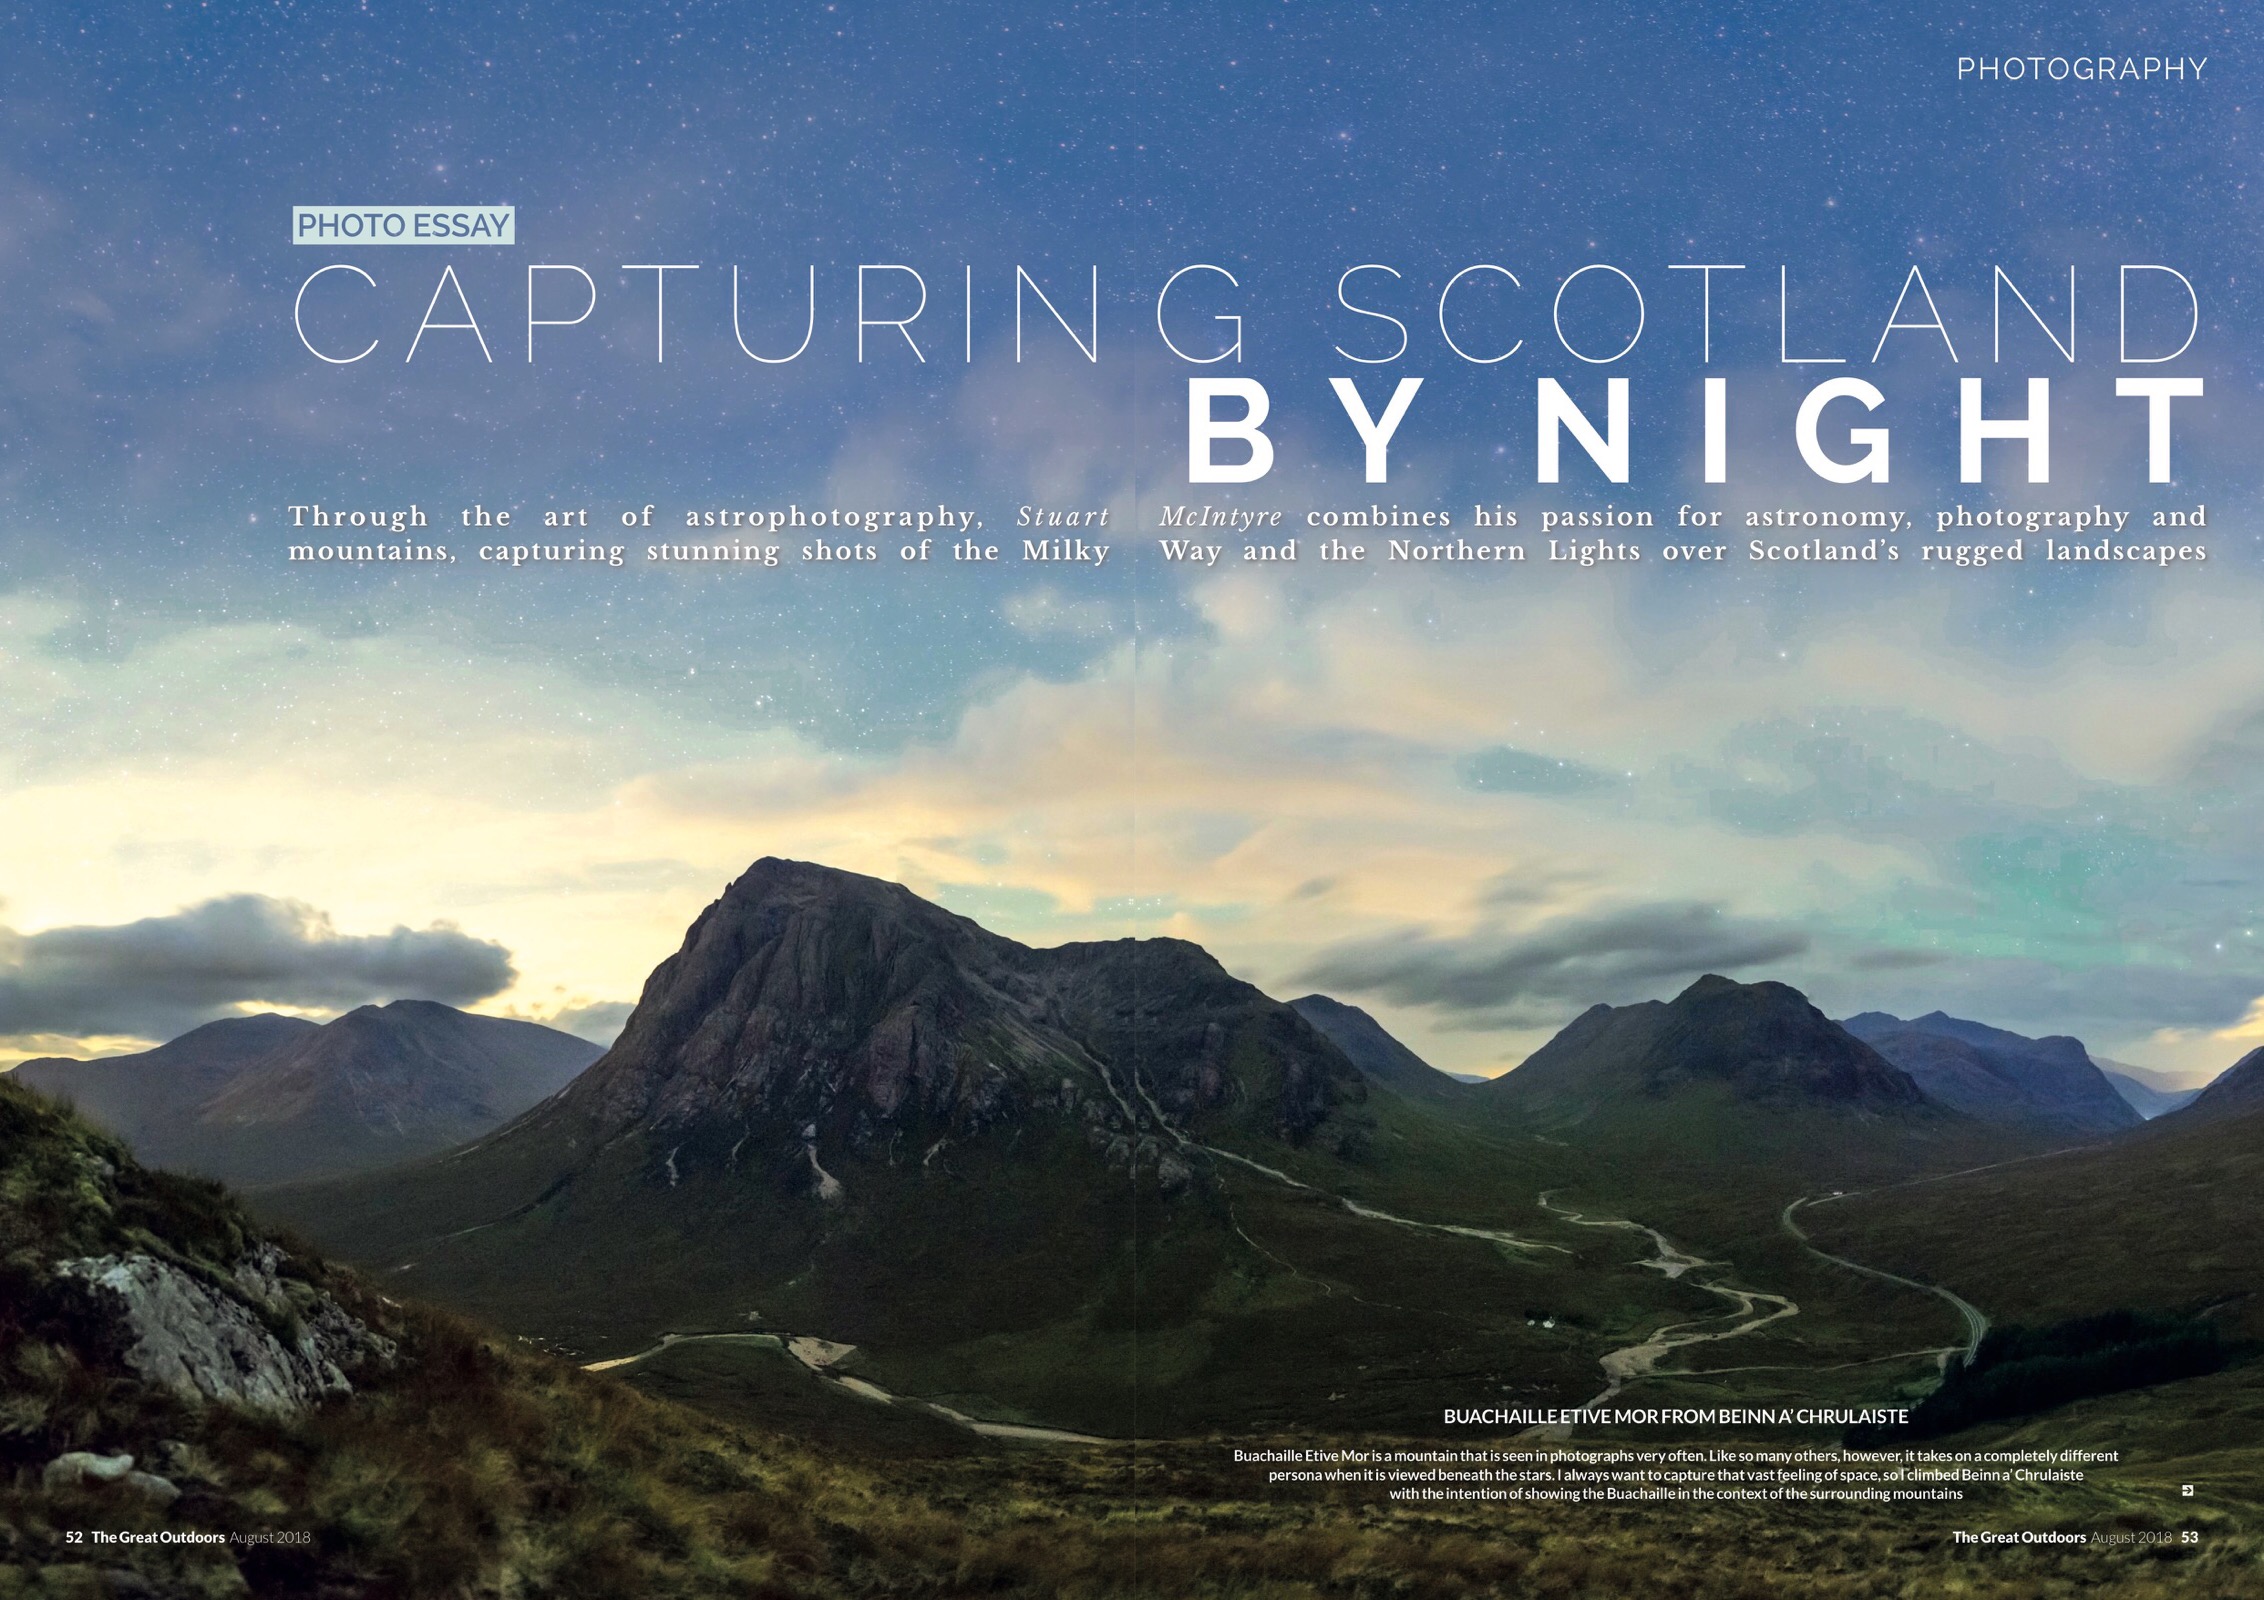
In this month’s issue of The Great Outdoors, we’ve published a superb photo essay by photographer Stuart McIntyre, whose images depict the Scottish mountains after dark. Familiar landscapes such as Glen Coe and Glenfinnan take on an otherworldly glow beneath the night’s sky. It’s a very special genre of photography that can yield uniquely beautiful images.
 In his article, alongside the photos – which of course capture most of the attention – Stuart shares a few tips on how to capture similar vistas yourself. We have a bit more space online than in print, so we thought this was a good opportunity to expand these tips a little and help aspirant astrophotographers get started – alongside a few more of Stuart’s superb photos. Don’t forget to pick up a copy of our August issue for Stuart’s tips on exposure, focusing, and more. You can order single issues online and postage is free.
This article assumes you are not an absolute beginner to photography, and are familiar with concepts such as focal length, ISO, aperture, and shutter speed. Beginners should check out this piece by Dougie Cunningham on choosing the right camera for outdoor photography.
1. Make sure your camera’s up to the job, but don’t assume you need a professional DSLR
Low-light performance at high ISOs is one area where the best cameras have the edge, but that doesn’t mean your camera can’t take an attractive image of the night sky. Many advanced compacts have what it takes to get the job done – although you probably won’t be able to make big prints from the resulting images. Even an entry-level DSLR or mirrorless camera will do the job quite well.
What you’re looking for is sensor size and lens quality. The bigger the sensor, the better it will be for night-sky imaging. The cheapest compact cameras (and smartphones) have the smallest sensors and produce very grainy images at night. They are also often difficult to focus in dark conditions. For photographing the Milky Way, a 1” sensor – such as the one found in the popular Sony RX100 series and certain Canon compacts – should be considered the minimum, but the bigger the better, ideally APS-C or full frame.
Many advanced compact cameras include a ‘star mode’ that takes the manual work out creating an astrophoto. These automated modes can produce great results for casual use and are certainly worth experimenting with. If you want more control, though, read on…
2. Which lens is best?
The wide-angle lens is king when it comes to photographing the night sky. Wider lenses can be used for longer exposures without resulting in star trails, helping you to maximise the amount of light captured and still get pin-sharp stars. A fast lens with a wide maximum aperture is also helpful but, as Stuart points out in his feature, it can help to stop the lens down a little to improve performance at the edges of the frame.
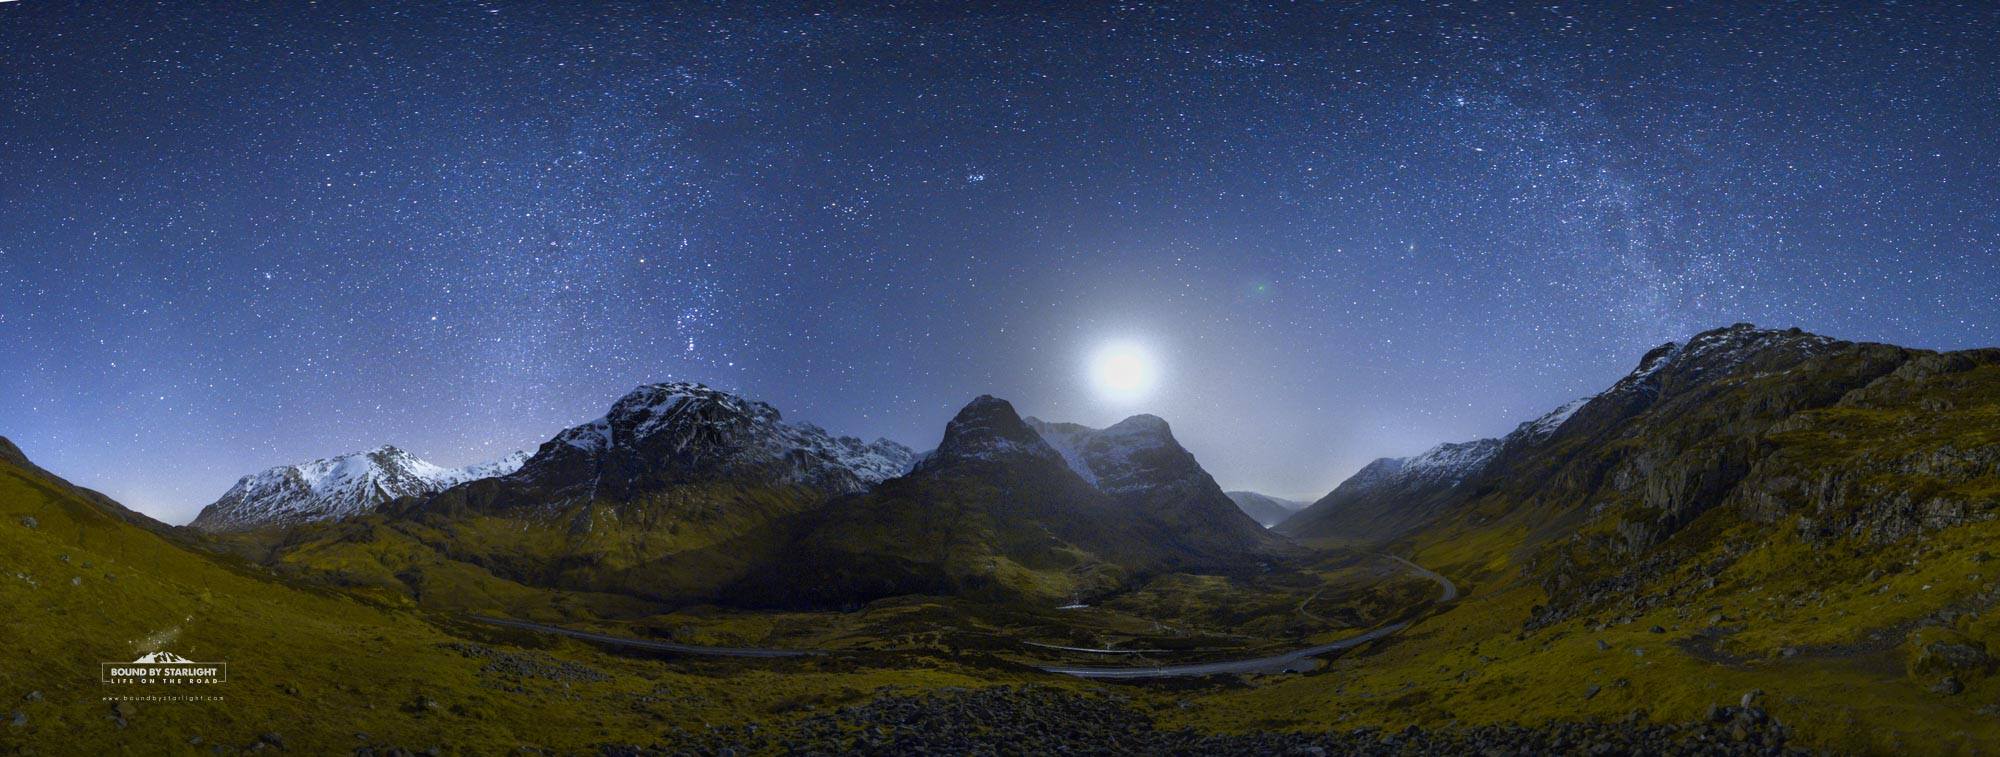
The Three Sisters of Glencoe.
“This photo was a race against time to get. I wanted the milky way arching over them perfectly and I knew the moon was going to be such a strong element that it had to be positioned perfectly between the mountains. I arrived with about 5 minutes to spare so ended up dashing out of the car and just grabbing the bare minimum of camera gear and running up the hill to get into position. Also is it just me or is there an ugly sister? :)”
© Stuart McIntyre
The standard kit lens that came with your interchangeable-lens camera will certainly get the job done. Most kit lenses start at around 28mm (full-frame equivalent) which is wide enough to photograph a good chunk of the night sky with a mountain vista in the foreground too. Cheaper lenses tend to have slower maximum apertures – often f/3.5 – but this is good enough if you adjust ISO and shutter speed accordingly.
What about a telephoto lens? If you want a close-up of the moon, or if you want to isolate a landscape detail, then telephoto lenses still have their place after dark. A tripod becomes all the more essential with a telephoto lens at night, though.
3. Composition is key
Composition is still the most important element of any photo, just as it is during the day. While a wide view of the Milky Way alone has visual impact, if it’s framed by an interesting mountain landscape – perhaps with foreground interest too, although this can be challenging to expose for – then the photo will be even better. Consider your composition and don’t be afraid to take several shots, checking the LCD in between each attempt. You probably won’t be able to see your composition clearly until after you’ve taken a long exposure and studied it in camera.

An average picture of the Milky Way, but not much else going for this image because composition is basic. This photo also demonstrates the challenge of light pollution. © Alex Roddie
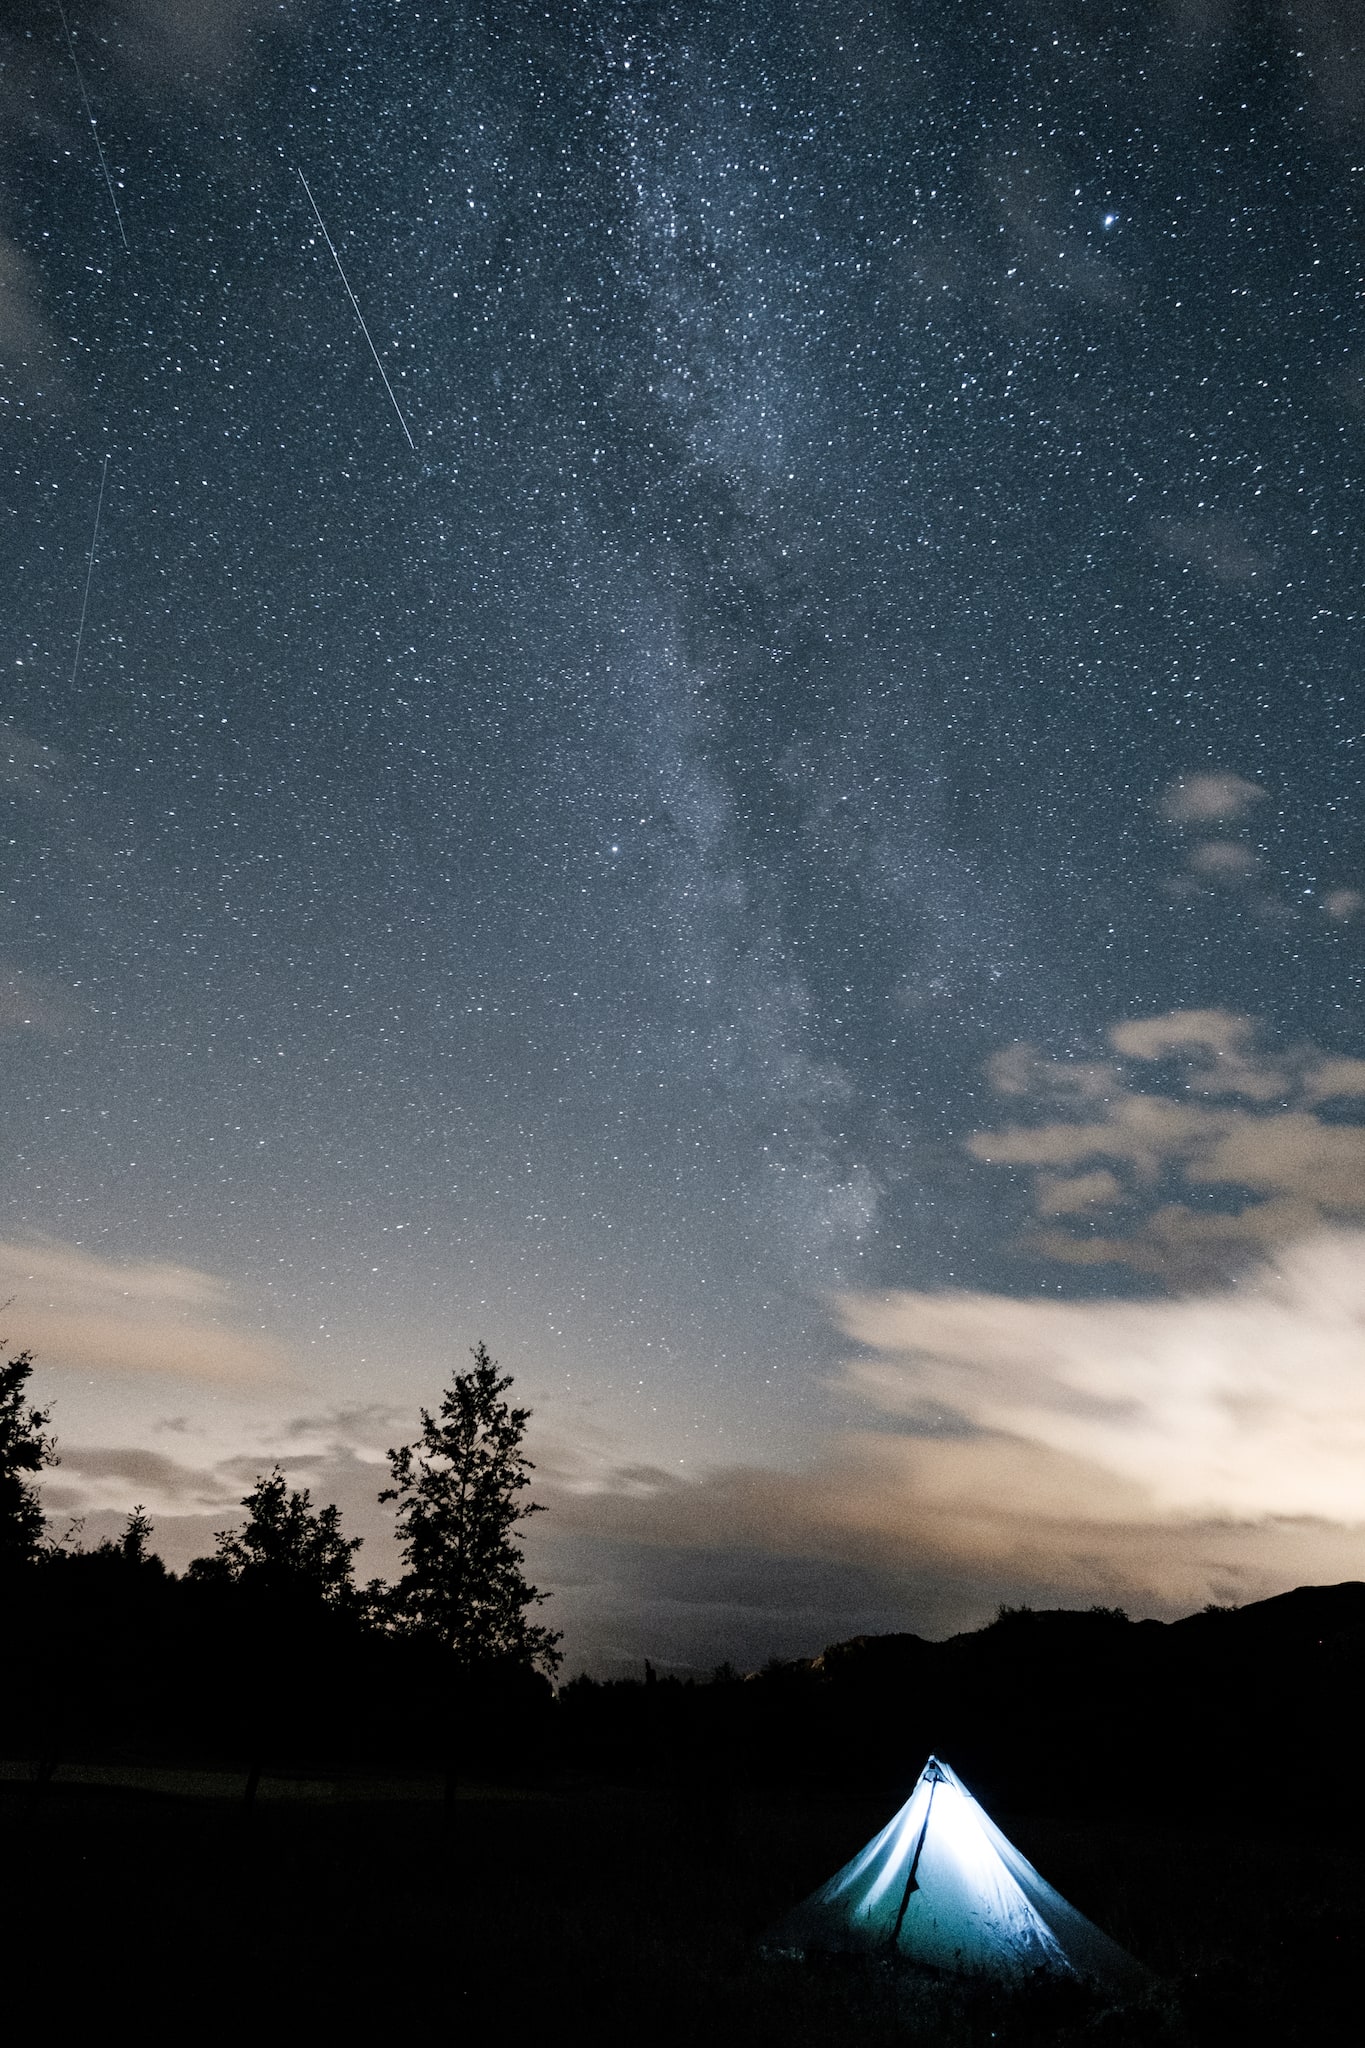
Add in some foreground interest for a better composition. © Alex Roddie
4. Shoot in Manual mode and RAW format
Unless you’re using your camera’s automated star mode, you’ll want to shoot in Manual (M) for full control over settings (Stuart mentions some recommended settings in his feature). Don’t forget to shoot in RAW too – you’ll need the additional flexibility during the editing stage. Even if you don’t usually edit your photos and normally shoot in JPEG, RAW is worth it for astrophotography.
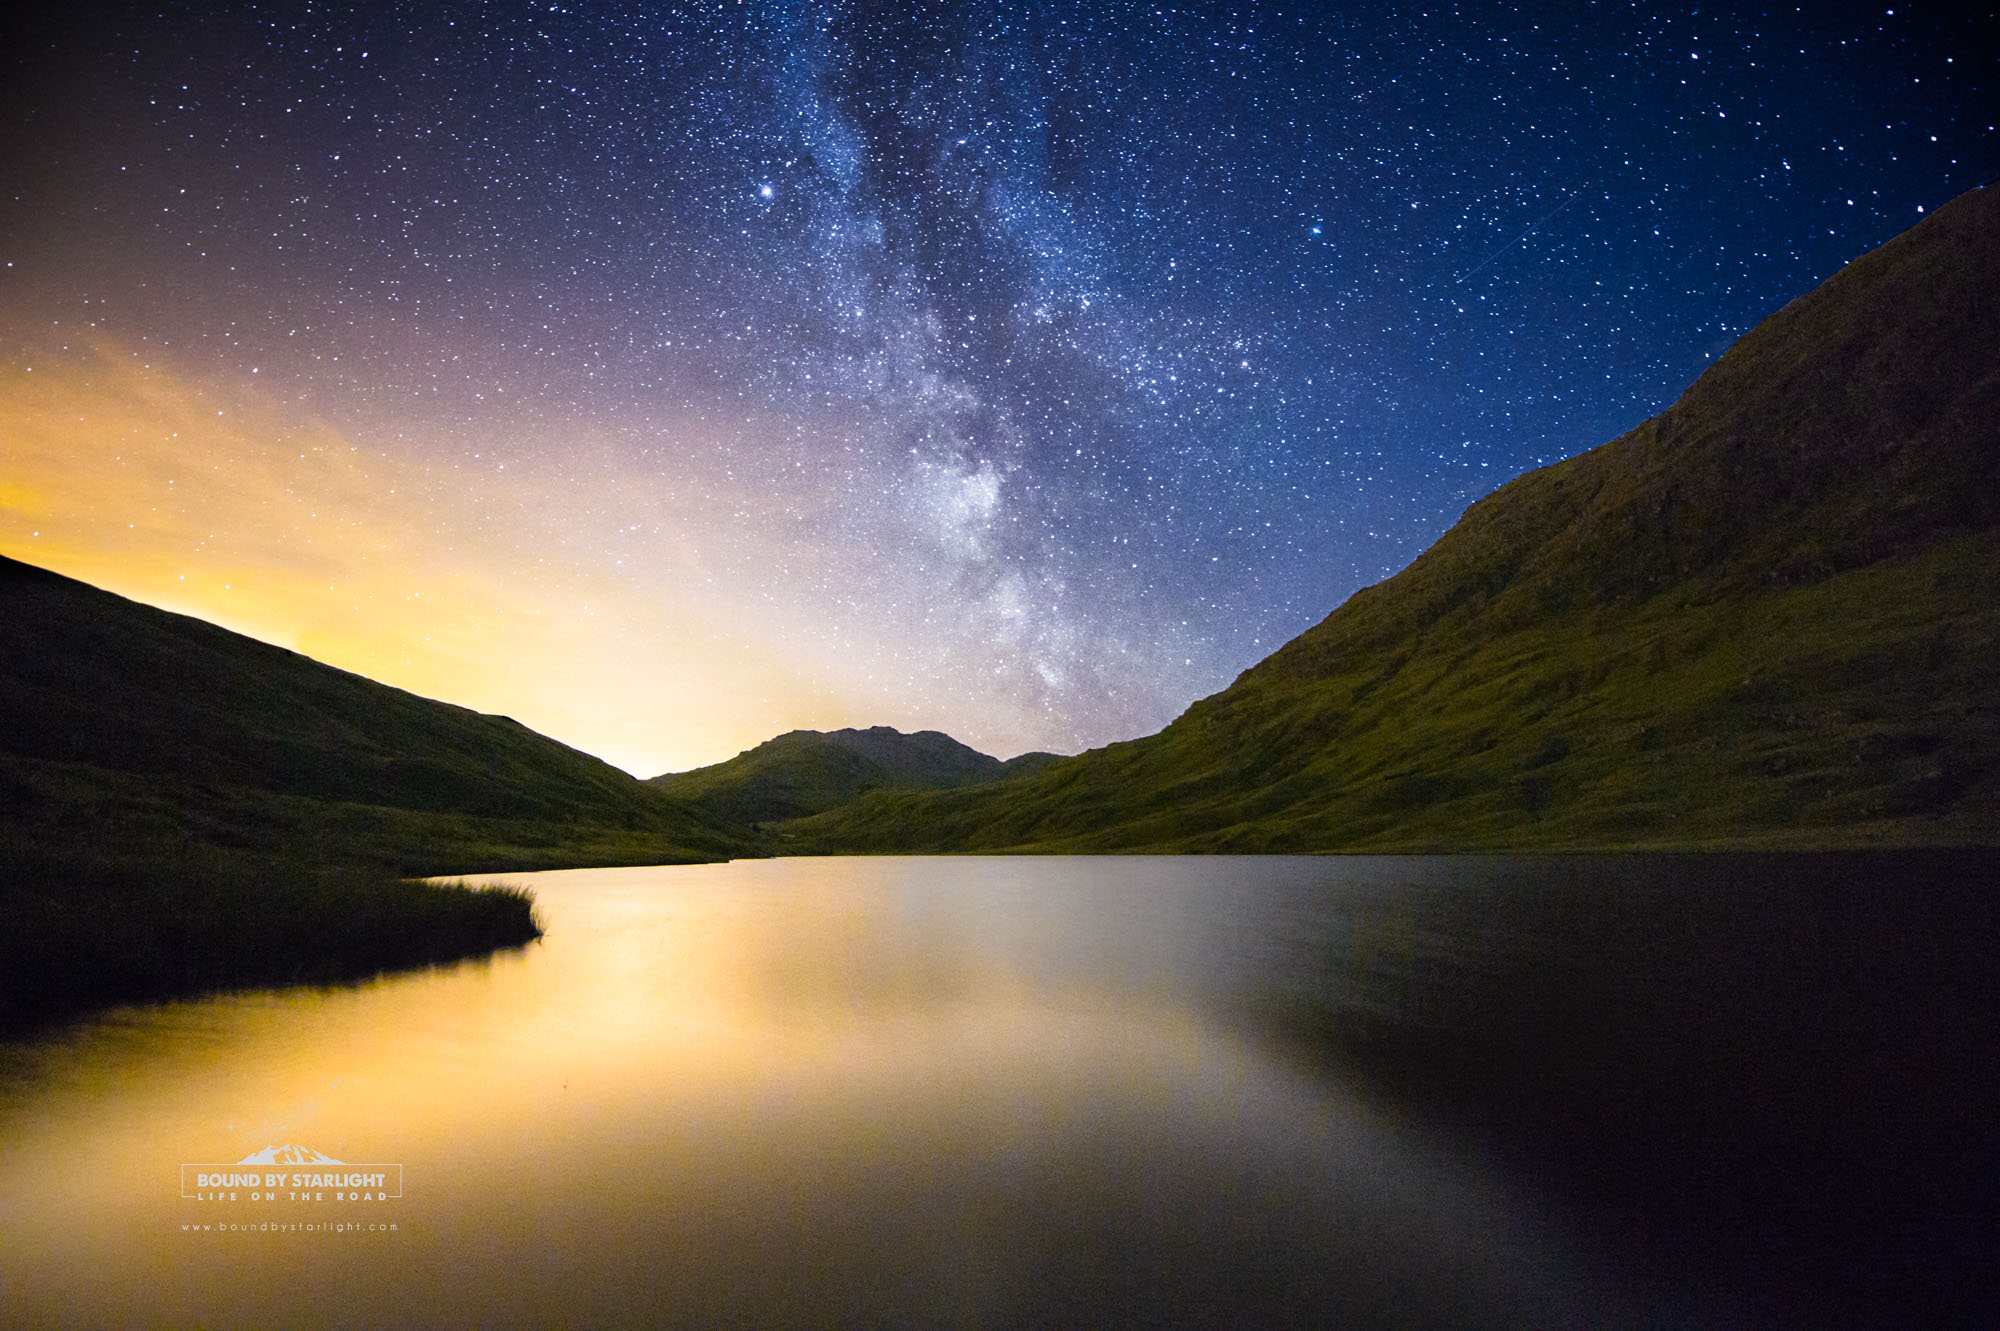
A colourful night-time composition from Stuart’s online photo gallery.
© Stuart McIntyre
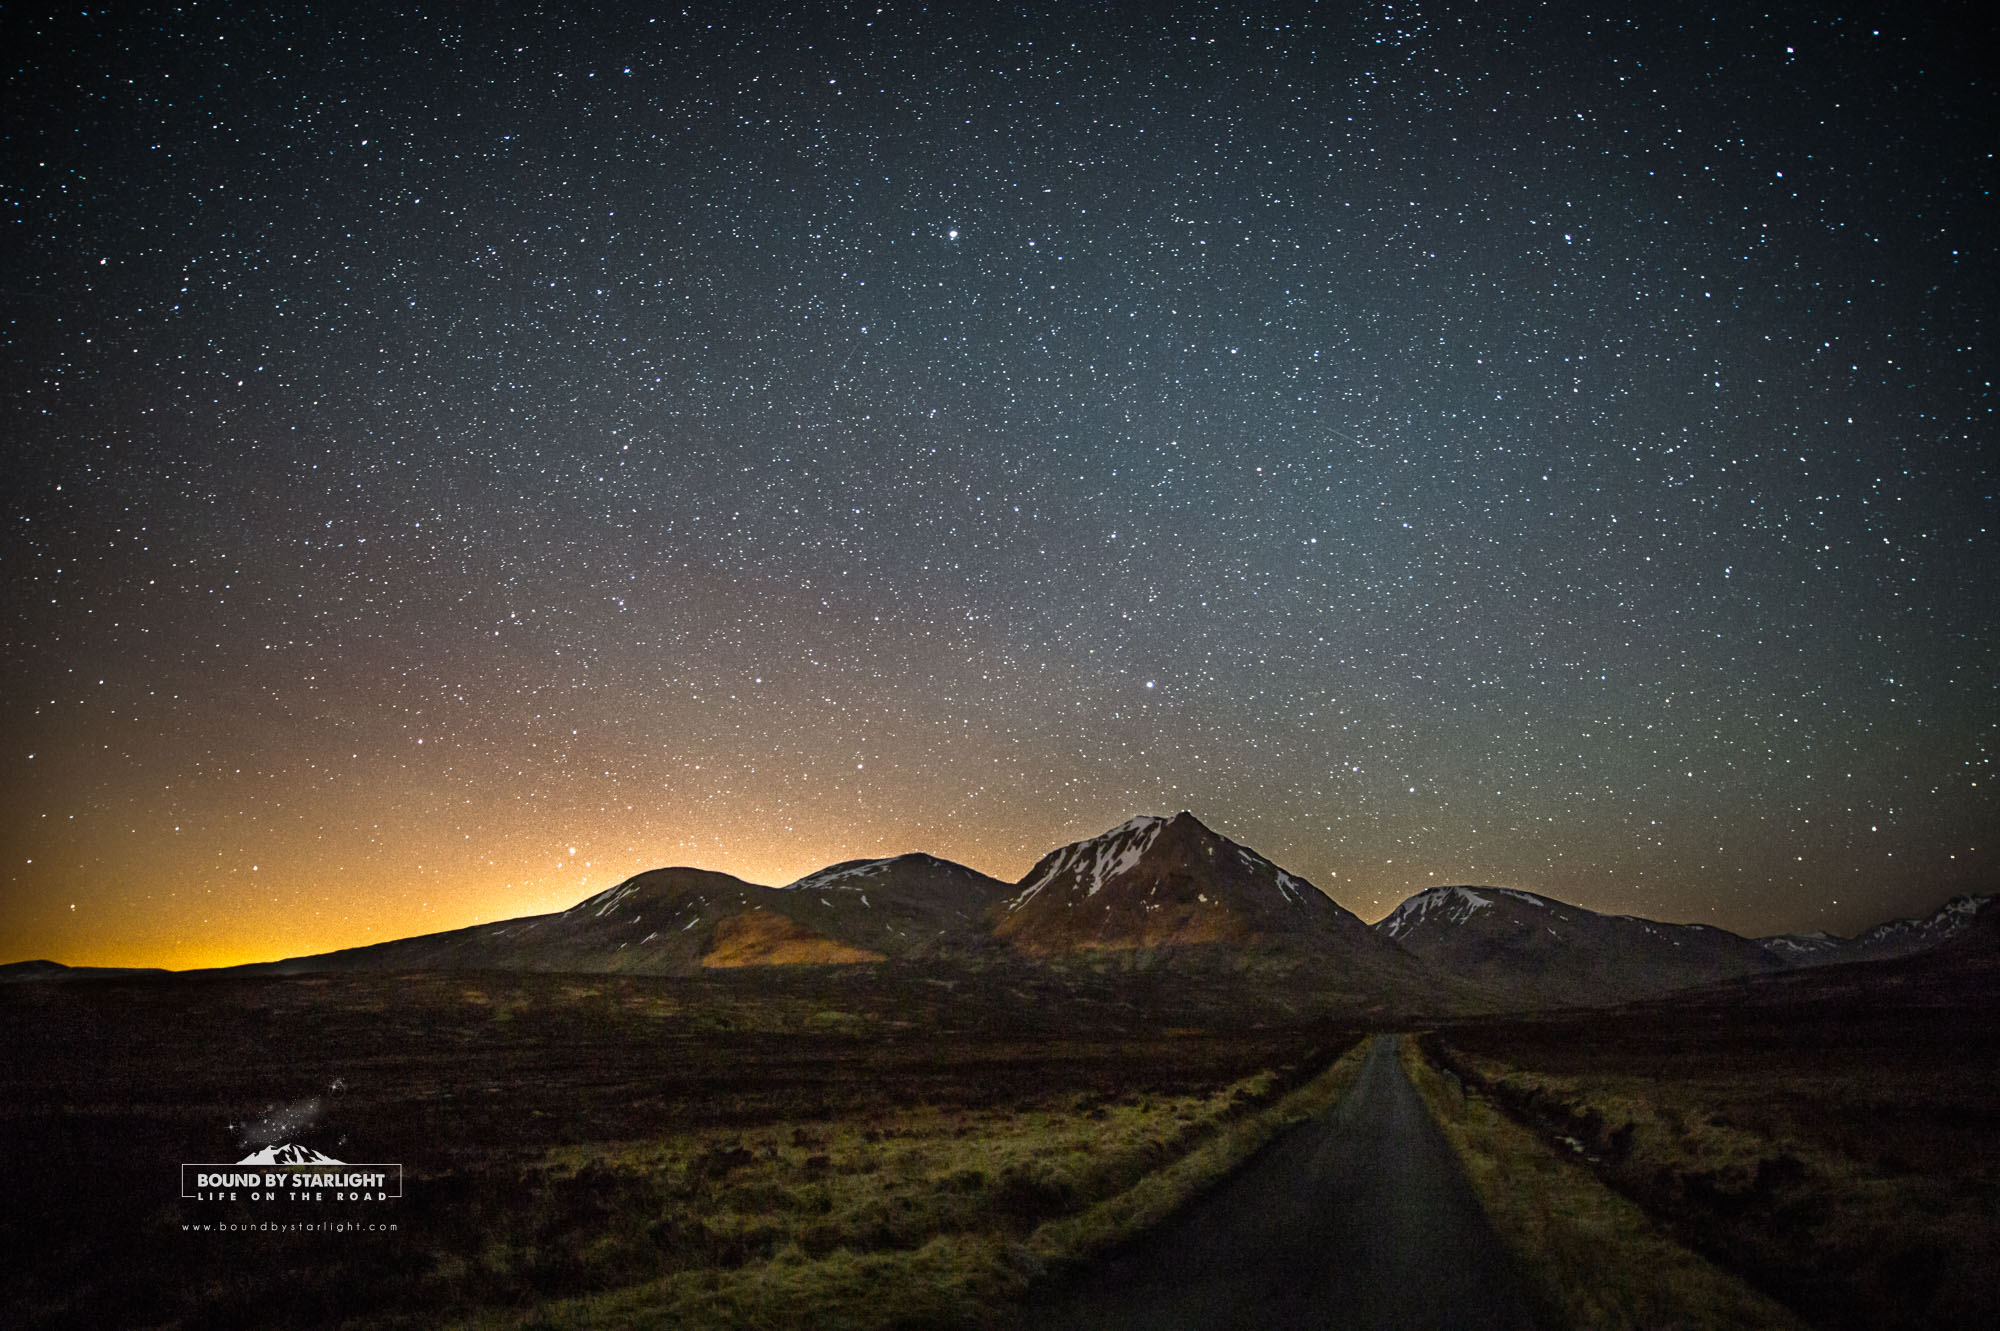
The stars over Rannoch Moor, also from Stuart’s gallery.
© Stuart McIntyre
Check your histogram after making the shot. You are looking for a reasonably bright image; even if it appears brighter than is natural in the camera, it will give you more information to play with during editing.
5. How to edit your astrophotos
After importing your RAW file, adjust exposure so that the image looks natural. You may want to boost contrast and clarity, but don’t go overboard – too much, especially of the latter, can make a photo look fake and over-processed.
Your camera’s auto white balance will rarely create a good result. In an ideal world the ‘Daylight’ white balance preset would be best, but light pollution will intrude in most starscapes, and light pollution is very orange. For a more balanced colour palette, we need to use a cooler white balance. Try roughly 3,500-4,000K
6. And finally…
If you’re shooting the aurora, remove UV filter or polarising filter from your lens first. Filters can result in distracting concentric artefacts in the centre of your image.
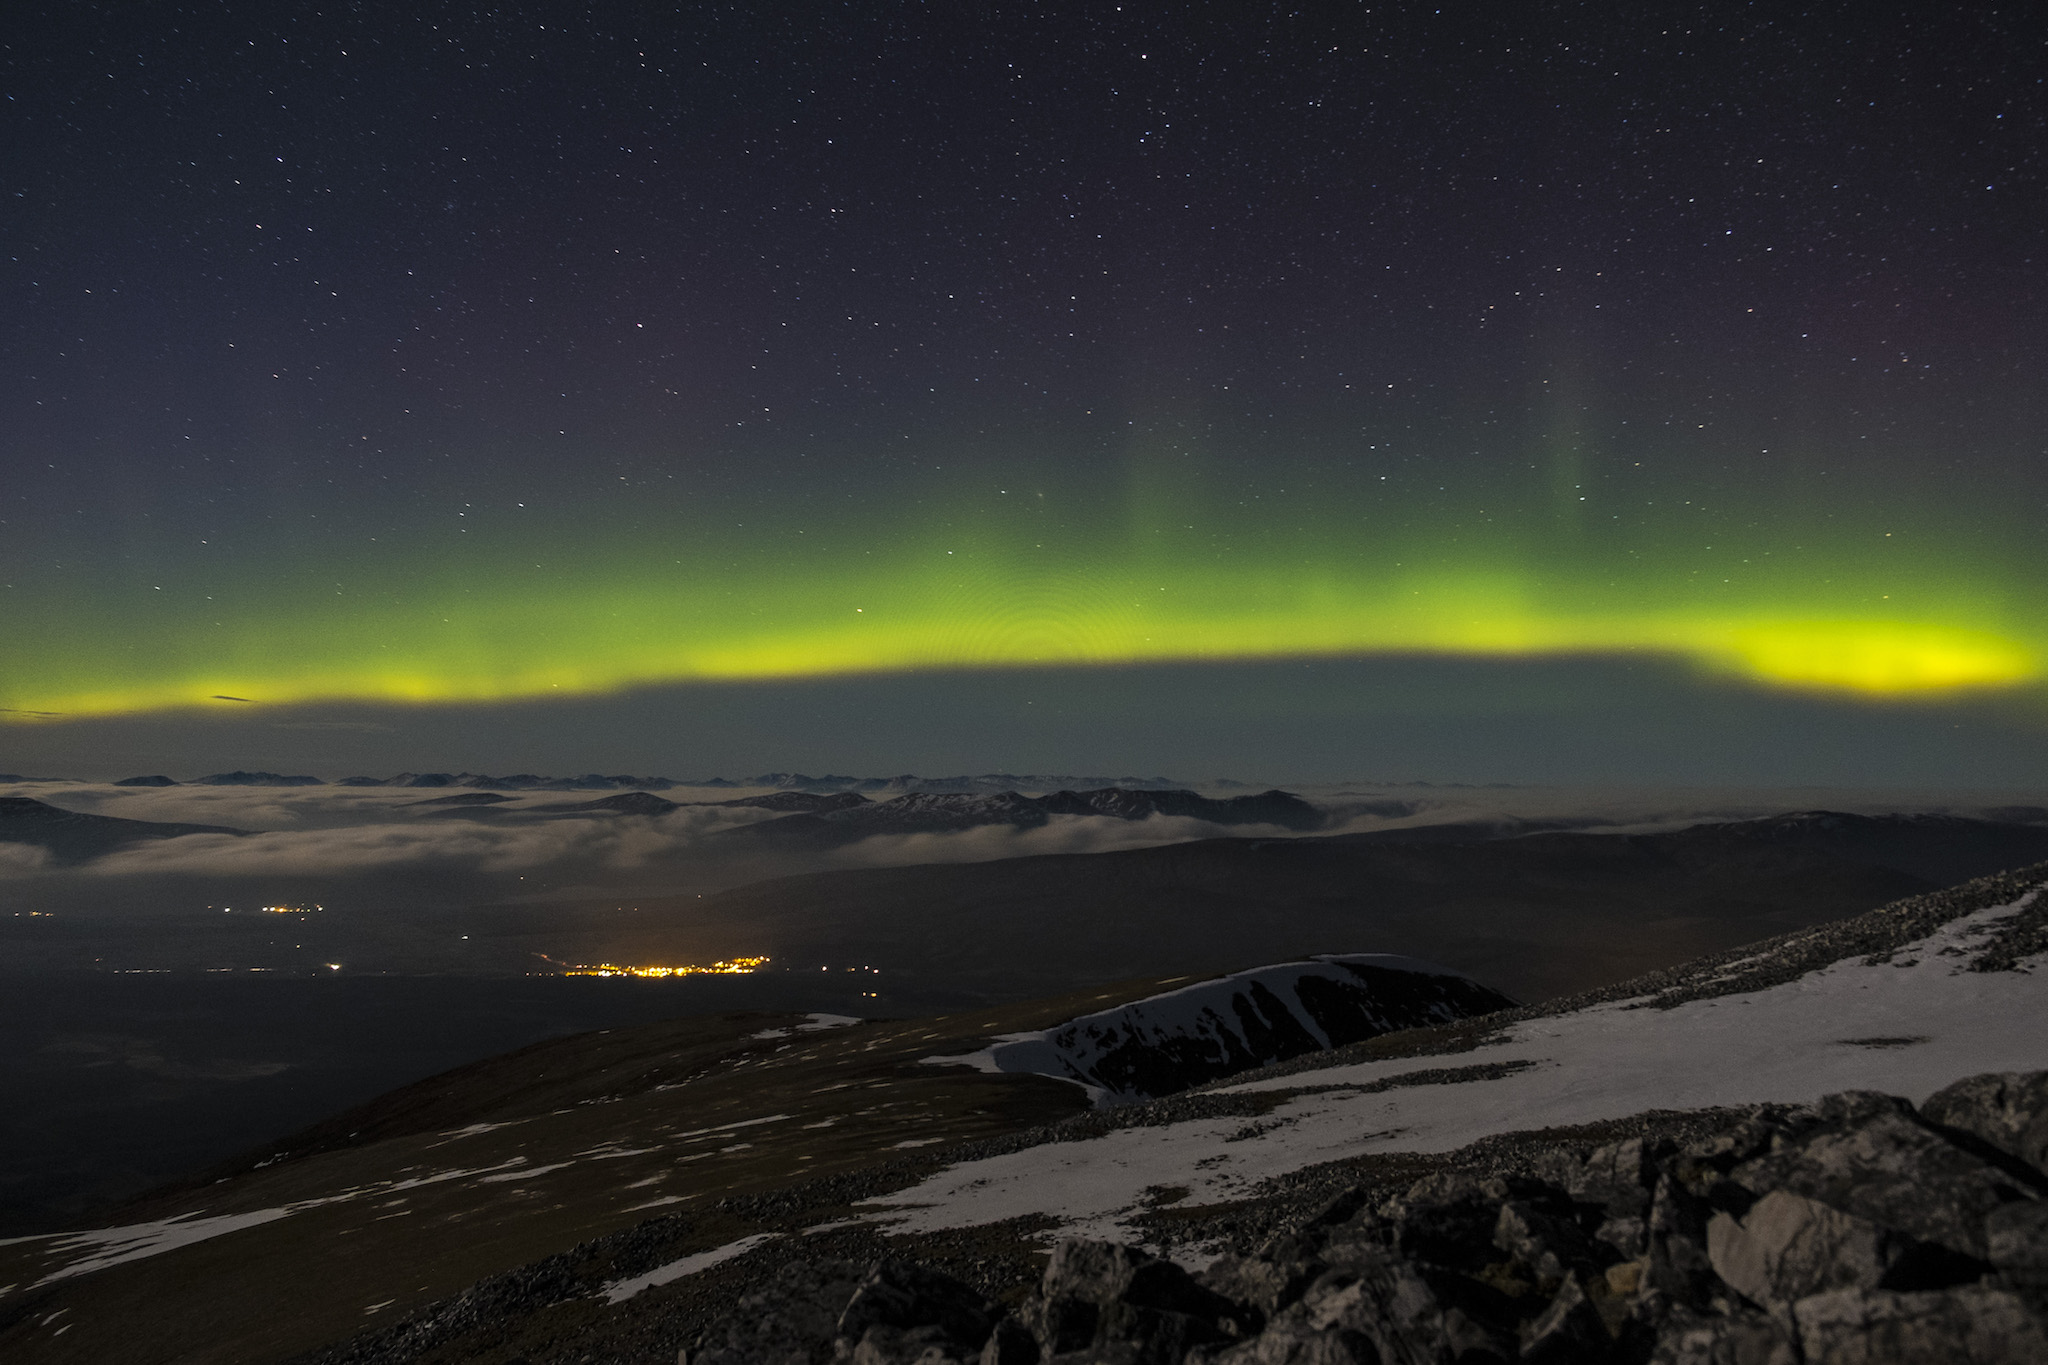
Click to magnify the image and look closely at the centre!
© Alex Roddie
You can see more of Stuart McIntyre’s night-time landscapes at boundbystarlight.co.uk, or at his Facebook page.
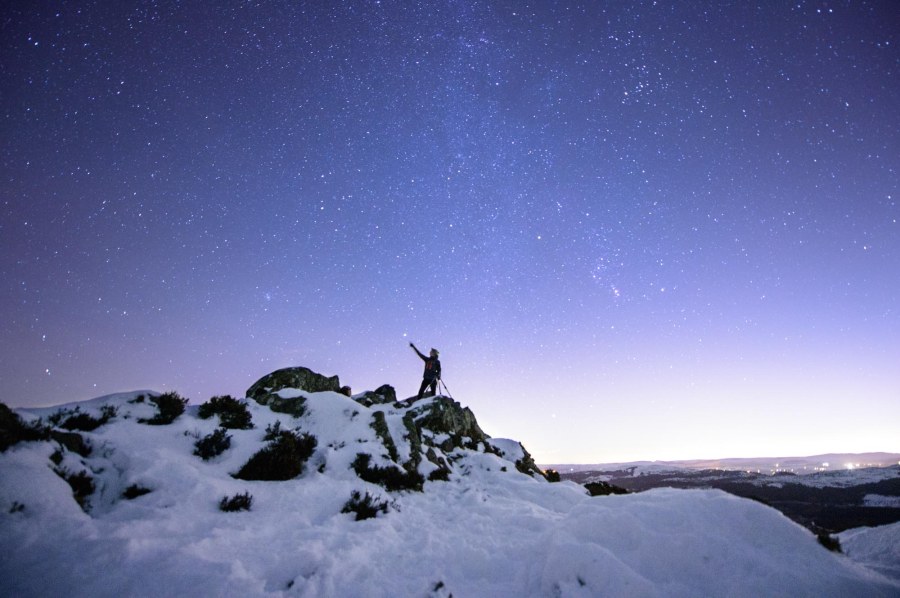
Header image © Stuart McIntyre, from his Facebook page: “LOOK! Is it Christopher Marr pointing at Procyon the binary star system? No its a new on-line shop that I made on Facebook with free postage!”