Bill Turnbull from Scotland’s National Outdoor Training Centre, Glenmore Lodge, is our expert for our guide to mountain navigation, whether you’re a hillwalking newbie or looking to refresh your knowledge of the basics.
This skills guide was first published in the August 2018 issue of The Great Outdoors.
Contents
- Setting the map
- Contour interpretation and anticipation
- Taking a compass bearing
- Distance
- Practise and improve
No matter whether you’re out in a winter storm or on a clear summer’s day, the ability to find your way is a fundamental skill for safely enjoying the hills. Being able to skilfully and confidently navigate opens up the mountains and lets you choose your own adventures without feeling confined to the well-worn paths or routes recommended by guidebooks and websites.
Have you ever been in the position of following a friend in poor visibility, or watched from the sidelines as they appear to somehow know where they are by using some sort of sixth sense, measuring distance and ticking off features without a tree, path, stream or fence anywhere to be seen? That level of skill can seem mysterious and unattainable. In fact, what you have just witnessed is the result of many hours of practice – and, with the right structure, it’s not so difficult to build up our own skill and ability. The key is knowing what, where and how to practise.
Let’s get the foundations in place. Your first step is setting the map…
Setting the map
When reading a book, we are taught from a young age to hold it with the writing reading from left to right, and of course the correct way up. Maps are different. Instead of holding a map with the writing up as we are used to with a book, we rotate the map to mirror the ground around us. When you first start to do this, the easiest method is to look at the red arrow on your compass – which will be pointing to north – and rotate the map beneath the compass so the top of the map (north) is pointing the same way as the red arrow on your compass. If your map is ‘set’ correctly then the map should reflect the features around you on the ground.
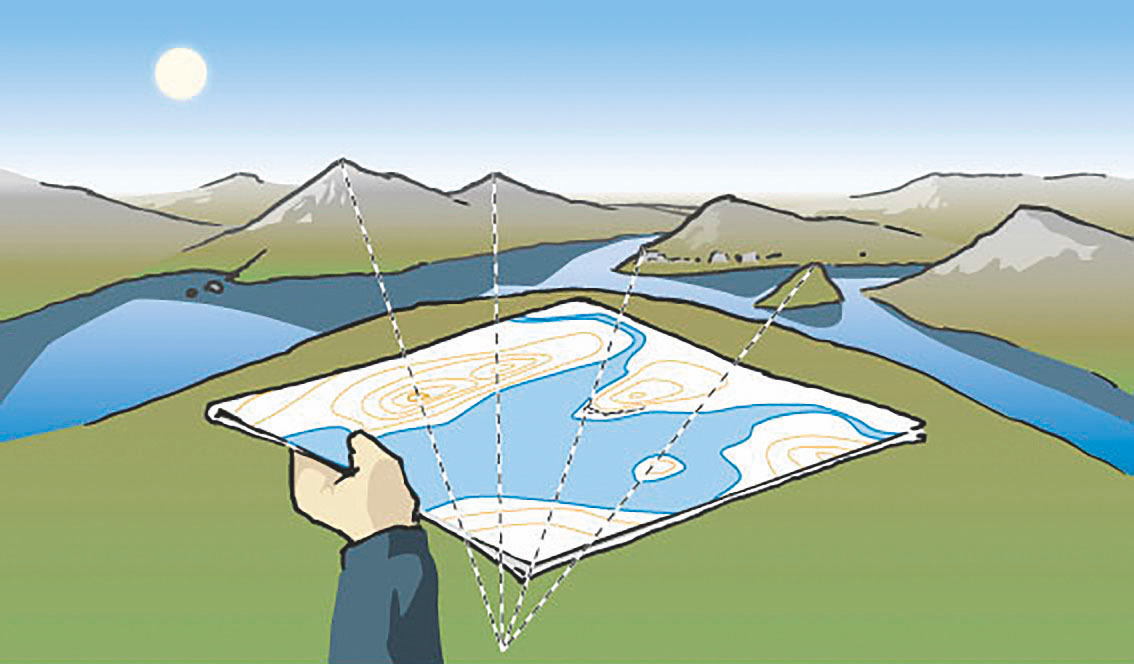
Illustration from ‘Nagivation in the Mountains ˙© MTUK/VG 2012
We often don’t need to do any more than this to know what direction to walk in. However, in poorer visibility the use of a compass may be needed to give you something to follow. The principle of a compass bearing is to tell you in what direction from north you’re needing to walk, and it’s not as difficult as you might think to take and follow a bearing.
Contour interpretation and anticipation
When you’re walking about your home town, you automatically create tick-off points on your journey: “Pass two streets on the left then go over the bridge, next right…”. By doing the same thing on your hillwalking journeys, you are forced to anticipate the ground you’re travelling over and, significantly, you can react if something’s not right.
In the mountain environment, path junctions and streams are not as frequent or reliable as landmarks in more urban areas, so it’s contours that we use to provide us with all we need. Improving our understanding of contours allows us to pick up on subtleties in the land that we may previously have overlooked.
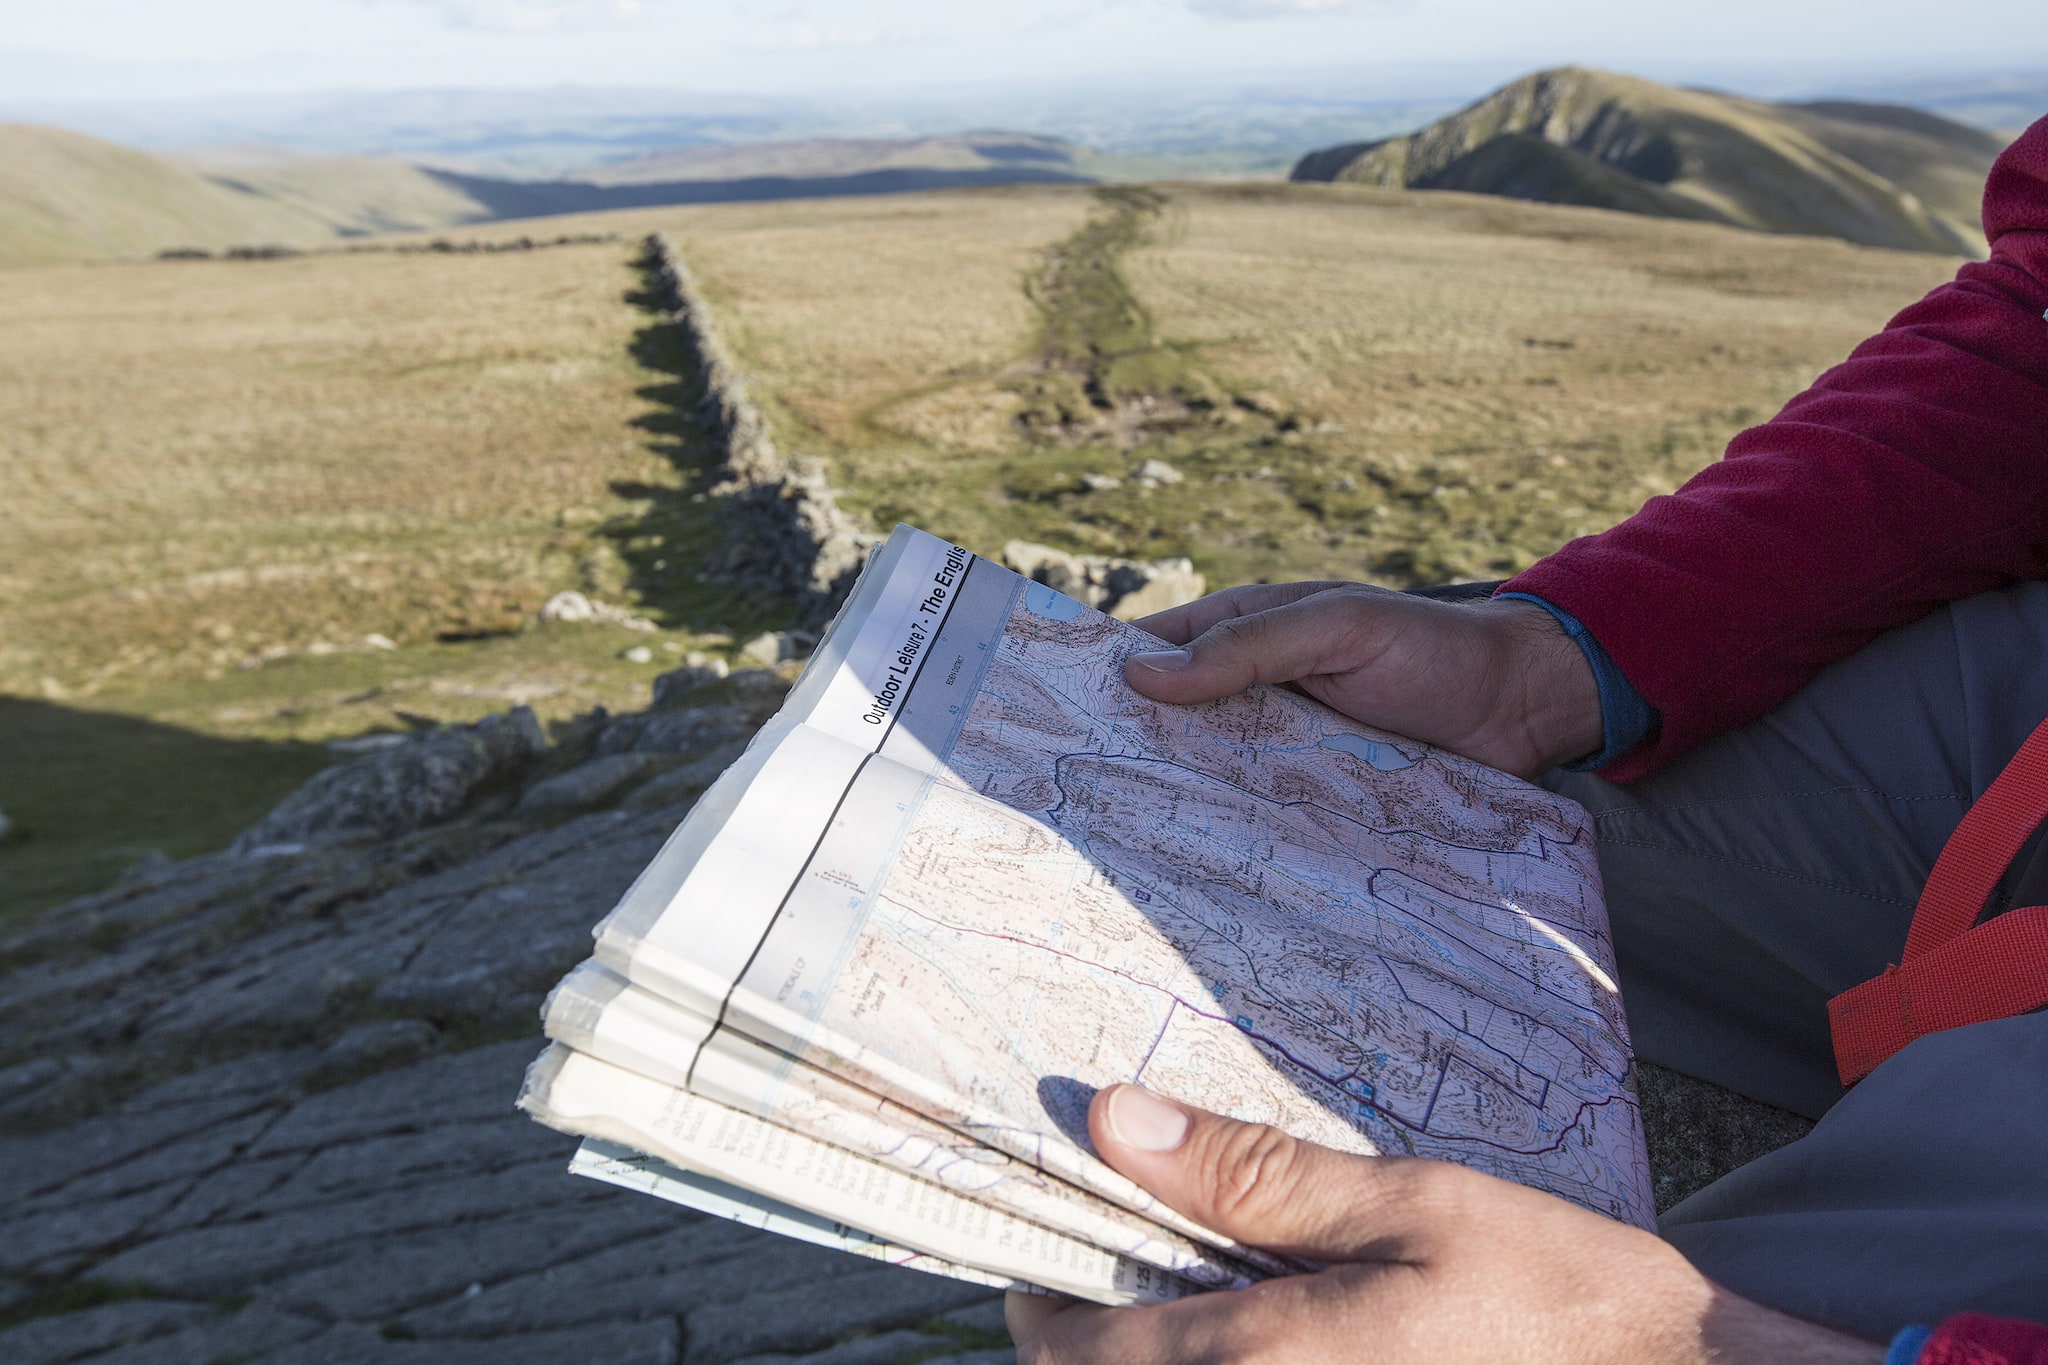
The ability to set a map and understand contours are fundamental to good navigation
© Tony West
Contours join points of equal height, a fact that most of us know from early geography lessons; but thinking about how we interact with them helps keep track of our location. If you plan to cross the contours at right angles then you will be going straight up or down; if you’re crossing them at another angle then you’ll go up or down the slope diagonally. If, when planning your route, you notice that you cross the same contour more than once, then you’ll find yourself going up then down or down then up.
“Knowing how to take and follow an accurate bearing is all very well, but it’s just as important to know when you don’t need to use it”
The more you look at maps, the more details you’ll start to see. Even on a path when you know where you are, it’s worth looking at the map when you feel the ground steepening up a little or easing off, building up experience of how subtle differences in the ground will be represented by how contours are drawn a little closer together or wider apart.
The more time you spend relating the contour features to the actual ground, the more quickly and clearly the features will jump out at you. It is a real pleasure to look at a map and clearly visualise the 3D relief that you’ll be walking over. Many digital mapping software packages offer this as a feature and this can be a great help when wrestling with contours for the first time.
Check out the Glenmore Lodge website at glenmorelodge.org.uk or call 01479 861256 for information on courses.
Taking a compass bearing
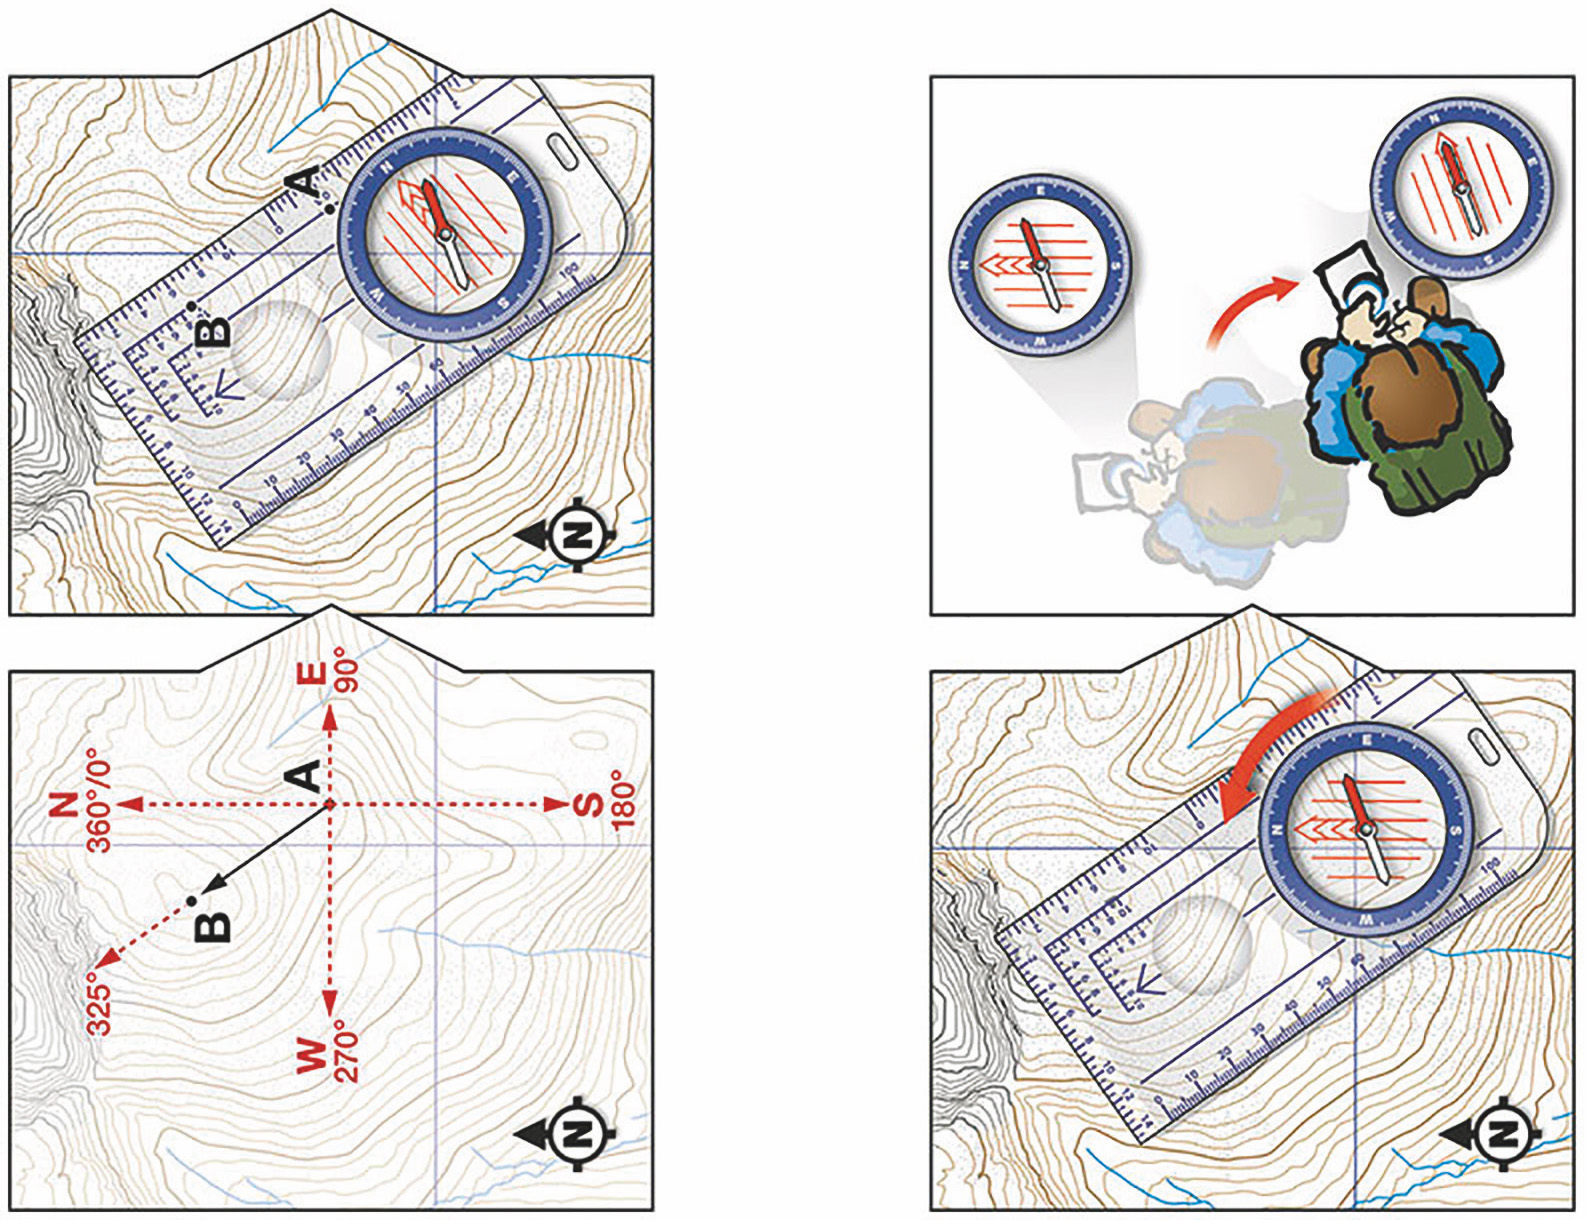
Illustration from ‘Hillwalking ˙© MTUK/VG 2015
To take a bearing from a map, line up the edge of the compass baseplate from the point you’re going from (A) to the point you’re going to (B), making sure the direction-of-travel arrow is pointing the correct way. Gripping the compass firmly against the map, turn the compass housing so that the large red arrow points to north on the map, and the lines alongside it are exactly parallel to the north-south lines (‘eastings’) of the map grid. This is your bearing. (In the UK right now, it’s not necessary to correct for magnetic variation.)
To follow your bearing, hold the compass in both hands so that it’s square in front of you, with the direction-of-travel arrow pointing ahead. Now turn on the spot until the red end of the needle is exactly inside the large red arrow in the housing. You are now facing along your bearing.
Look along your direction of travel and pick an object a few dozen metres away that’s exactly in line with it. Walk to that object and repeat the process to reach the point you’re aiming for.
Distance
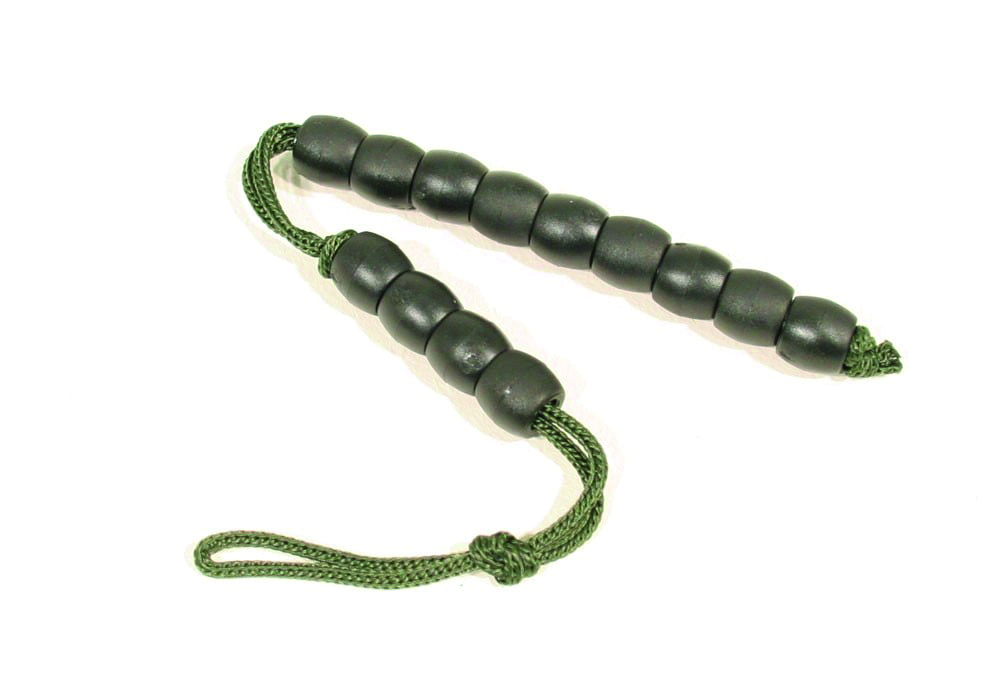 It’s not uncommon to see folk walking in the hills with ‘pacing beads’ attached to their rucksack straps. Used to help keep track of how far has been travelled, these rely on the individual knowing how many paces they typically take per hundred metres. The numbers of paces taken will vary depending on the terrain and gradient underfoot. With practice this can be a reasonably accurate method over shorter distances. However, beyond distances of a few hundred metres, it’s not very practical. I like to be able to relax in the mountains and take in the views or chat to my friends – pacing is just too antisocial for me to use most of the time!
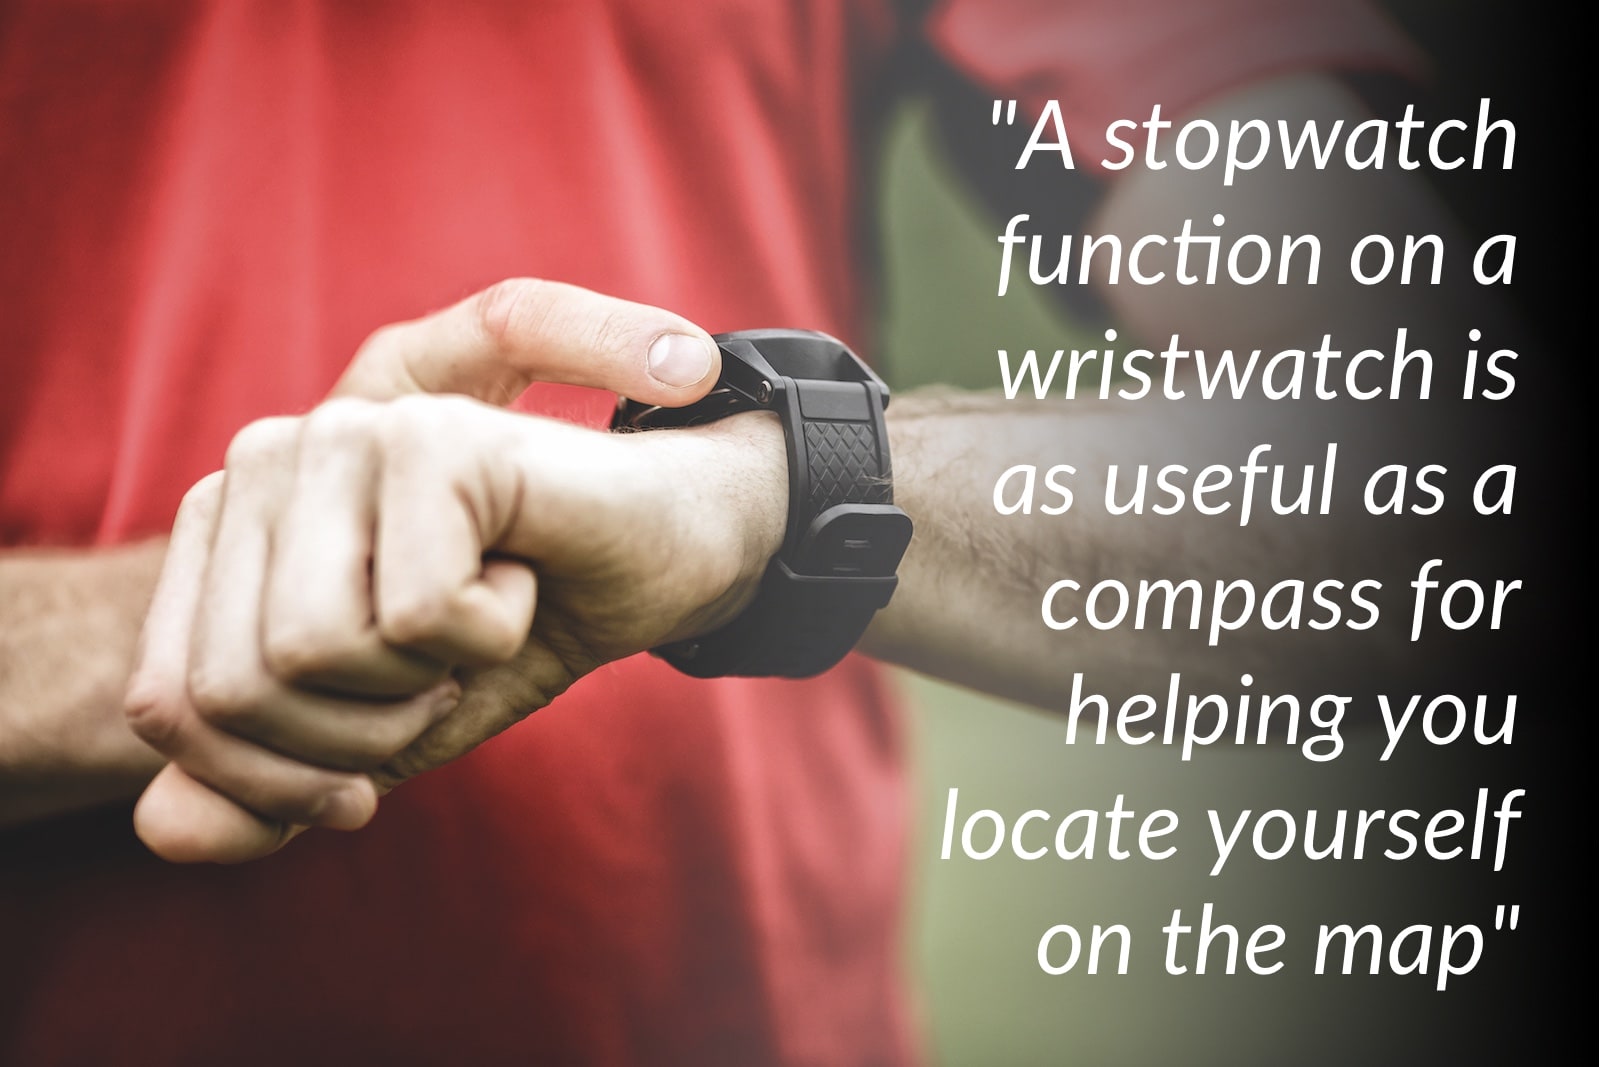
Timing is a good way to measure the distance you’ve travelled and, like map setting, it’s a good habit to get into. How many times have you looked at the horizon only to be surprised when the actual summit is still a further kilometre away? By having a method of working out how long a section, or leg, of your journey will take, a quick glance at your watch should let you know that you’ve still got perhaps half an hour to go, or hopefully that it is indeed the top.
© Shutterstock
A stopwatch function on a wristwatch is as useful as a compass for helping you locate yourself on the map. When I get to a definite point I reset my stopwatch, letting it run as I walk on. At the next obvious point, I’ll check the elapsed time and reset it again. Most people walk at between 4km and 5km per hour, and a good rule of thumb is to add 10 extra minutes for every 100 metres you ascend – as you gain experience you’ll get better at knowing how fast you move over different kinds of terrain.
“Getting feedback on our performance is another important part of improving our navigation”
The stopwatch can also be invaluable when it comes to relocating. If you know you’ve been walking west for 30 minutes but aren’t sure where you are now, then one of the first things you can do is to find your last known position on the map. It’s likely that you’ll be somewhere around 1.5km to 2km west of this point. Combine that information with what you remember the ground has done under your feet for that time, relate it to the contours around that area, and you’re almost there. You should have enough information now to start making a plan to relocate more exactly, which will involve making informed guesses about where you might be, and then testing them.
Practise and improve
No-one gets their navigation right first time all of the time. It’s crucial to develop a mindset that allows you to go out and practise your bearings, timing, pacing, contour interpretation etc. and make mistakes. Only by embracing our mistakes and understanding why they happen can we get better.
Environment
The environment we choose to practise in is key to this process. How can we relax and be happy to experiment with techniques if we know there’s a large cliff somewhere nearby in the gloom? Picking a safe area that, for example, has a road running across the north of it, should help relax any fears about becoming well and truly lost. If it goes wrong, walk north and you’ll know where you are again.
Feedback
Getting feedback on our performance is another important part of improving our navigation. There are a few ways we can do this, the most obvious being a GPS device or phone app. While this technology will give you a definite fix of your location, I would encourage folk not to look at it at the end of every leg as that takes away the opportunity for self-realisation that something was right or wrong.
© Tony West
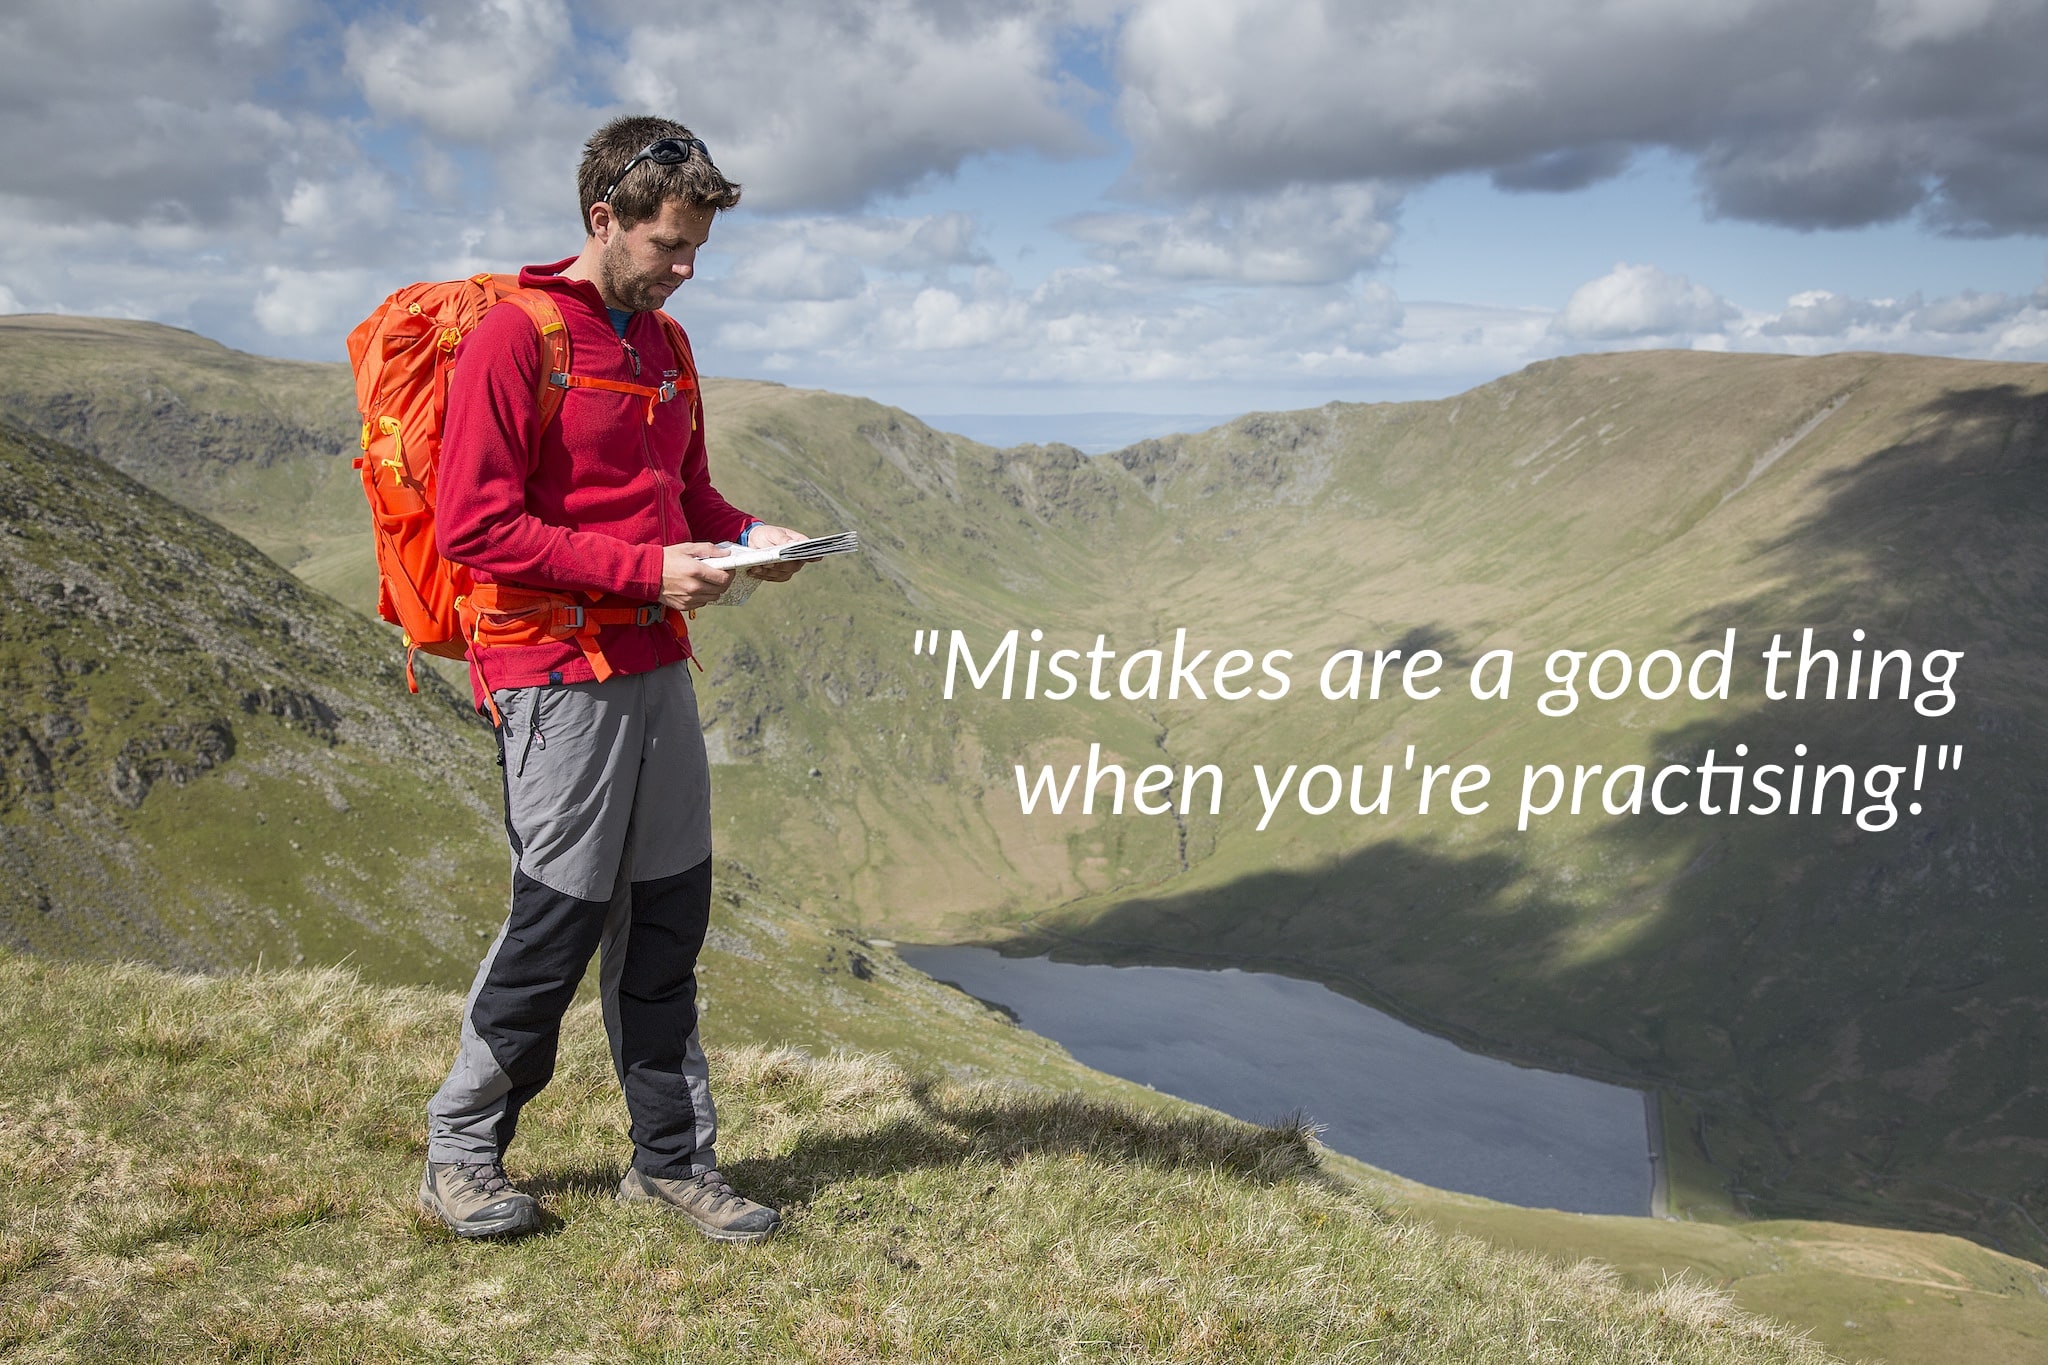
More useful is using the terrain itself to provide feedback. If you are sure that you’ve managed to get to the top of the ring contour you were aiming for, then pick another obvious feature to find from there. If you get there, and the ground between felt as anticipated, then you’re correct. However, if nothing after the first point fits, then something went wrong. This is the important part – don’t get the GPS out yet. Instead look at the map and try to find the contours that represent what you walked over. In time you’ll find it easier to relocate and your navigation will improve quickly. Mistakes are a good thing when you’re practising!
Strategies
Learning the individual skills highlighted in this feature is part of becoming a good navigator, but the end goal is to be able to have a good strategy and to apply those skills at the appropriate times. Knowing how to take and follow an accurate bearing is all very well, but it’s just as important to know when you don’t need to use it.
Remember that being a confident navigator isn’t in the genes – it just takes practice. The MTUK books Hillwalking and Navigation in the Mountains (mountain- training.org/publications) are useful resources. Glenmore Lodge runs two one-day navigation courses: Discover Navigation and Further Navigation. These combine to make a great weekend, ensuring that you will leave with good building blocks and a solid framework to get you on your way to becoming an expert navigator.
Orienteering
Orienteering is a great way to improve every aspect of your navigation. Many parks and country parks have permanent orienteering courses with maps available so that you can practise at your own pace in a safe and contained environment. If you want to put your skills to the test, an organised non-competitive activity or a competitive event will have you finding over a dozen marker points in a morning, each leg designed to get you to use different techniques. Orienteering is a friendly and welcoming sport, and there are categories for all ability levels. Find out more at britishorienteering.org.uk.
Header image © Tony West