This weekend is your chance to witness an annual astronomical spectacle. Here’s The Great Outdoors guide to seeing and photographing the Perseids
Every summer, the night sky lights up with shooting stars. These meteors appear to originate from the constellation Perseus – hence the name Perseids – and while the shower actually lasts for almost a month, there’s usually a short and well-defined peak period in which the greatest number of meteors can be seen. This year, the peak falls at 18.00 on August the 12th, although there should be plenty of meteors to see on the evenings of the 11th, 12th and 13th.
How to see the Perseids
This year, the big show happens to coincide with a three-quarters-full moon, which is due to rise at approximate 22.30 on the 12th. This means that seeing meteors will be more challenging than usual this year – but some of the meteors are very bright, so you still have a good chance to see and photograph them. Don’t believe the rumour you may have seen online that this year’s display will be the best in 96 years!
Here’s how to make the best of the 2017 Perseid meteor shower.
- To stack the odds in your favour, get away from towns and villages and look for somewhere with minimal light pollution. This list of UK dark sky locations is a good place to start: https://www.ordnancesurvey.co.uk/getoutside/guides/top-5-dark-sky-locations-in-great-britain/
- Go somewhere high with an uninterrupted view of the horizon. That means open land and few trees. My first choice would be somewhere like the Cairngorms, but any hilly bit of countryside will be better than trying to see the Perseids from a town or village. Why not combine your meteor hunt with a night hike or wild camp?
- Check the weather forecast. If it’s too cloudy you won’t see anything.
- Let your eyesight adjust to the darkness for at least 30 minutes. Don’t use torches – or if you need some light, use the red mode on your head lamp.
- Locate the constellation Perseus to the north-east. This is the general direction from which the meteors will travel.
- Sit back and enjoy. You can expect up to 40-50 meteors per hour during the shower’s peak.
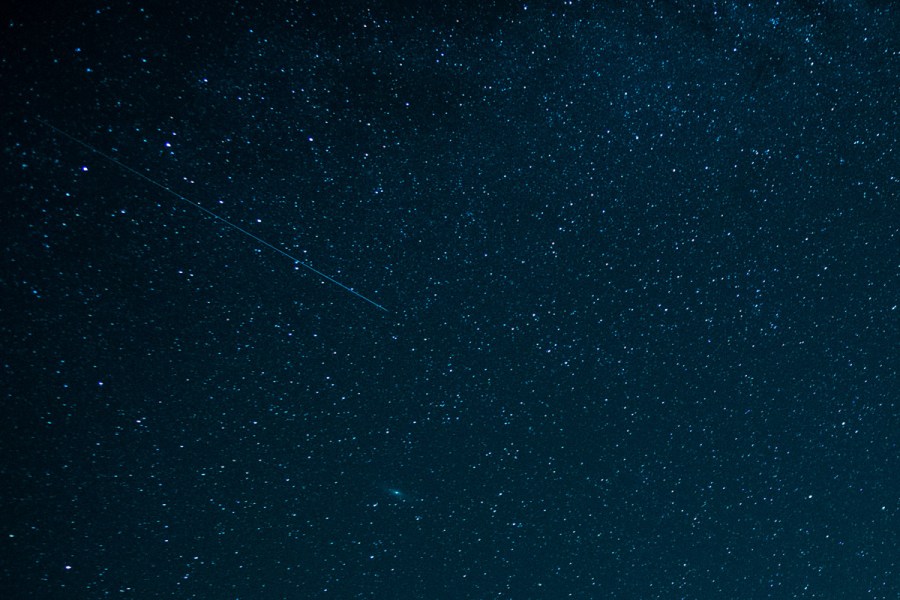
There are several relatively faint meteors in this image, but there’s also an aircraft trail – don’t be deceived!
How to capture a meteor with your camera
Astrophotography is a challenging but rewarding photographic niche. If you have the right equipment and a big dose of patience, there is a good chance of capturing a meteor image with your camera despite the moon’s
interference this year.
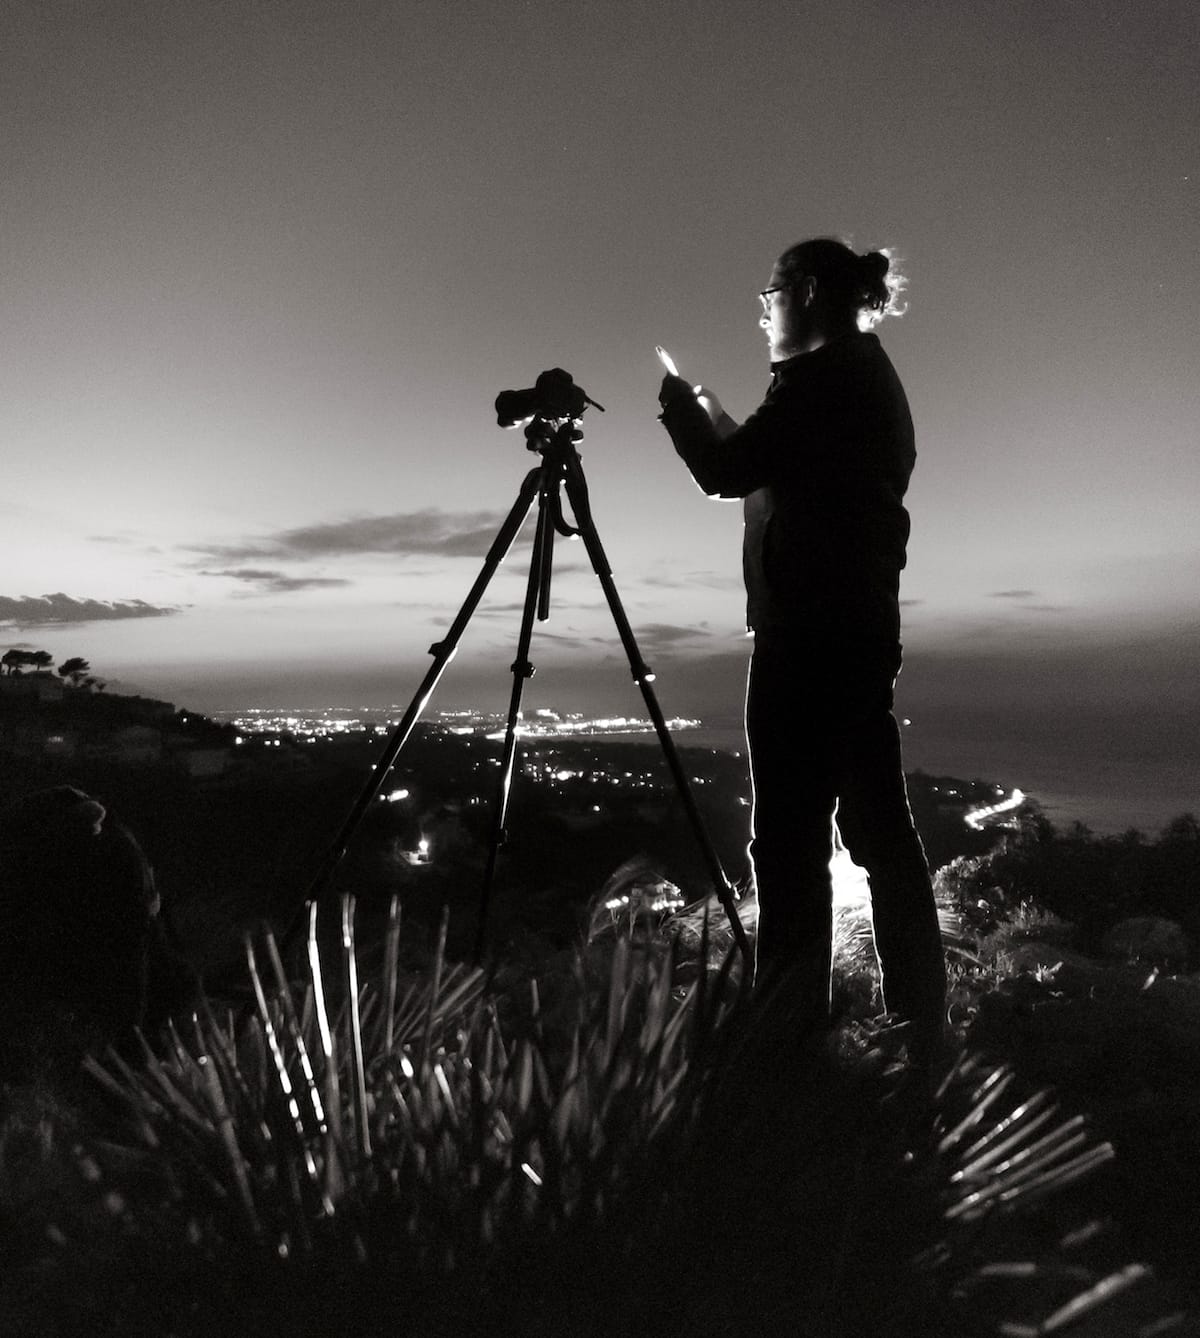
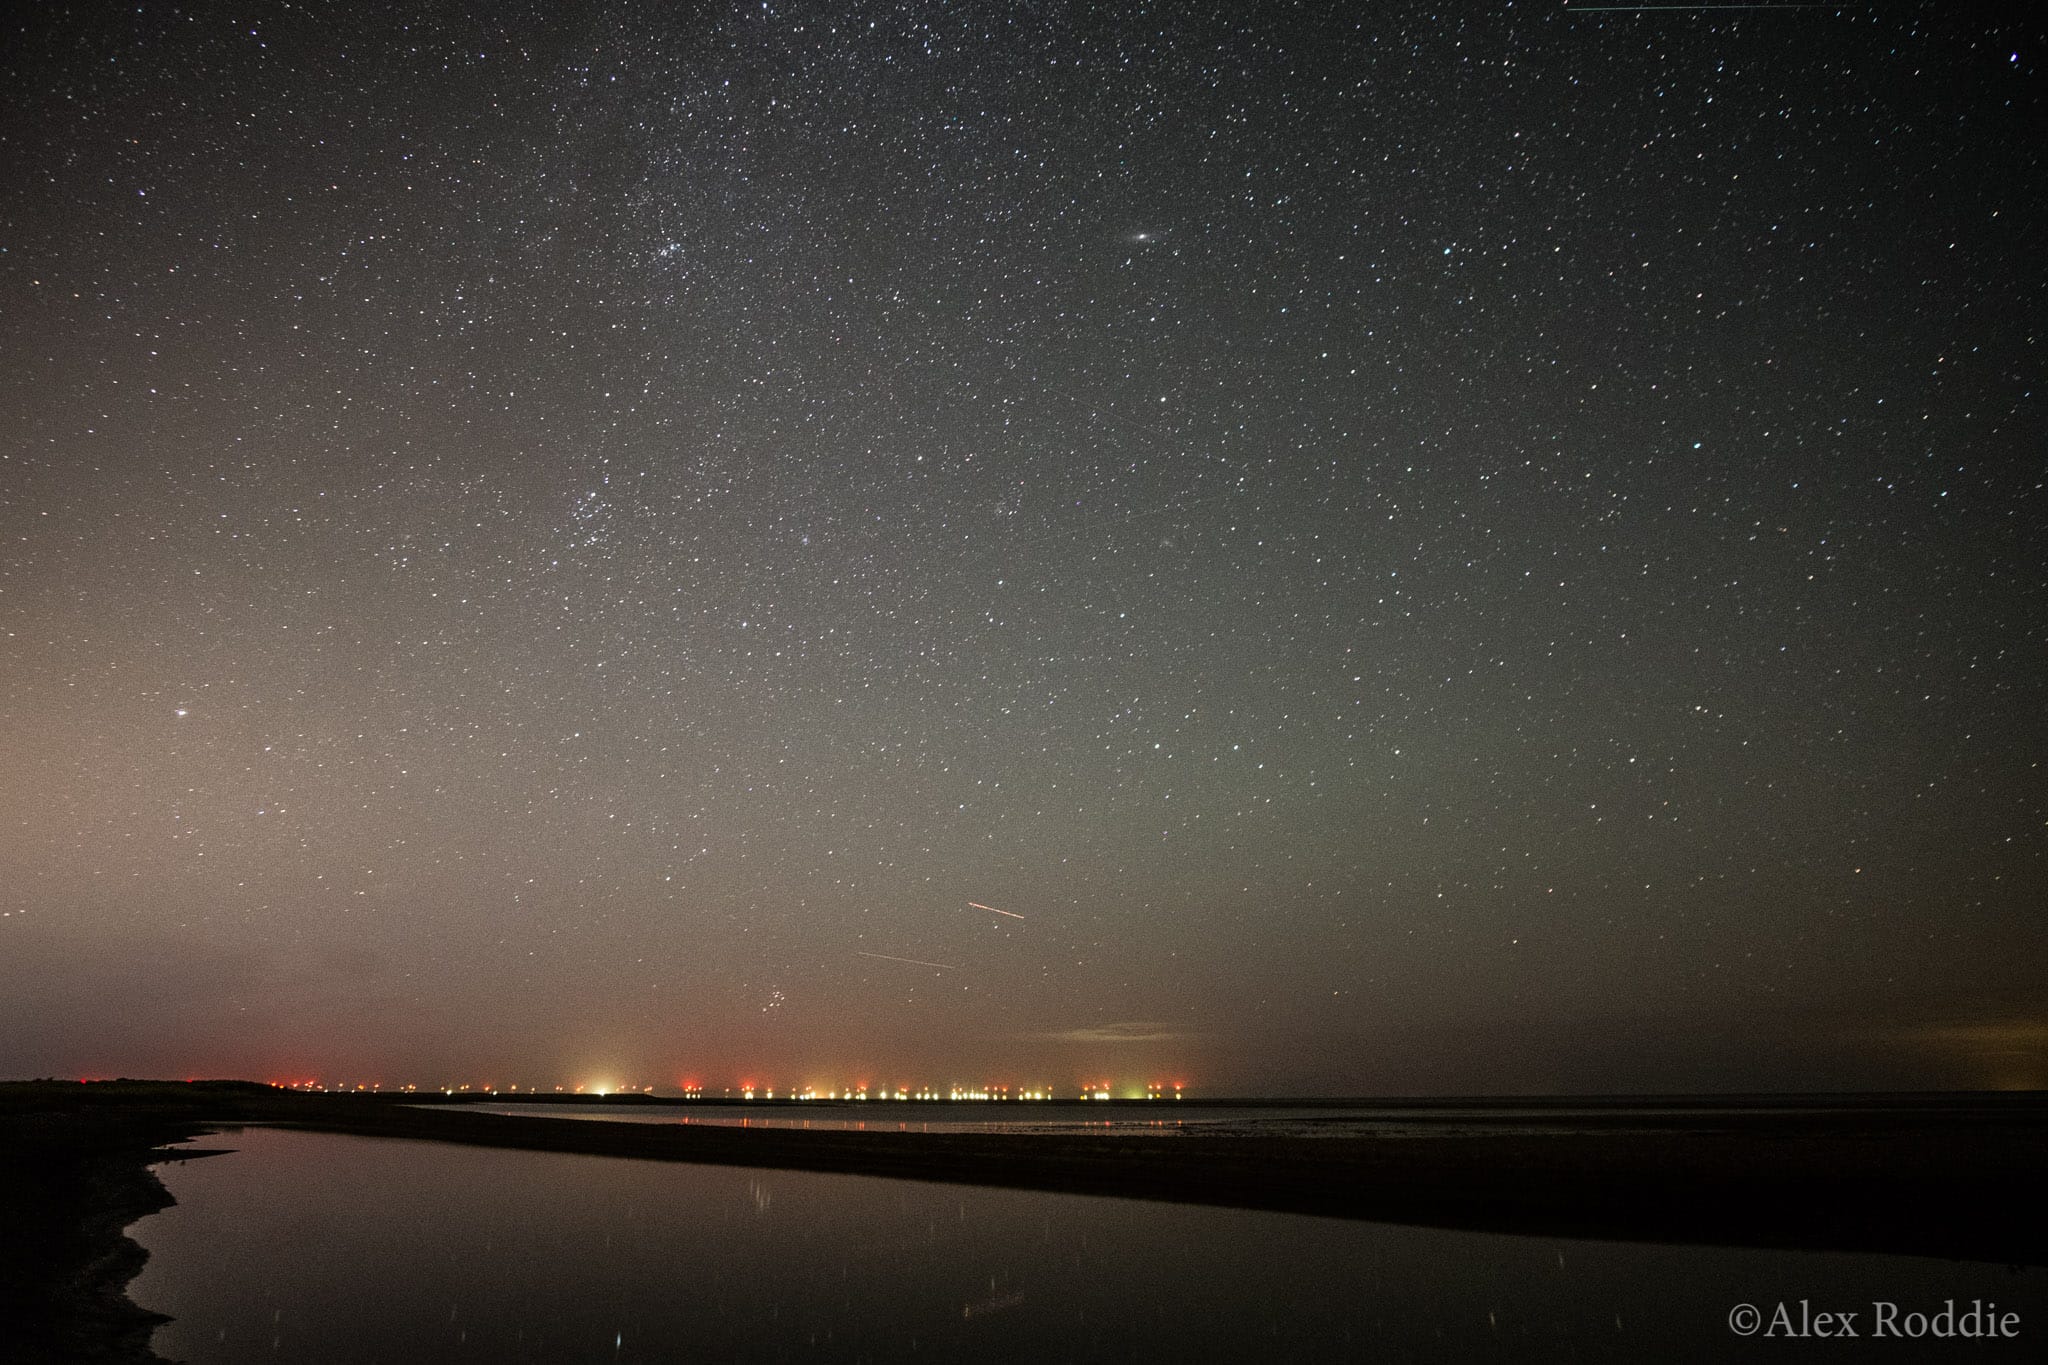
Image: Shutterstock / Bodia Photography
Before we begin, you’ll need a basic understanding of how to use your camera in Manual (M) mode, because shooting in Auto won’t cut it for astrophotography. There’s an easy-to-follow guide here.
What you’ll need
- A camera. A DSLR or mirrorless camera is best, but some compact cameras may also be capable. The most important feature is being able to manually set a long exposure of up to 30 seconds. You may have some luck with your smartphone but image quality will not be as good and you’ll have to download a special app – your mileage may vary.
- A wide-angle lens. A fast, superwide lens will yield best results, but your kit lens will get the job done at its widest focal length.
- A tripod and self timer or remote release. Most cameras have self timers built in.
How to get the shot
- Set up your camera on its tripod facing north. Make sure you get as much of the sky in as possible, but don’t forget to level the horizon if it’s included in the frame.
- Think about your foreground. If you’re using a superwide lens, it’s a good opportunity to include some landscape in the lower segment of the frame – a stream, perhaps, or your shelter if you’re wild camping.
- Set your camera to Manual mode (M) and your lens’s aperture to its widest setting (usually something between f/2 and f/3.5, the lower the better).
- Manually focus your lens to infinity, or autofocus on the moon and then lock focus.
- Set your ISO to a high value such as 1,600 or 3,200. The higher your maximum aperture, the bigger the ISO you’ll need – but be aware that higher ISOs degrade image quality, especially on less advanced cameras. If in doubt, keep ISO on automatic.
- Set your shutter speed to 20 or 30 seconds. The longer the shutter speed, the more likely it is you’ll capture a meteor.
- If you can, shoot in RAW format for more control over editing on your computer. Astrophotos often need careful editing to adjust white balance, which is difficult to do if you only shoot JPEG.
- Use your self timer or remote release to make a shot, being careful to avoid vibrations.
- Afterwards, check the image on your camera’s LCD. If you’ve set appropriate exposure values, you should be able to see distinct stars when zoomed in. You may have captured a meteor if you’re lucky! If it’s too dark, try increasing shutter speed or ISO and try again.
- Keep taking exposures until you get an image you’re happy with.
- Be wary of aircraft trails that look a bit like meteors. If the streak has regular ‘dots’ along its length, it’s probably an aircraft trail.
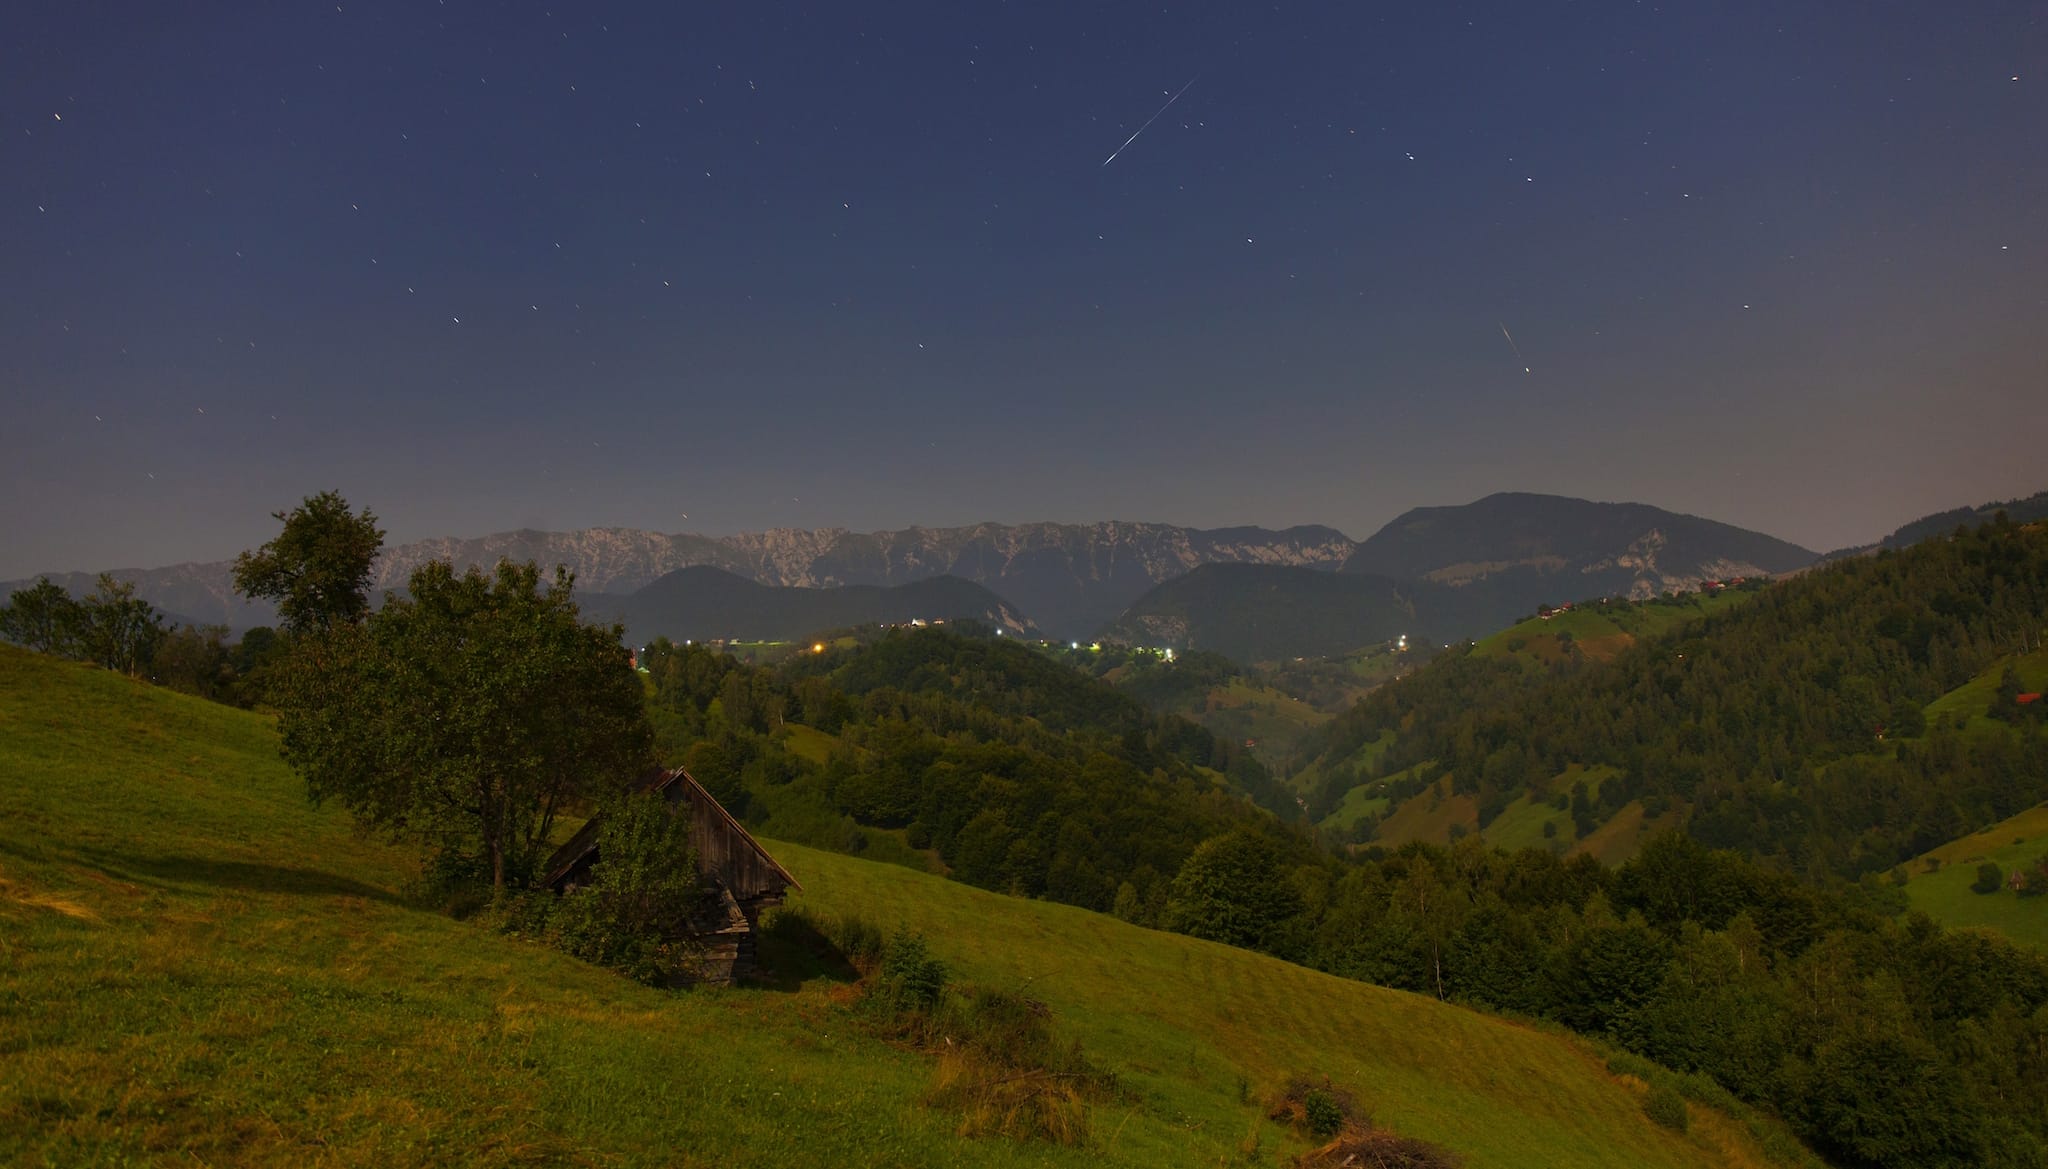
Image: Shutterstock / claupad
If you succeed in photographing a meteor, send us your shot on Instagram or Twitter, and we’ll share it. Happy hunting!