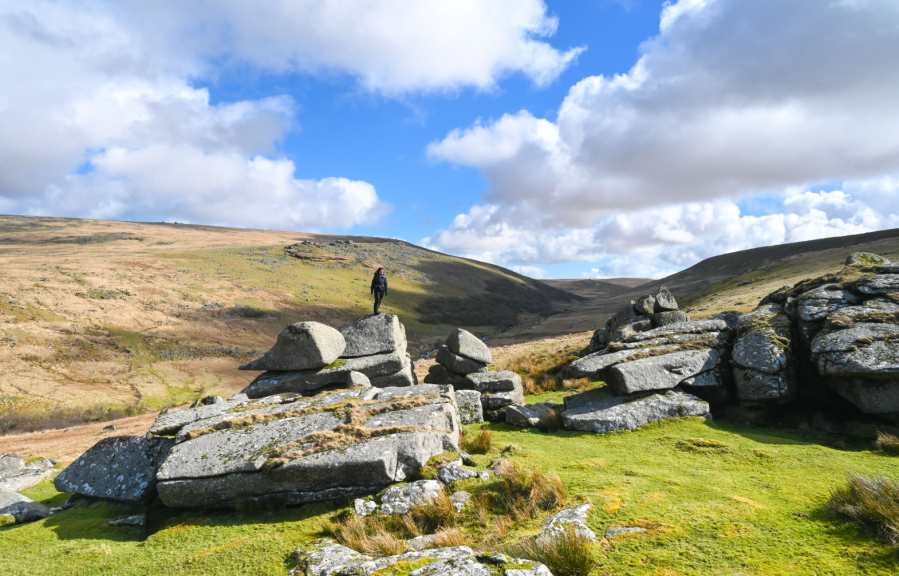
Tim Gent ponders on one of the more troubling events in our past on The Liberty Walk in Dartmoor.
Aircraft 63926 transmitted its last message at 10.15 on a December night in 1943. A return to base was expected in five minutes. The plane never arrived. Setting out from RAF Dunkeswell in East Devon, the US Navy Liberator had been hunting enemy ships in the Bay of Biscay. They’d been fired upon, but pilot William Parish reported only ‘slight problems’ as a result. Perhaps the altimeter was damaged. Whatever the reason, the aircraft hit Dartmoor’s Corn Ridge, before tumbling into the West Okement valley – the location of this so-called Liberty Walk (pictured above). All ten aircrew lost their lives. Considering the complete destruction of the plane, and subsequent recovery of three of the four engines, enough still survives to mark this sorry event.
Reaching the valley edge overlooking the steep drop to the river, the topmost collection of tangled aluminium can just be made out amongst the granite boulders below. Clambering down, a second cairn lies a little lower, then the remaining engine. Despite the very pretty surrounding, perhaps because of them, the mood is sombre. Thankfully, the climb out of the valley to Shelstone Tor soon lifts the spirits, and returns us to the present day and a world in which at least this country is free from such waste.
The Liberty Walk: route description
START/FINISH: Free parking in Sourton close to the church, but avoiding church spaces (SX 535 903) | MAPS: OS Explorer OL28 | DISTANCE: 10.5km/6.5 miles | ASCENT: 328m/1076ft | DURATION: 4-5 hours
1. SX 535 903: Leave the car park at the eastern (uphill) end to pass the church and cross a bridge over a former railway line, before following a clear track out onto the open moor. Here, the track meets a junction. Avoid the route that turns tight to the left (following the contours to head north-east), instead take the old track that angles away more to the east to climb the slope ahead to the left of Sourton Tors. Beyond the ridge, to the north-east of the tors, this route swings around the remains of the old ‘ice works’ (large grassy banks) to follow a clear wide path to reach a plateau to the south-east of Sourton Tors.
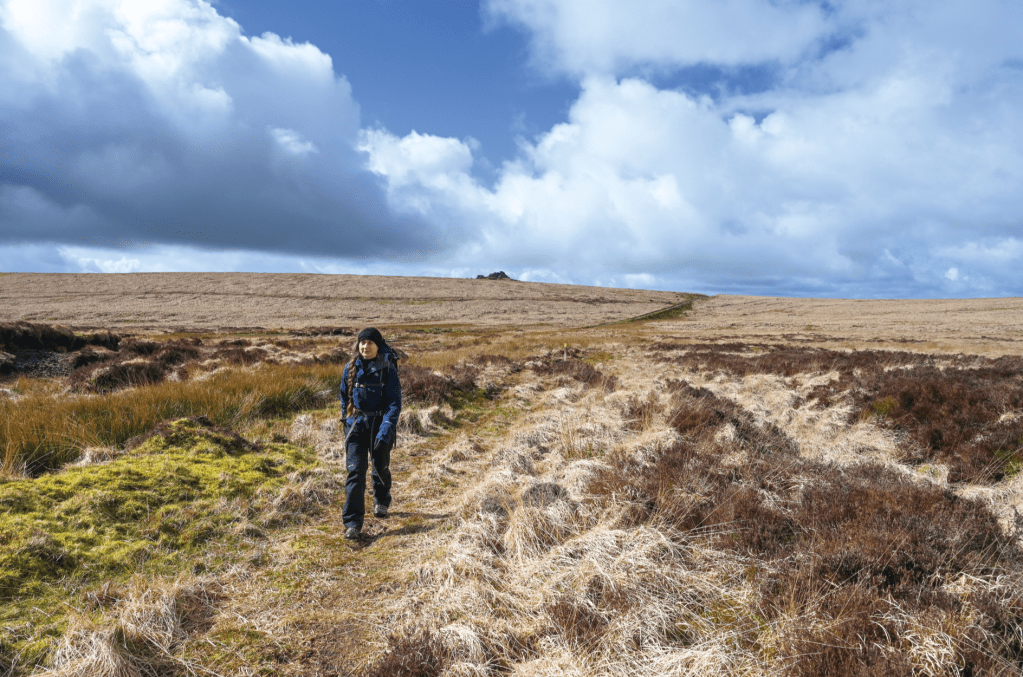
Starting the climb to Kitty Tor, with Great Links Tor on the horizon. Credit: Tim Gent
2. SX 546 896: The track continues to the south (avoid a right turn on leaving the plateau) to climb gently along the side of the hill in the general direction of Great Links Tor (visible on a clear day). As the track begins to turn to the left, look for a path that heads off slightly more to the left, rising gently. This leads to a sharp turn on the line of an abandoned railway, now a good track, that heads on towards Great Links Tor. If you miss the path, not to worry, you can take a track that almost doubles back to the left from your route (at SX 544 884) to climb to the same point. Follow this wide and clear track as it swings round to the east, reaching the collapsed brick remains of an abandoned peat works (there are great views of Great Links Tor along the way). Beyond the collapsed buildings, climb through wet ground to follow a clear path to Kitty Tor.
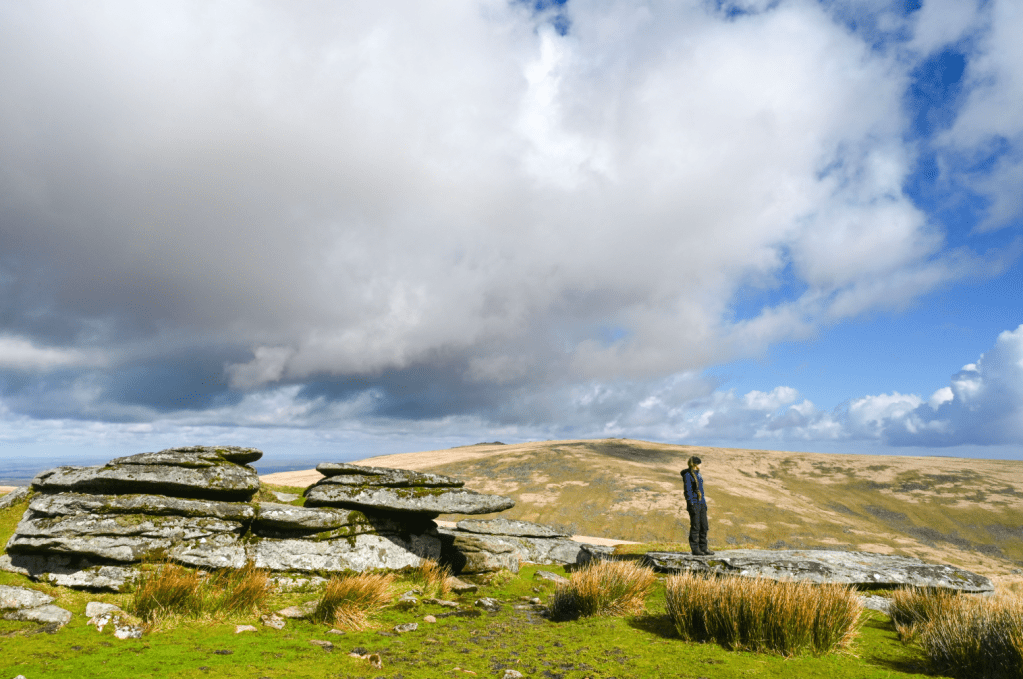
Kitty Tor. Credit: Tim Gent
3. SX 567 874: In good weather, Stenga Tor (Steng-a-Tor on the 1:25,000 OS sheet) is visible to the north of the Army huts. If not, there is a fairly clear path through the grass. The tor itself is worth a visit, although the ground around it is usually very wet.
Stenga Tor. Credit: Tim Gent
4. SX 568 880: Continue in the same direction beyond the tor to meet the top edge of the valley side. From here, probably after a bit of a search, you should be able to make out the topmost patch of aircraft debris on the rock-studded slope below (SX 568 885). The remains of WWII aircraft can be found on high ground across the British Isles, and at least 40 crash sites are recorded on Dartmoor, an area ringed by airfields during the war. All these sites are thought-provoking and humbling. A little care will be needed on the descent, as few slopes on the moor are this steep. Other piles of twisted and sometimes burnt aluminium lie further downhill, as does the remaining Pratt and Whitney engine.

The engine. Credit: Tim Gent
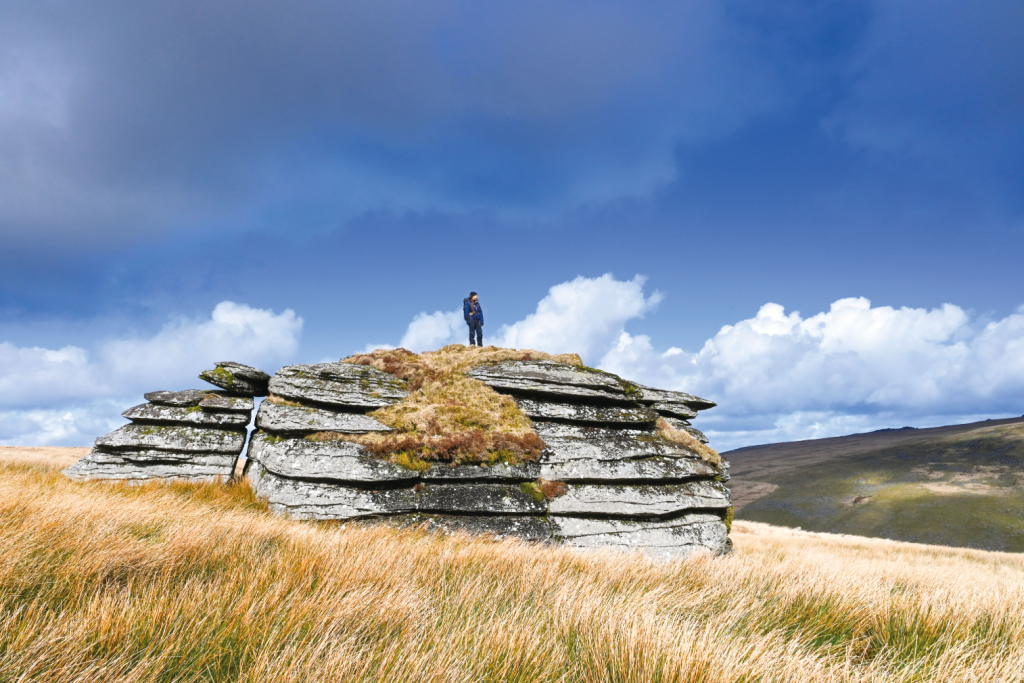
5. SX 569 885: Follow the valley north-west, climbing gently to about the same level as the topmost debris cairn. A bulge of ground projects out into the valley opposite the northern end of Black-a-Tor Copse, but a clear path will be found that climbs out to higher ground. At the top you will find Shelstone Tor, which is well worth an exploration.
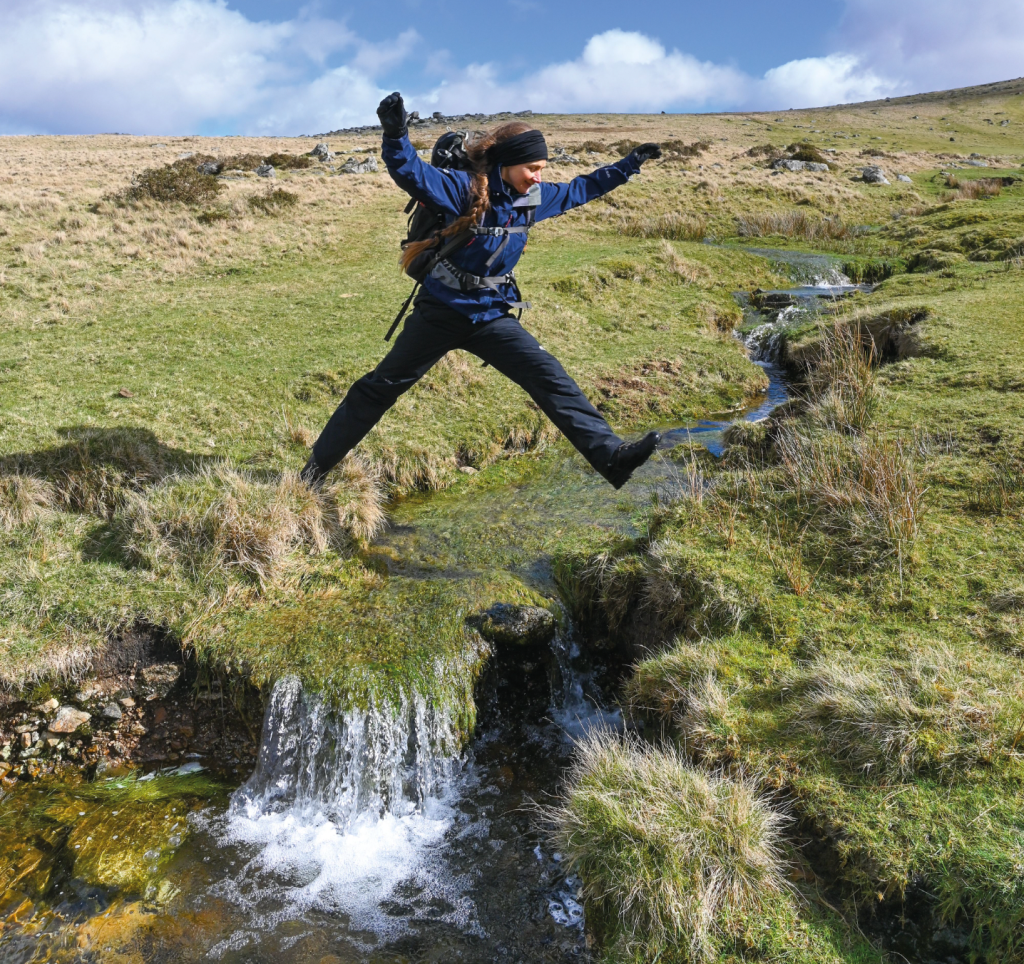
Crossing the stream beyond Shelstone Tor. Credit: Tim Gent
6. SX 557 898: From Shelstone Tor, drop north-west towards the corner of the enclosed land beyond the stream, before following the wall (along a clear path). As the wall swings away to the north-east, follow a track that turns gently to the east and back towards the junction above the church, where you turn right to recross the bridge and head back to the car park
Further information
PUBLIC TRANSPORT: First Devon bus 86 (0845 600 1420)
TOURIST INFORMATION: Okehampton TIC (01837 53020)
NEAREST YHA: YHA Okehampton
Discover more walks in Dartmoor as mapped by The Great Outdoors’ expert contributors.