Packing a backpack is a bit of an art, but it’s one that all experienced hillwalkers and backpackers have generally perfected. For those new to it, however, the notion of getting all your gear into one small budget backpack can be a little daunting. Fortunately, there are a couple of basic principles to follow that make understanding how to pack a backpack fairly straightforward.
Words: Matthew Jones | Main image: Ravindra Rawat
The most important principle is to ensure that the loaded pack is comfortable to carry by distributing the weight evenly. This may not matter so much for shorter walks. But for longer trips, when both your mileage and the weight on your back increase significantly, it starts to become a major factor in overall trail happiness.
The second thing to bear in mind is that you’ll want easy access to items you’ll need regularly, or in an emergency situation. In the first instance, this means being able to scoff a snack or swig from your water bottle without needing to empty out half your pack’s contents. Similarly, if the wind picks up or the heavens open, you’ll want to be able to grab extra layers (like your waterproofs) quickly and easily. The same applies in an emergency scenario. Hopefully, this won’t be anything too dramatic. But if you need a blister plaster, it helps if your first aid kit is within easy reach.
Hiking in Wales’ Rhinogydd mountains. Photo: Ben Cannon
As long as you follow those main principles, you won’t go too far wrong. So, despite what many outdoor websites will tell you, there isn’t really one definitive ‘right way’ to learn how to pack a backpack. At the end of the day, it’s your pack and your back, and you’ll invariably find a system that works for you. Exactly where everything should be placed becomes largely a matter of personal preference.
With that in mind, consider the following advice as general guidance on how to pack a backpack rather than hillwalking or backpacking gospel.
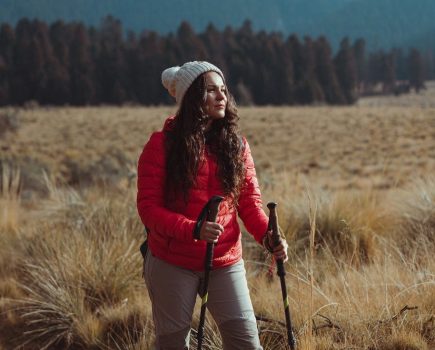
How to pack a backpack for a day hike
It’s important to be prepared when you head into the hills or mountains, even if you only plan to be out for a single day. In fact, even if you’re not venturing into remote upland areas or navigating through tough and challenging terrain, having the right kit can make any walk much easier, more comfortable and more enjoyable.
Your backpack should be roomy enough to carry all your gear without needing to stuff it to the brim. For a full day’s hiking in spring, summer or autumn, a 20 to 35-litre backpack is ideal. This size of pack is often referred to as a ‘daypack’.
The following packing advice on how to pack a hiking backpack is based on hillwalking in three-season conditions. For winter trips, most of the advice still applies, although in some cases, there’ll be additional hardware and equipment to carry, like an ice axe and crampons. Typically, you might need a 40 to 50-litre pack for winter hillwalking and mountaineering.
Regardless of the size of your pack, additional items can help organise and protect your kit. These include a rucksack liner or dry bags and/or a rucksack cover. Since few backpacks are fully waterproof, these add vital protection from the elements.
Know how to pack a backpack? Learn more about how to make your backpack waterproof.
What to pack for a day hike
- Layers
You’ll usually be wearing walking trousers or shorts, plus a baselayer and midlayer (e.g. a fleece) in the hills. But pack a spare warm layer, ideally a down or synthetic insulated jacket. Even if the forecast is good, it’s worth carrying rain gear, which should include a hooded waterproof jacket and overtrousers. A light windproof or a softshell jacket can also be a good idea, as can spare socks.
Always pack a woolly hat or beanie and gloves, even in summer, since windchill can be a factor in the mountains. A ‘Buff’ is another lightweight and versatile bit of kit that offers protection from cold, wind and sun and can be worn in multiple ways. Keep these items in a small drybag near the top of your pack or in the lid pocket.
- Food
Take a decent lunch as well as a mix of snacks such as fruit, nuts, biscuits and/or chocolate. Pack a little more food than you need in case of emergency. Snacks are best kept near the top of your pack or in easy-access pockets.
- Water
Carry at least a litre of water in a sturdy bottle or canteen, and ideally two litres on longer or hotter days. Larger quantities of water are generally easier to carry in a water reservoir or hydration bladder. Most modern rucksacks are ‘hydration compatible’, which means they have a sleeve for a reservoir and an exit port through which to thread the drinking tube.
- Navigation tools
A map and compass ought to be first on the list for any long upland walk. If your map is not weatherproof, carry it in a map case. Use your map in conjunction with a reliable baseplate compass. An optional extra is a GPS unit, though Mountain Rescue’s advice is not to rely on this alone as a sole means of navigation.
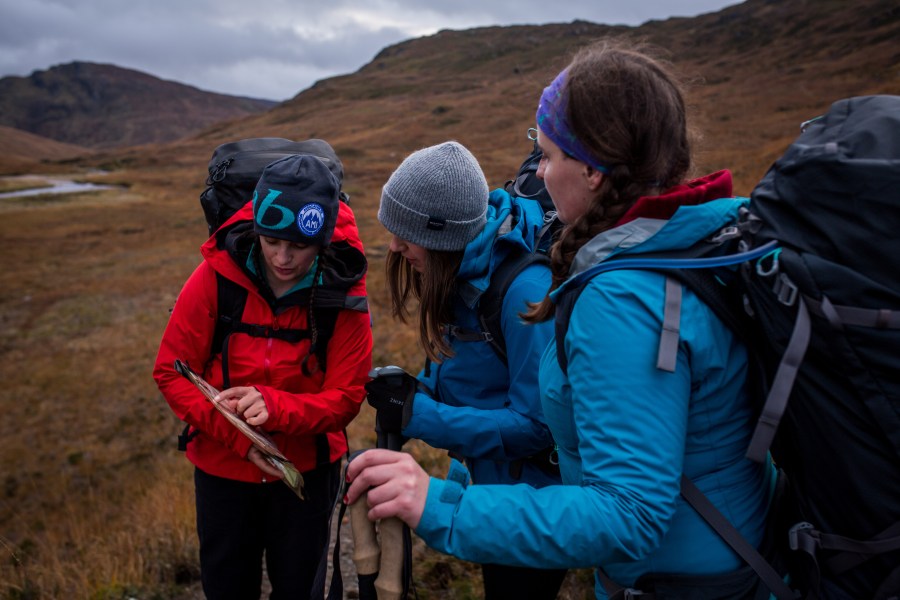
Checking the map. Credit: Jessie Leong.
Although signal in remote areas can be patchy, it’s still wise to carry a fully charged mobile phone. It’s worth registering it with the emergency SMS service before you set out. This allows you to text 999, which often works even if there’s not enough signal to make a call.
Also, carry a fully charged power bank and charging cable. This can recharge a dead phone or GPS device – a power bank rated at 2,500mAh (milliampere-hours) will typically provide one full smartphone charge.
Keep sensitive electronics in a waterproof dry bag and ensure they don’t get wet or cold. Low temperatures can drain batteries fast.
- Emergency equipment
Take a small first aid kit with sterile dressings, bandages and plasters – especially blister plasters, along with antiseptic cream or wipes, paracetamol and ibuprofen. Place it in a waterproof pouch or zip-lock bag to ensure that the contents don’t get wet. Take any regular medication that you may need.
Also, carry some form of ID and an ‘I.C.E’ (In Case of Emergency) card. This should include the contact details of a relative or friend so that emergency services can reach them in the event of an accident. Keep it in the lid or top pocket of your rucksack. Also include relevant personal medical information, such as underlying health conditions, known allergies and details of any regular medication you take.
A survival bag is a useful emergency hillwalking item. If walking with a group, a storm shelter (also known as a ‘bothy bag’) is a good alternative to stick in your pack.
A head torch and spare batteries are more practical than a flashlight and useful if a walk finishes later than planned. It can also be used to signal in emergencies, as can a whistle, though many rucksacks now incorporate a safety whistle as part of the chest strap buckle.
A small repair kit containing safety pins, cable ties, duct tape and a spare boot lace or length of paracord can be useful for making emergency repairs to clothing, rucksacks and footwear.
Lastly, bring some cash and a credit or debit card too, if only for the pub at the end of the day. It’s a good idea to keep cash, cards and car keys in a waterproof pouch or a dry bag.
- Extras
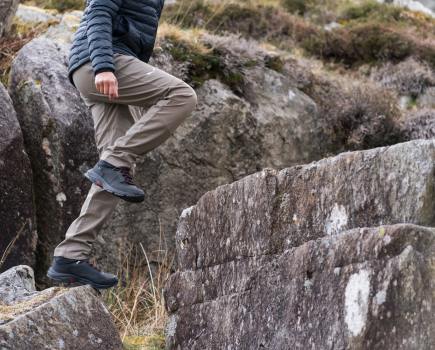
A pair of trekking poles can greatly reduce the impact of walking on your joints. A folding foam sit mat or packable waterproof fabric mat can help to avoid a cold, wet or muddy bum. A good guidebook can really enhance a walk – as can a nature guide and/or a journal and pen.
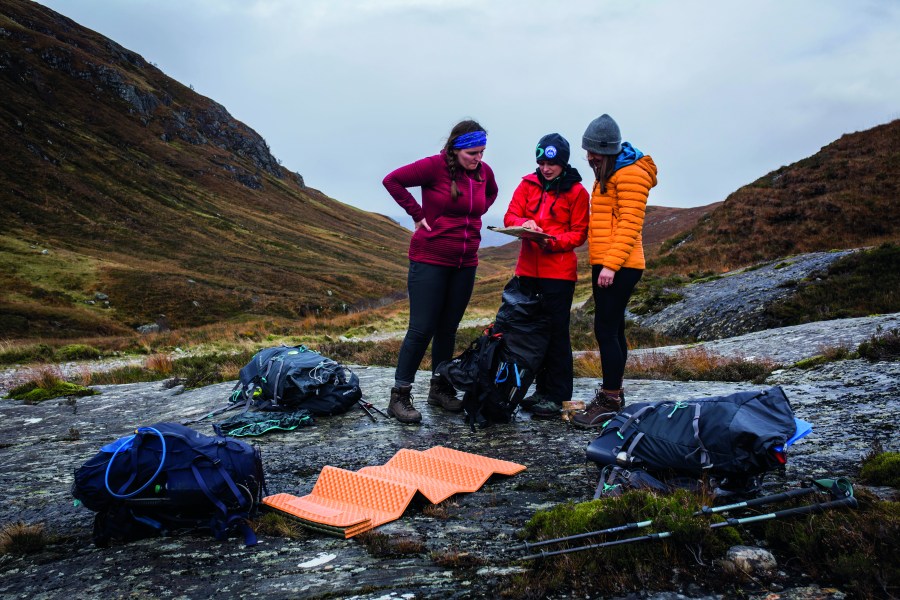
Backpacking through the Grey Corries. Credit: Jessie Leong.
Help to ensure the countryside is as clean as you found it – or even cleaner – by taking a rubbish bag. For maximum outdoor karma, pick up any litter that you find on the route too.
In high summer or if you’re going trekking in a hot climate, don’t forget suncream (SPF 25 minimum), insect repellent (and possibly a midge head net for Scottish hillwalking), SPF-rated lip balm, a full-brimmed hat or baseball cap and sunglasses (rated ‘UV400’ for full protection).
A Thermos-style vacuum flask is also good for keeping drinks both hot and cold. This is useful for tea, coffee or hot chocolate on cold days, but also for ice-cold water on hot days.
How to pack a backpack for multi-day walks
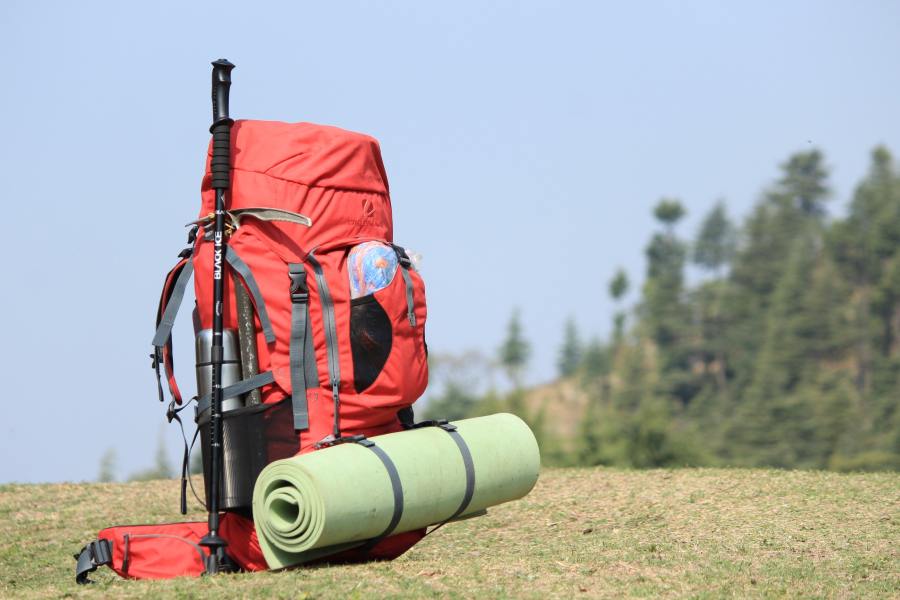
For longer trips, particularly if you’re backpacking a long-distance trail or going on a trekking holiday, you might need a bigger rucksack, to accommodate extra clothing and camping gear. Multi-day packs range from around 45 to 75 litres plus. Unless you’re going on an extended expedition or to a particularly remote/extreme environment, we wouldn’t recommend going much larger than this – the temptation with a bigger pack is always to fill it with unnecessary ‘just in case’ extras, which makes for a back-breaking load.
Given that you’ll be carrying more stuff, it’s worth creating a kit checklist to ensure you don’t forget anything essential. There are plenty of backpacking kit lists online, but since every person and every trip are different, a ‘one size fits all’ approach isn’t always going to work. So, in our experience, the easiest way to come up with a personal checklist is to think about the different parts of your day on the trail or in the hills, and go from there. For example, what will you need while you’re actually hiking? What will you need when you stop to set up camp? For cooking and eating? What will you need to sleep comfortably at night? This will help ensure you’re embarking on how to pack a backpack that’s right for you.
Next, it might help to group those bits of gear together, and maybe even consider keeping them all in separate small drybags. You can often buy these in multi-coloured sets, which are a great way to organise your kit. This also stops smaller items from getting lost in your pack.
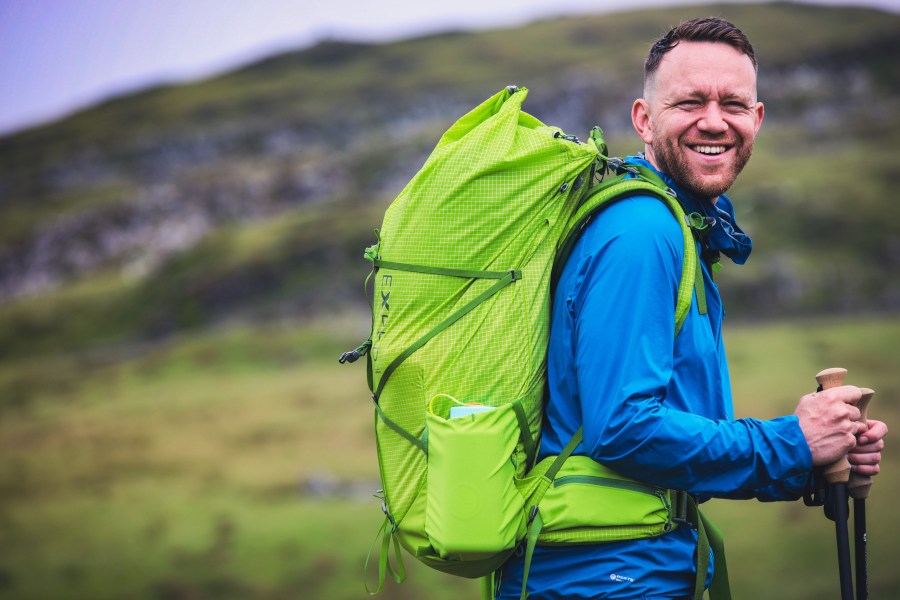
Once your kit is organised, it immediately becomes easier to load your rucksack and it makes understanding how to pack a backpack much easier. Aim to pack the main compartment pretty tightly, while still leaving a little space or ‘rummage room’ in the top. Also make use of any side, front, hip belt and lid pockets – these are obviously ideal for storing quick access items.
Credit: Guduru Ajay Bhargav
Many packs also have daisy chains and webbing straps that allow you to attach equipment to the outside. While this can be useful in some scenarios, in general we’d recommend avoiding strapping too much kit to your pack. It tends to shift around while you’re walking and can also get snagged on overhanging branches or barbed wire fences. We’ve even known some straps to work loose and tents to go tumbling down the hillside – not good.
- Water first*
*This only applies if you use a hydration bladder or water reservoir while hiking or backpacking. But if you do, fill it, check it isn’t leaking and then slide it into the hydration sleeve of your rucksack. If you’ve ever tried to do this after you’ve already packed the rest of your kit into your bag, you’ll know precisely why it’s an essential first step.
If you use soft-sided flasks or water bottles, these are usually best placed in the side pockets, so you can deal with them later – see step 6.
- Camping kit next
If the stuff sacks of your tent, sleeping bag and sleeping mat are fitted with compression straps, use them to cinch these items down to minimise their packed size. Then slide them in lengthways to fill the bottom of the main compartment, so they sit against the back panel, either side of your spine. Stuff your sleeping mat tightly in-between, plus your camping pillow if you use one.
- Cooking and mess kit
Next, other hard and heavy stuff, which is usually your camping stove, pots and pans, and mug or bowl. Try to nest everything together tightly, using a sponge or piece of dish cloth to prevent rattles if necessary. Again, place all this kit close to the back panel for optimum stability.
- Wash kit
Since you generally only need this at the start and finish of a day, it can go in next. We like to wrap our toiletries in a small microfibre travel towel. If you’re wild camping, you might also need toilet paper in a zip lock bag, plus hand sanitiser and a small cat trowel.
- Spare clothes and food
Keep your fresh clothes in a small dry bag, which might include your layers for sleeping in too. Place these in next, using them to fill out any space around your camping and cooking equipment. Then put in your food, placing them near the top of the pack so your precious supplies don’t get squashed.
The Fell Foodie‘s wild cooking equipment. Credit: Jessie Leong.
- Extra layers
If rain is forecast, it’s often a good idea to stick your waterproofs in a front stuff pocket for super-fast access. If your pack doesn’t have one, just place your jacket and overtrousers high up in your pack. Also stash an insulating layer here, like a down puffy. This ensures you can easily put on a warm layer whenever you stop to rest or eat.
- Pack your pockets
Usually, hip belt pockets are the ones that are easiest to access with the pack on. You can stick snacks and handy items like your compass in here, to save taking your pack on and off throughout the day. Other items, like a first aid kit and a headtorch, as well as hat and gloves etc, are best placed in lid pockets. Use the side pockets for a flask or water bottle.
You might want to keep your phone handy for navigation and photography, so many hikers keep this on their person, ideally in a chest pocket. Otherwise, stick it in the inner lid pocket or in the main compartment, ideally in a pouch or sleeve, where it won’t get wet or cold (low temperatures tend to drain phone batteries fast).
- Compress and cinch
Lastly, tighten the compression straps on your bag. This not only secures your load, stopping items from shifting around inside the rucksack, but also stabilises the pack.
To see more from Matt check out his author page here: Matthew Jones – Writer