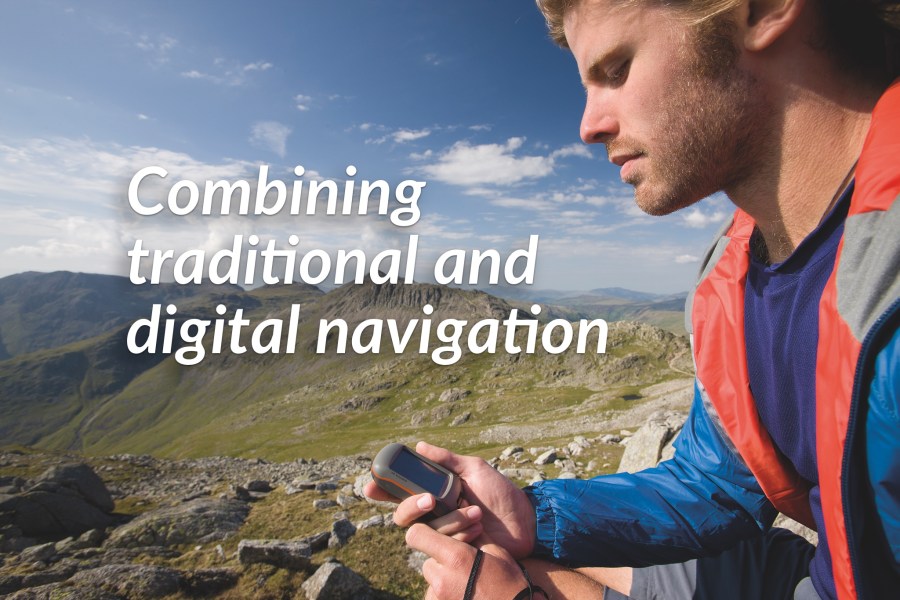
Our guide to the different ways in which you can use GPS and traditional navigation tools together – and some of the issues you need to bear in mind when doing so.
A version of this guide was first published in the September 2018 issue of The Great Outdoors.
Important! Before you read this, make sure you absorb the advice in our guide to mountain navigation fundamentals.
Contents
- The tools at your disposal
- The importance of map-reading
- Grid references
- Digital mapping: planning
- Digital mapping: printable maps
- What your GPS can do
- Where digital falls down
- How Chris Townsend uses a GPS with his compass and map
The tools at your disposal
Last year, The Great Outdoors conducted an online poll to find out about the means by which our readers navigate in the hills. The results showed that most hill-goers polled use both digital technology (mobile phone apps or GPS devices) as well as a map and compass.
We weren’t surprised to read these results. Time has moved on, and our readers are a sensible bunch. With the right skills and experience, a map and compass are generally all you need, but successful navigation is all about making the most of the tools that you’ve got, and the more tools you have at your disposal, the easier things will be.
Maps (whether on paper or a reasonably sized screen), compasses and GPS devices are different tools which are useful for different reasons. Used intelligently together, they can be much more effective than each on their own would be (we’d never recommend going without a paper map and compass, because technology can fail).
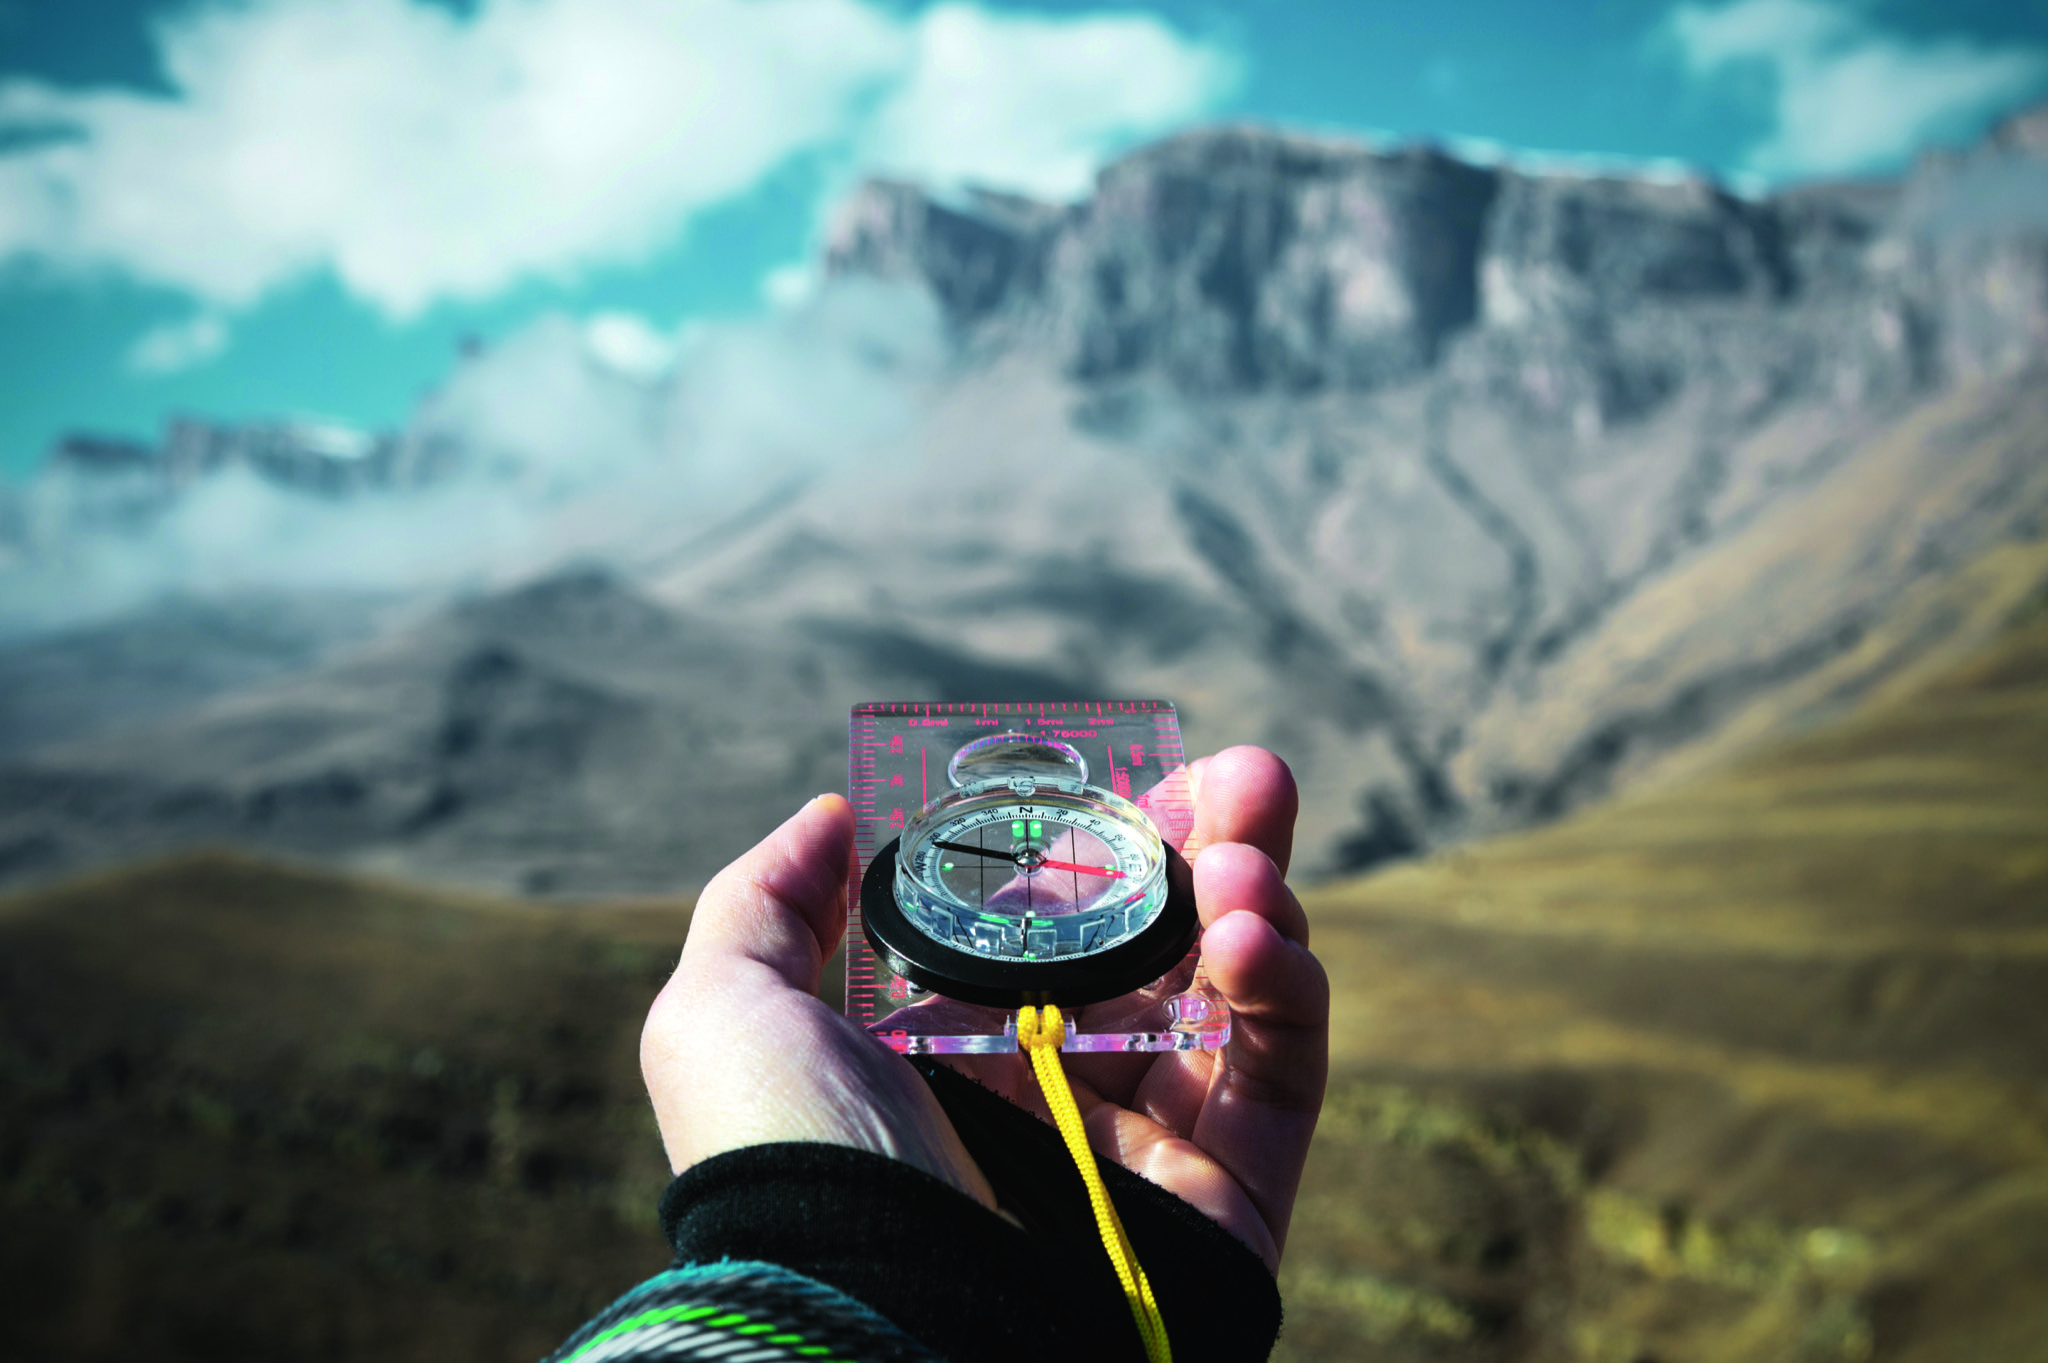
Image: Shutterstock
The importance of map-reading
A map is the ultimate journey planning tool. Whether you’re using a paper sheet or digital mapping on a computer, it will let you see a whole area at a glance, or focus in on details. The crucial skill, both at home and out on the hill, is to be able to read your map – to interpret the contour lines and features to build a mental picture of the shape of the land.
A GPS is only so accurate. With a typical position uncertainty of 15m, you could be as much as 50m away from the exact point you’re expecting to be. This could be confusing if you didn’t have your map to refer to – knowing what to expect from the terrain around you helps you to interpret what the GPS is telling you, and so gives you a chance to avoid doing something daft (“no, we’re definitely on the path down to the pub – my GPS says so. What do you mean, we’re about to descend into the wrong valley? Slope aspect? What’s that?”).
Grid references
A grid reference is a crucial tool for sharing locations with other people, and can also help you quickly cross-reference between your GPS device and a map.
It’s straightforward enough to read a 6-figure grid reference from a map, by dividing each grid square into 10 sections on each side, which will give you a position to 100m of accuracy.
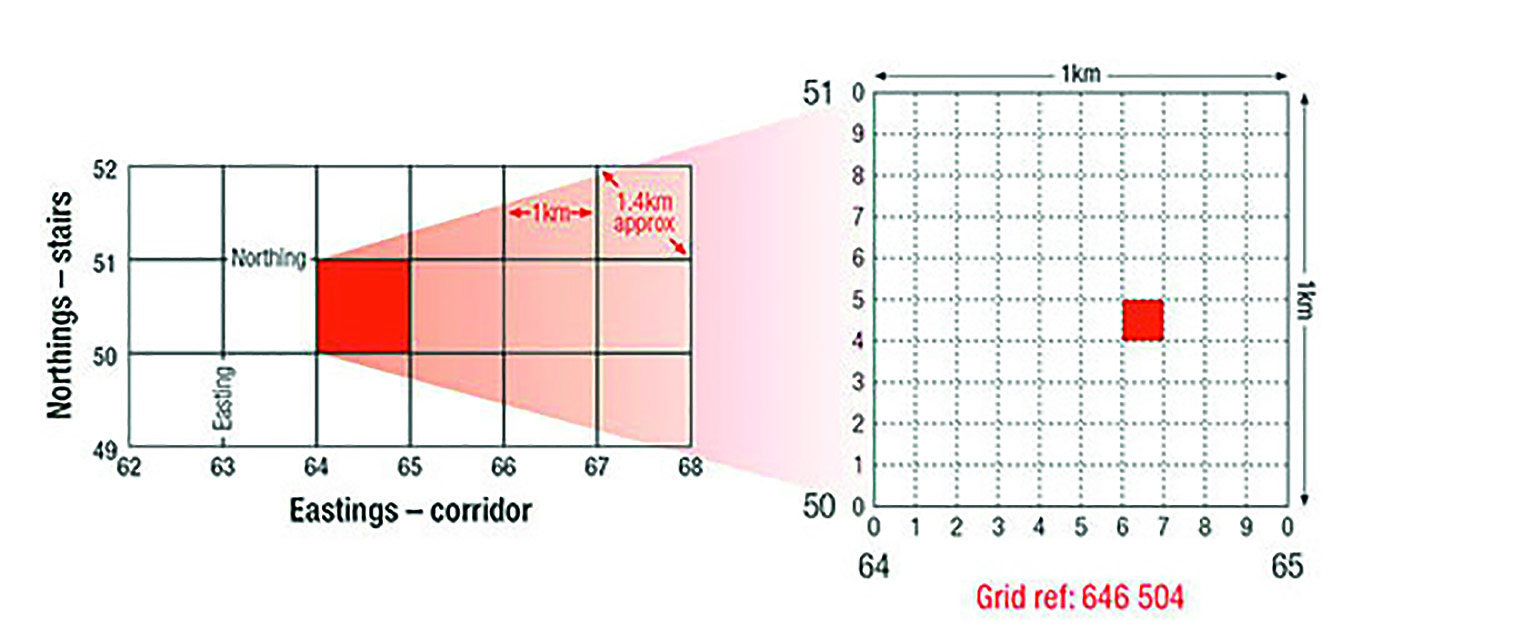
However, most GPS devices will give you a 10- or even a 12-figure grid reference, telling you a position to within 1m or 10cm respectively. To convert one of those to the familiar 6-figure grid reference, ditch the grid square letter code, split the numbers in half (so, two five-digit sets for a 10-figure ref) and take just the first 3 figures of each set.
For example, the 10 figure reference NN2543385732 becomes NN 25433- 85732, which gives a six figure reference of NN254857.
Digital mapping: planning
There’s something special about the tactile pleasure of planning on a paper map, but an infinitely scrollable digital map can be a lot more convenient than multiple OS sheets laid side-by-side on a table; you can zoom in to examine detail, or zoom out to get the big picture.
Most services make it easy to calculate mileage and ascent, and it’s easy to share the final route in a form that can be posted online, archived on your computer, or printed out. Waypoints can be added and annotated, usually with custom icons to denote features such as campsites, water sources, or danger zones. But perhaps the main benefit of digital planning is that you can transfer the route to your smartphone or GPS and refer to it while on the hill, either for direct navigation or as a back-up. Slavishly following the onscreen arrow isn’t wise, but it can give a valuable extra perspective.
Digital mapping: printable maps
On a long-distance trail the weight and bulk of shop-bought maps does add up. If cutting off covers and trimming bits you don’t need feels like sacrilege, it’s time to consider printing your own maps.
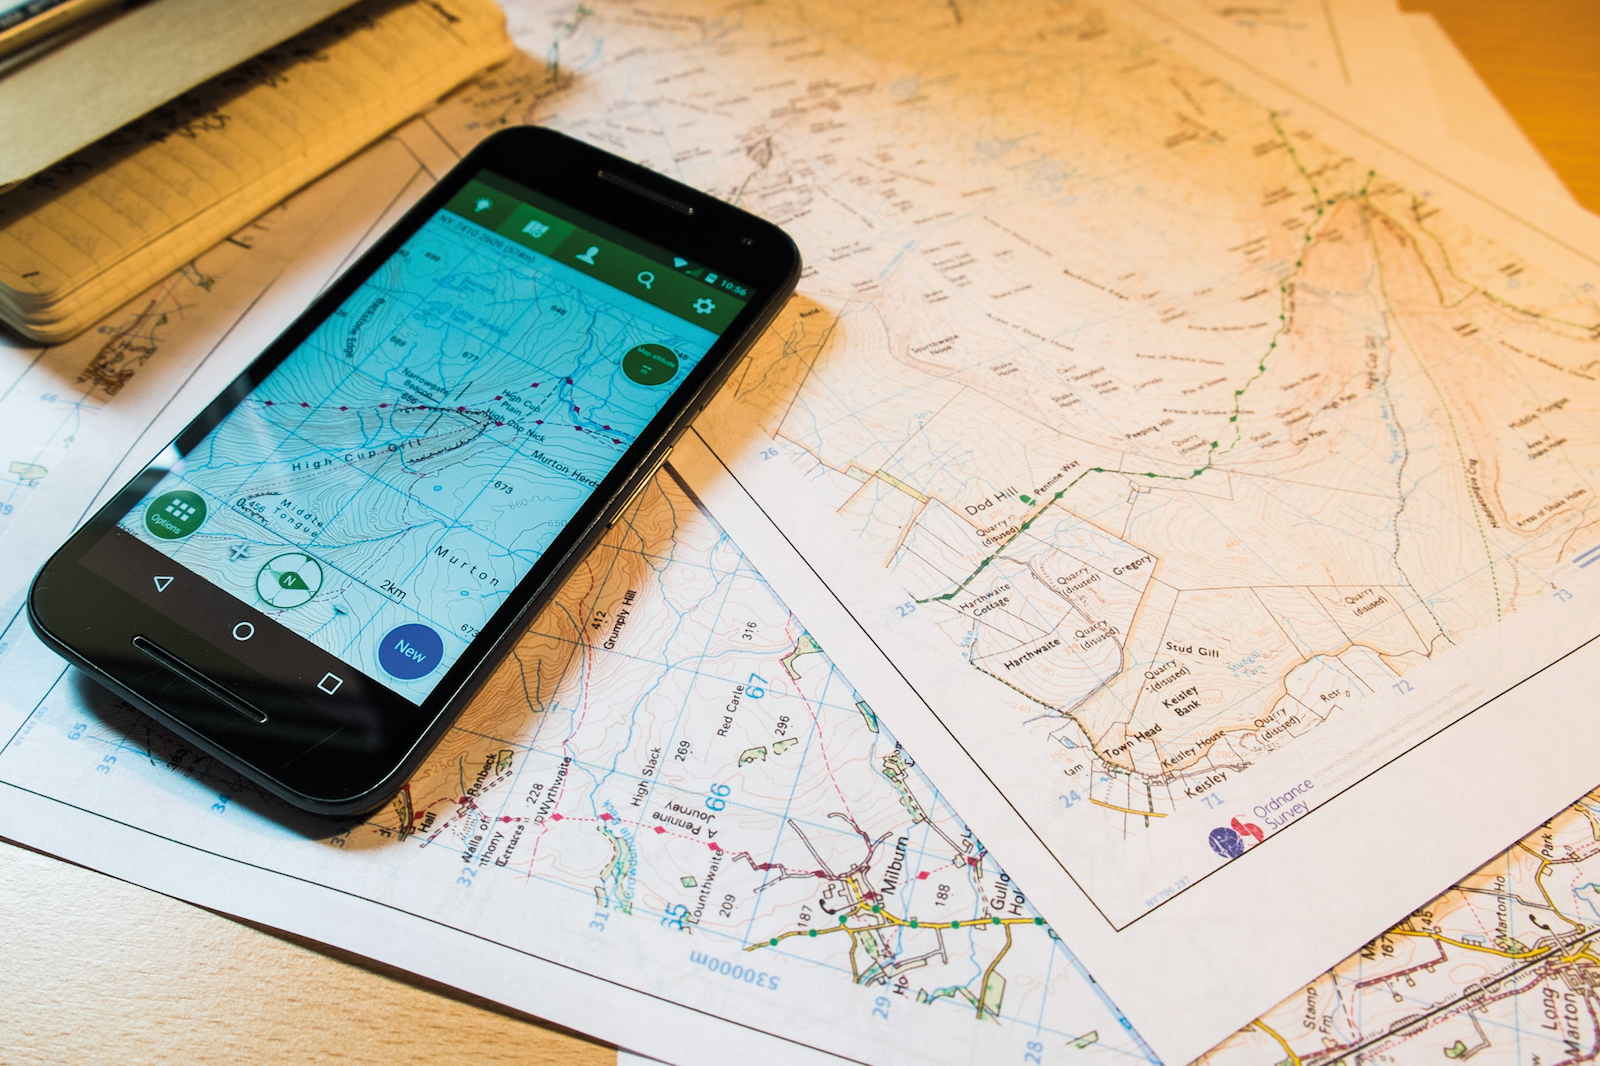
Image © Alex Roddie
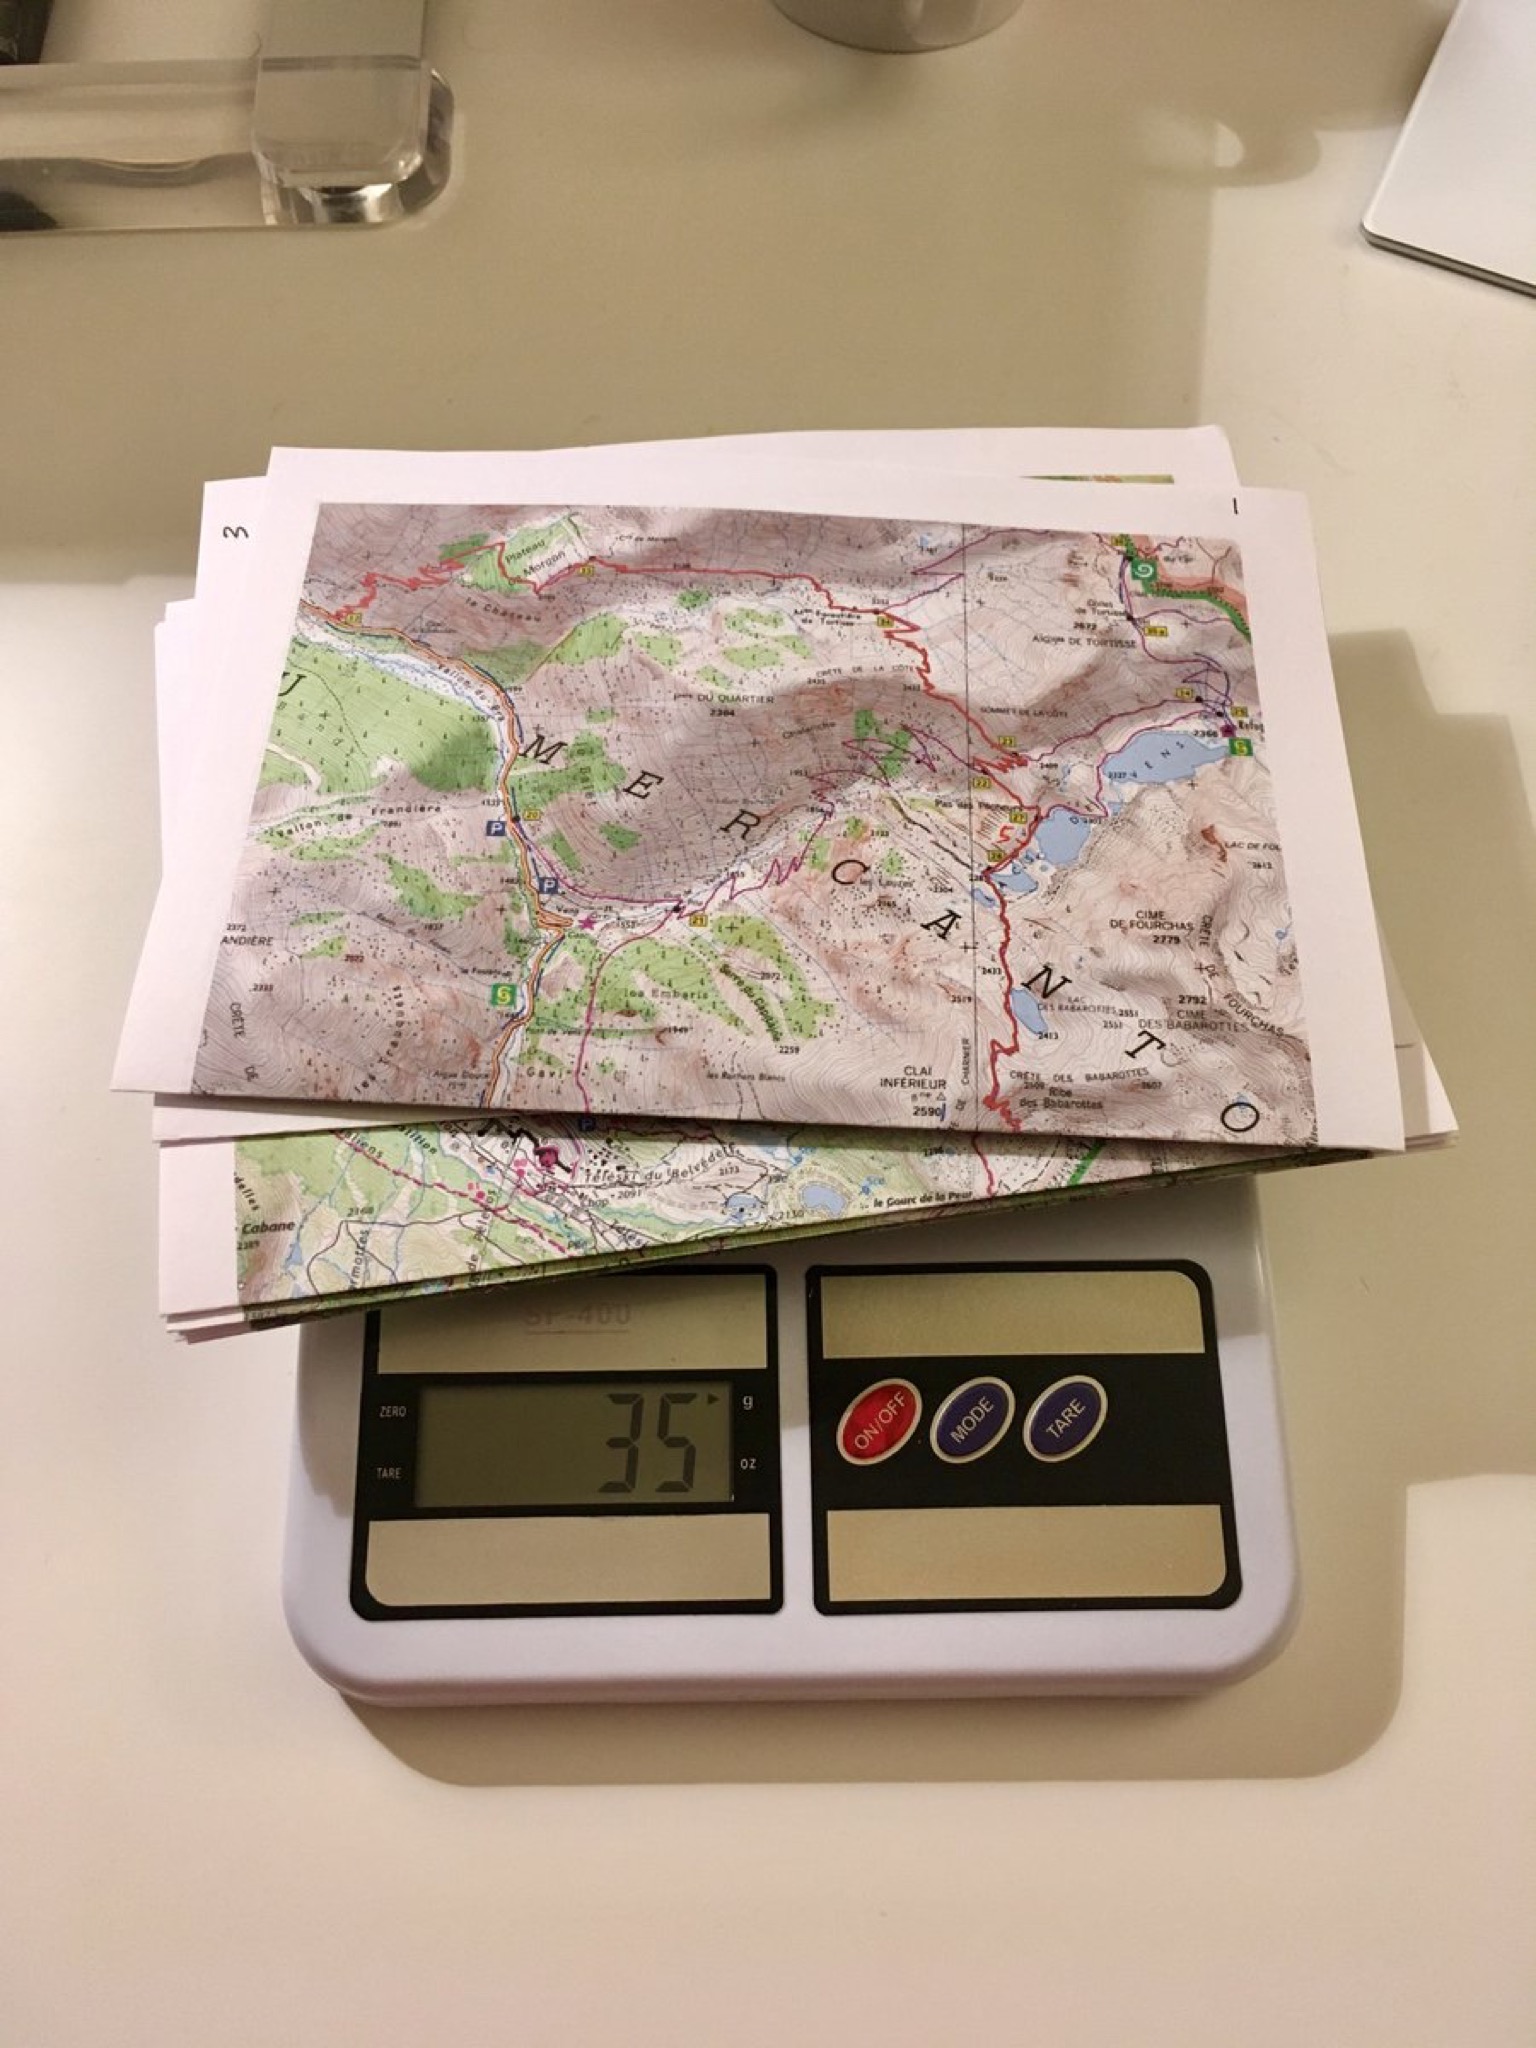
Printable maps offer substantial weight savings
© Alex Roddie
A service like OS Maps or Anquet lets you access mapping for the whole country and print out as many maps as you like at 1:25,000 or 1:50,000 scale. Printing your own maps lets you only carry the mapping you actually need (pro tip: don’t forget coverage of foul-weather alternatives and escape routes). Sheets can be put in a Ziploc bag for waterproofing, and if they get trashed it’s not the end of the world. On a long trail it’s easy to burn map sheets when you no longer need them, or recycle them when you get to town.
For long-distance hikers, or walkers frequently visiting new areas, this can work out cheaper than shop-bought maps too. Anquet and Memory Map allow you to purchase as much mapping as you need; Anquet also lets you take out a subscription giving you unlimited access. OS Maps offers a subscription. Anquet and OS Maps both cost roughly £25/year for an equivalent service at the time of writing. All three services mentioned combine planning with map-printing from your computer, and offer companion smartphone apps for use on the hill. ViewRanger is a good choice for planning and navigation but lacks the ability to print maps to an accurate scale, which is essential if you want maps you can use with a compass for advanced navigation.
What your GPS can do

Image: Shutterstock
Depending on your device and how it has been customised, your mobile phone, handheld GPS or GPS watch could offer the following tools to aid in your navigation:
- Route tracking. Leave breadcrumbs along the way to enable you to retrace your steps if you get into navigational bother or if returning after dark.
- Grid reference. It might not be 100% accurate but is likely to be close and, combined with map-reading techniques can be very reassuring if you need to relocate yourself or in poor visibility.
- Distance travelled. Again, details of how far you’ve walked can help you relocate yourself on the map or provide reassurance.
- Proximity alarms. To notify when you’ve veered off-course when following a pre-uploaded route.
- Downloaded mapping. You don’t need to be within data range to view maps on your phone.
- Altimeter. This can be handy to narrow down your position, or to help confirm location. Unfortunately, GPS is notoriously inaccurate at calculating altitude and cheaper GPS handsets don’t have a barometric sensor.
- Compass. Invaluable if your main one fails. However, cheaper handsets don’t always have a magnetic compass and may be unreliable.
- Augmented reality ViewRanger premiered the use of augmented reality to enable users to see mountain skylines labelled with mountain names.
Where digital falls down
While new technology can offer an exciting array of new toys to play with, it’s not without faults – which is why you should always carry a paper map and compass.
Battery life
This is the big one. Using your phone for navigation can suck up a lot of battery, particularly if you’re following tracks rather than taking your phone out only to occasionally check your location. Remember that you’ll also be eating up its batteries if you use it as your camera. Carry back-up battery packs or chargers and make sure you leave enough battery to use your phone to call for help in emergencies. If you’re carrying a handheld GPS or wearing a watch, make sure you know its battery life – again, if you’re dropping breadcrumbs it can wear out surprisingly quickly.
Water ingress
Electronic gadgets don’t like water much. If you’re navigating through the rain or there’s a risk in submersion during a river crossing, consider storing your device in a waterproof case like an Aquapac or equivalent. Some units and even phones are now waterproof.
Military jamming
The Ministry of Defence occasionally conducts tests on military systems which may result in temporary loss of GPS functionality for civilian users. This is usually communicated via Ofcom.
How Chris Townsend uses a GPS with his compass and map
“GPS is usually regarded as an alternative to map and compass, and debates rage over which is best. I don’t see it like that. I see them as complementary and I use all three together, especially GPS and compass. This, I think, maximises the efficiency of each technology. Using them like this means that I don’t think of any of the tools as a back-up but rather as part of a system. Of course, if any item fails (the last to do so for me was a compass) then I can still navigate.
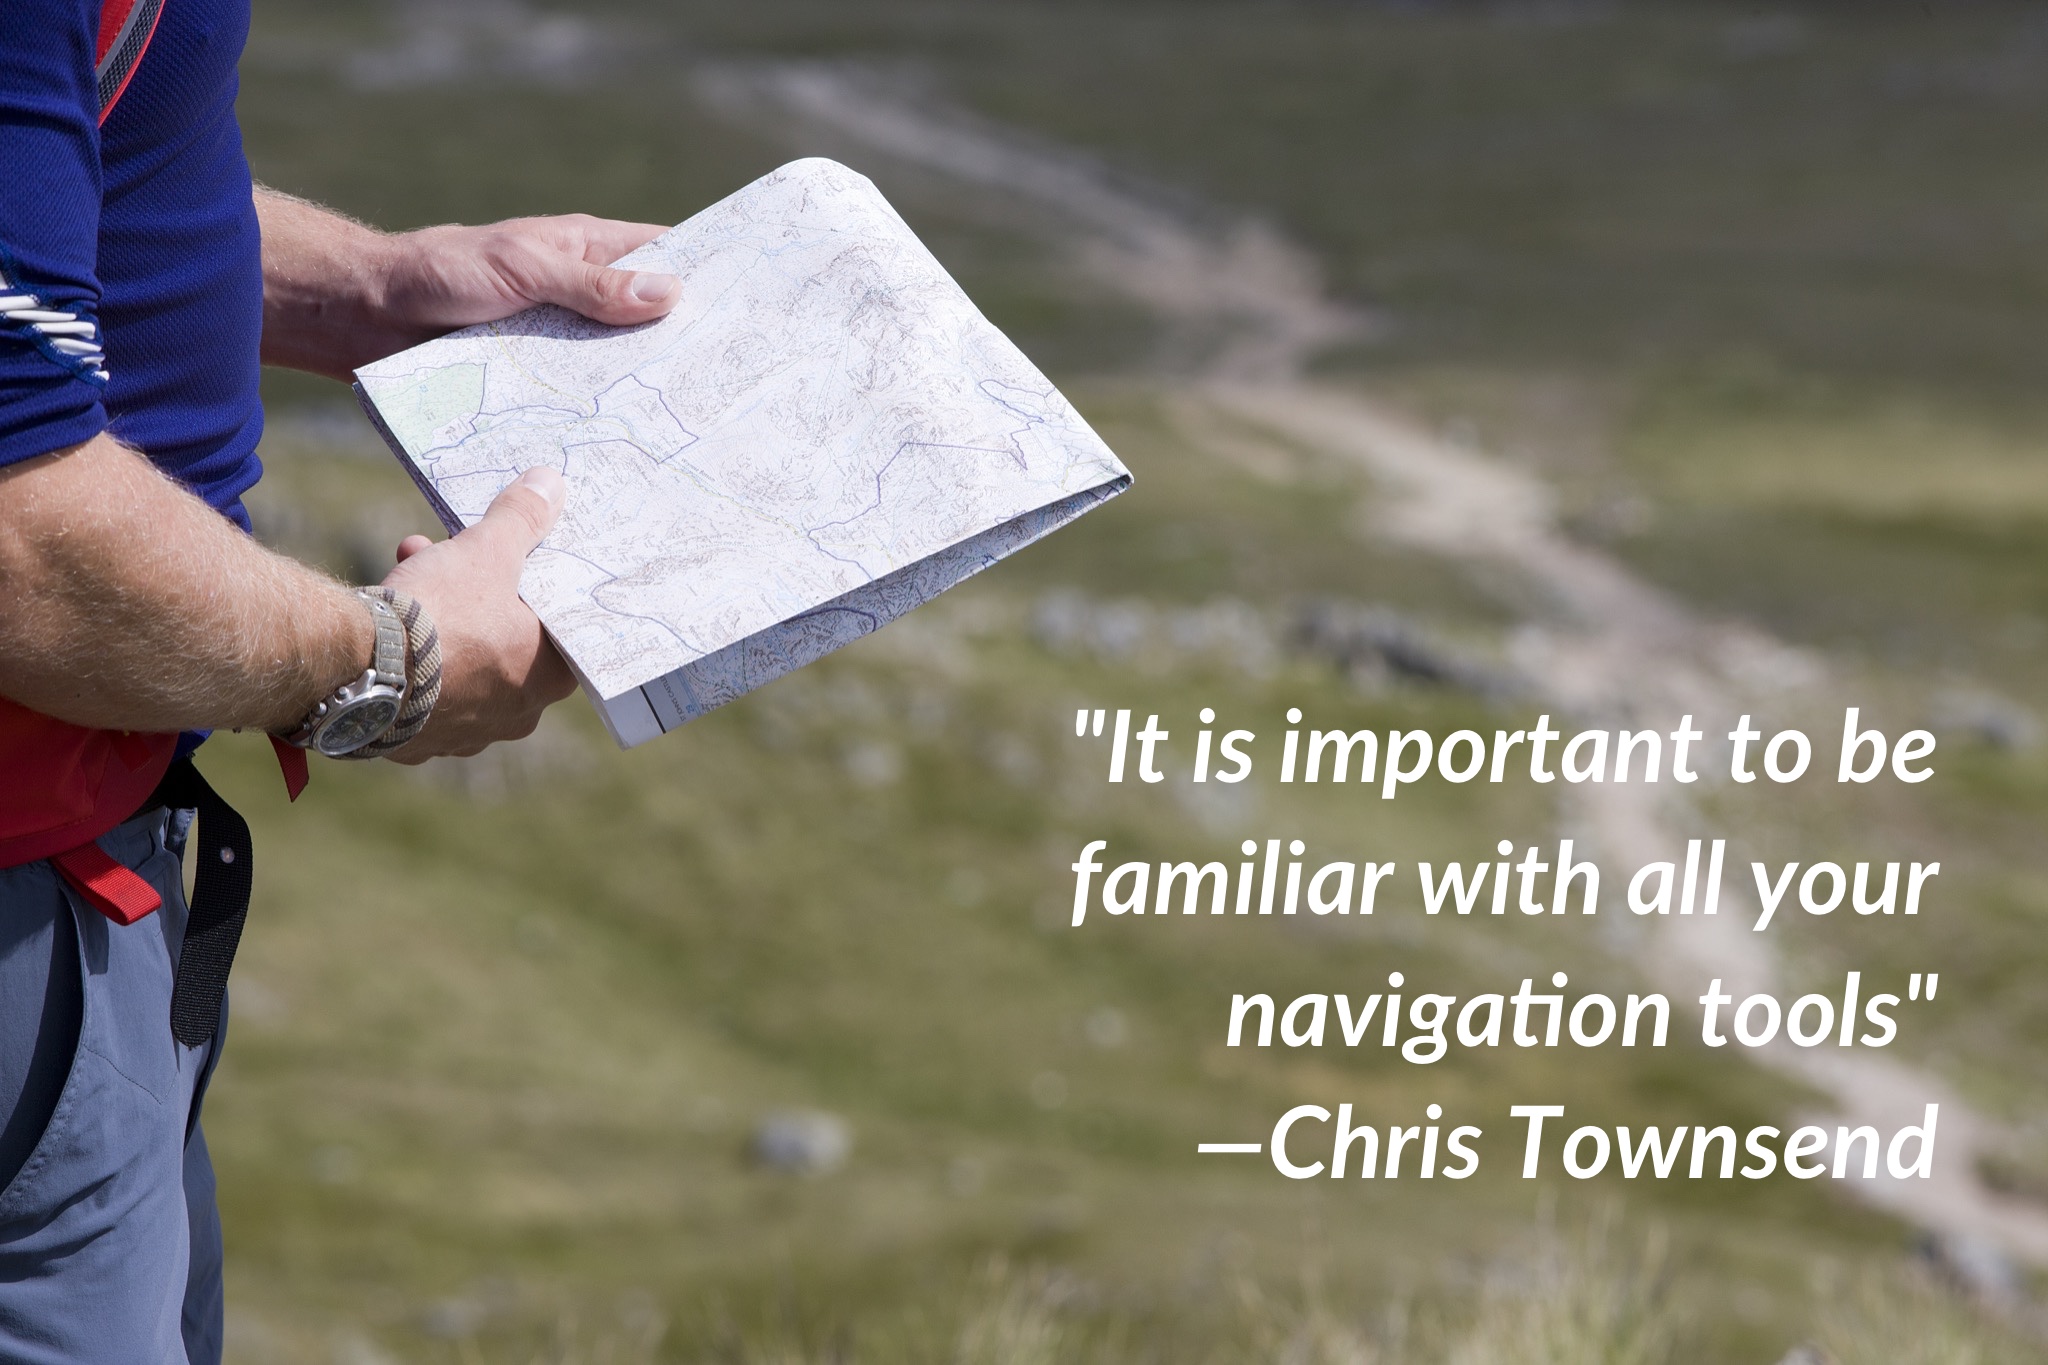
Image © Tony West
“The item that I use least when actually walking is the printed map. I use this for planning at home or in camp on multi-day trips and for identifying distant peaks and features during the day. Occasionally I may check it for an overview of the route to come when sitting on a summit or pass with a good view of the landscape. In mist I may take a bearing off it, but this is rare nowadays.
“You can hold the GPS unit in your hand and follow the line of your route on the screen as you walk, but I find this clumsy and distracting for more than a short distance”
“The mapping I use in the hills is a digital version of an OS or Harveys map on my smartphone – a standalone GPS unit would do as well. (Google Maps and similar are not any near adequate for navigation in the hills; they’re the digital equivalent of a road atlas). The GPS app I use for my digital map is ViewRanger. There are others but this is the one I’ve used for many years and feel comfortable with. It is important to be familiar with all your navigation tools.
“You can hold the GPS unit in your hand and follow the line of your route on the screen as you walk, but I find this clumsy and distracting for more than a short distance. I’m not in the hills to stare at a screen! Doing this is also a good way to rapidly run down the smartphone or GPS battery. Instead I open ViewRanger and locate my position on the map – this usually only takes seconds. I then orient the map with the landscape, just as I would a printed map. Once I’ve done this I locate a distinctive feature I can see on my route and take a compass bearing on it. I then walk towards it, checking the compass bearing if the feature disappears from view. If I end up having to deviate from the route due to an obstacle and I can’t see or identify the feature any longer I locate my position on the digital map again and take another compass bearing if necessary.
“In poor visibility I still prefer to walk on a compass bearing but having located my position on the digital map I then start walking with GPS in hand to ensure I’m heading the right way and to get a bearing from the electronic compass that I can transfer to the magnetic compass.
“I find using map, compass and GPS like this quick and efficient. One word of warning though – it’s important to keep your magnetic compass away from smartphones and GPS units, as close proximity can cause reverse polarity, meaning the compass needle points south instead of north. If it did so exactly it could still be used but usually it doesn’t and so is unreliable. I keep compass and smartphone in different pockets and put one away before getting out the other.”
Header image © Tony West