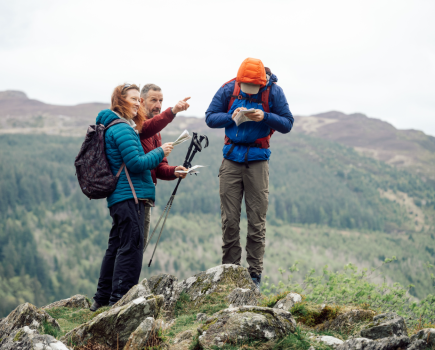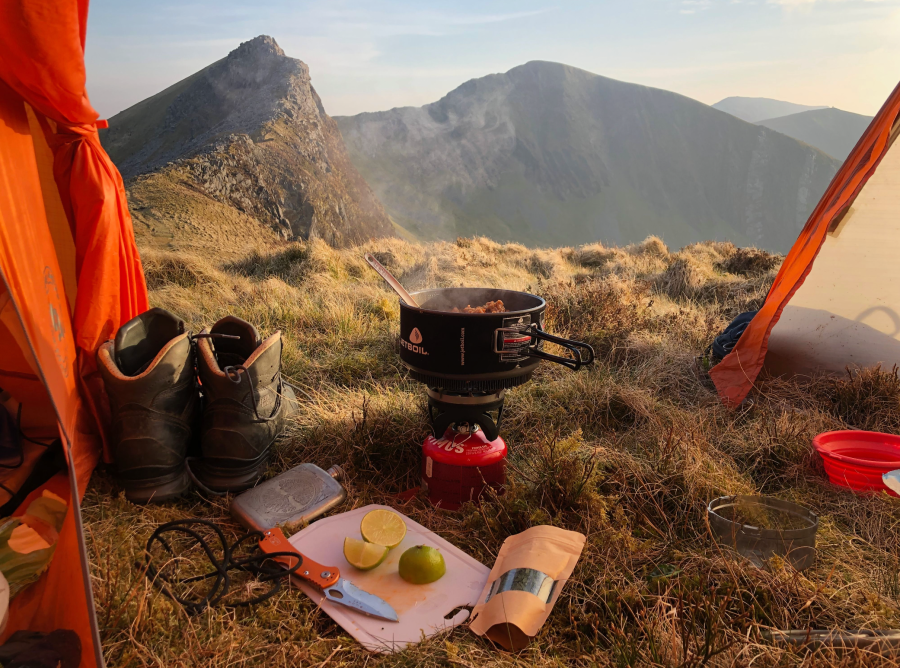
What makes the perfect wild camp? A high spot, a clear sky and a dramatic sunset top the list – but most of us wouldn’t say no to a hot, home-cooked meal bubbling away on the stove. It’s easy to push backpacking food down the priority list when you’re planning an expedition. Working out how to carry enough calories for a multi-day trip is enough of a challenge without considering what the stuff actually tastes like.
But learning how to up your gourmet game – particularly when it comes to dehydrated meals, three of which you’ll find the recipes for below – can make a big different to enjoyment and motivation levels on the hill.
Making your own dehydrated meals isn’t for everybody. I think it depends on a few things – your willingness to go through the effort, your interest in what you eat, and the priority you place on good-quality wholefoods.
It’s theoretically possible to make dehydrated meals in a normal oven but far more straightforward to invest in a dehydrator. With a purpose-made dehydrator you can maintain a safe temperature that dries the food without continuing to cook it. The best thing about dehydrators is how easy they are to use. Most have a single temperature dial accompanied by a guide to how long different food stuffs take to dehydrate. Meals need to be cooked first, then spread out on individual dehydrator sheets for between 10 and 24 hours.
When the dehydrator has worked its magic, I recommend dividing your food into portions – first calculating the calories in each portion to fit your own calorie needs – and storing it in air-tight, food-safe pouches. If you want the meals to last longer then you can invest in a vacuum-sealer, but most food will keep for up to six months when sealed in an airtight storage bag.
Need some dehydration inspiration? Chillis, tagines, Bolognese and daal all dehydrate really well. For snacks, you can make your own meat- or vegetable-based jerky, or combine dehydrated fruit like apples and bananas with nuts for trail mix. And for breakfast? Believe it or not, baked beans dehydrate really well. I know people who literally buy tinned baked beans, dehydrate the beans, then pack for an easy and lightweight breakfast!
The dos and don’ts of dehydrated meals
DO cook meals where the components can be finely chopped to facilitate the dehydration process.
DON’T buy a circular stacking dehydrator. Those are fine for drying fruit and veg, but if you actually want to make some meals then they aren’t suitable. Buy a model with trays that slide in and out – you can put soups, stews and liquid dishes in there too.
DO cook pasta and rice, then dehydrate it. It sounds silly but it rehydrates far more quickly than if it hasn’t been pre-cooked.
DON’T dehydrate fatty meals. It works best when the food is lower in fat, because fat doesn’t dehydrate. You wouldn’t dehydrate pork, for example.
DO consume dehydrated foods within six months. I find that the meals can go stale. When I take out something that’s been stored for a year, it’s never as good.
CHEF’S SECRET: Raise a dehydrated dish to next level delicious by carrying in fresh toppings and sides. Toasted seeds, herbs, lemon slices, garlic croutons and cheese are all great garnishes.
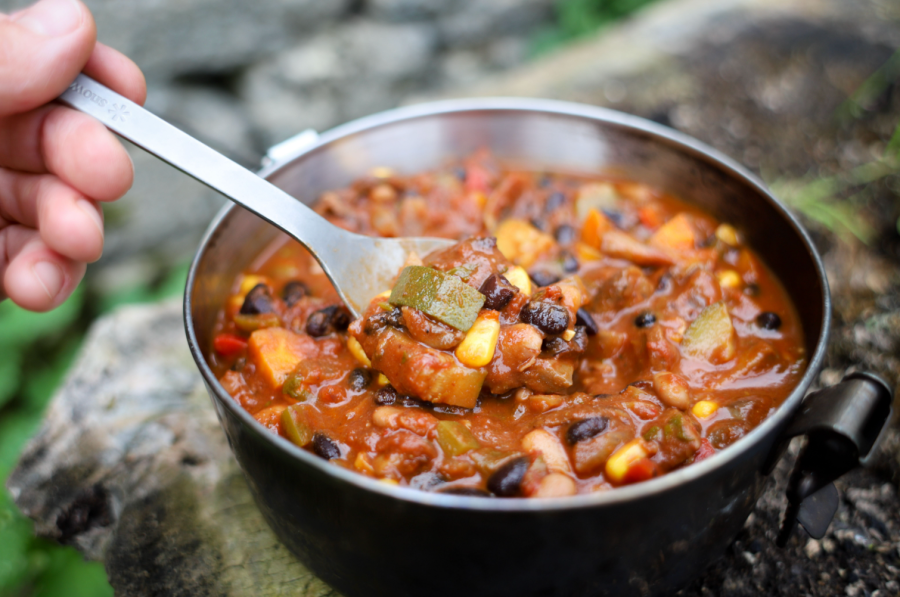
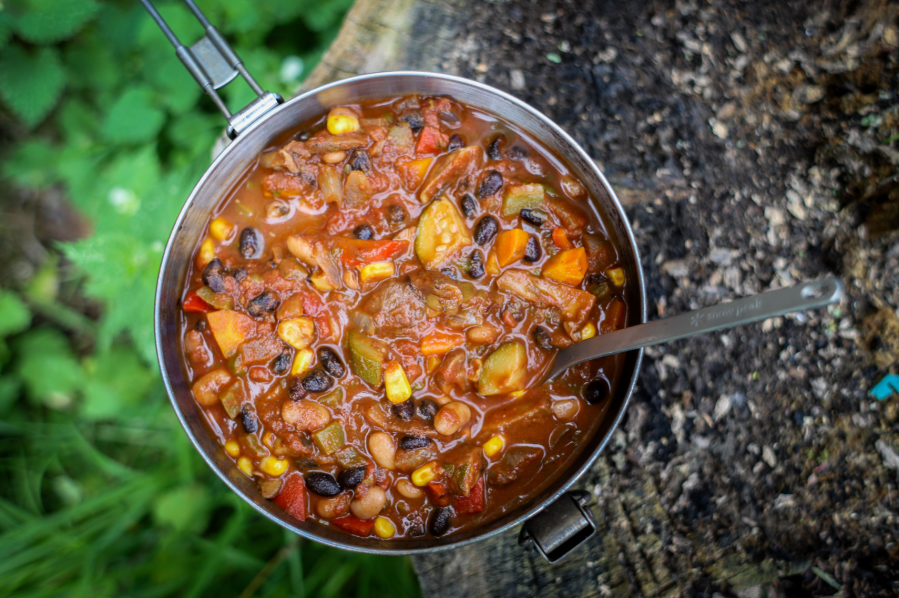
Sweet potato and black bean chilli: DIY backpacking food recipe
Makes 4 servings (540 calories per serving)
Ingredients
- 2 tbsp coconut oil or olive oil
- 1 medium red onion, chopped
- 1 red pepper, chopped
- 1 green pepper, chopped
- 1 carrot, chopped
- 4 cloves garlic, minced
- 2 teaspoons sea salt
- 1-2 large sweet potatoes, peeled and cut into cubes
- Zest and juice of 1 lime
- 2 400g tins diced tomatoes
- 500g cooked black beans
- 1 jalapeno chilli pepper, seeded and chopped – or more if you like heat!
- 1 tbsp cumin
- 1 tbsp chilli powder
- 1 tsp cocoa powder
- 1 tsp cinnamon
- 1 tsp Mexican oregano
- 1 tsp brown sugar (or more to taste)
At home
- Warm the oil in a large pan over medium heat and add the onion, red pepper, green pepper, carrots, garlic, and salt. Sauté until soft – about 4 minutes.
- Add the sweet potato and lime zest, and cook 10 to 15 minutes more, continuing to stir occasionally.
- Add the jalapeno, cumin, chill powder, cinnamon, cocoa and oregano, stir and cook for a minute or two.
- Add the tomatoes, black beans, lime juice and sugar. Bring to a simmer, cover, and cook for 20-40 minutes, until the sweet potatoes are very soft.
- Let the chilli cool thoroughly, then spread on dehydrator trays covered with non-stick sheets or parchment paper and dehydrate at 63°C/145°F for 8-10 hours.
- Once totally dry, pack the chilli into zip lock bags – or use a vacuum sealer for a longer shelf life.
On the trail
- Put the veggie chilli in a pot and pour water over to cover. Place the pot on your stove and heat until boiling. Let simmer for 5-10 minutes.
- Remove from the heat and cover. Let sit for another 5-10 minutes to rehydrate completely.
- Serve with tasty garnishes such as cheese, sour cream or fresh coriander.
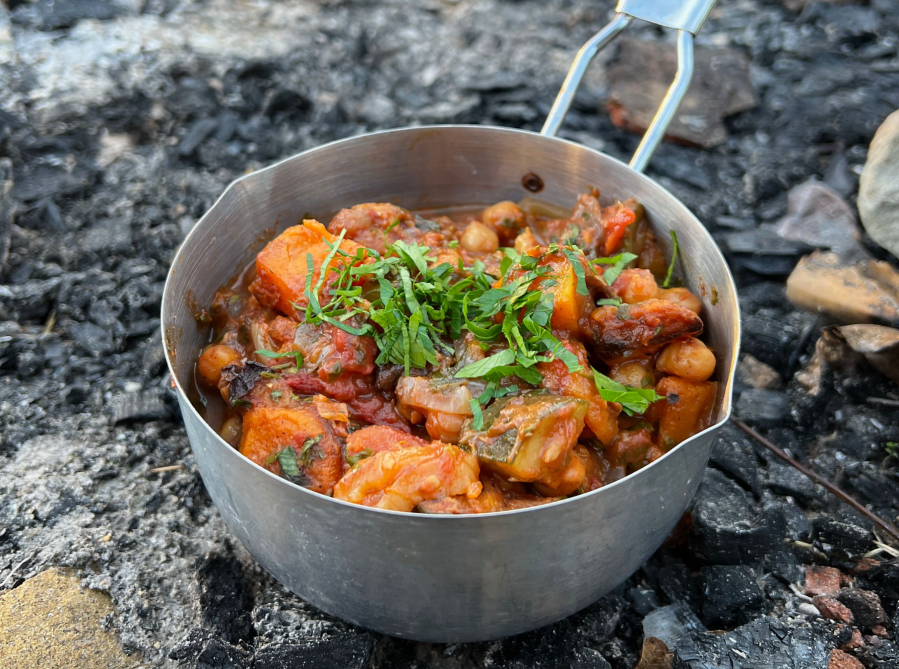
Vegetarian tagine: DIY backpacking food recipe
Makes 6 servings (435 calories per serving)
Ingredients
- 400g butternut squash, peeled, deseeded and cubed
- 4 tbsp olive oil, plus extra for tossing and cooking
- 4 200g courgettes, halved lengthways and thickly sliced
- 1 large red onion, halved and thickly sliced
- 4 cloves of garlic, sliced
- 1 tbsp grated fresh ginger
- 1 tsp ground cinnamon
- 1 tsp ground cumin
- 1 tsp ground coriander
- 6 green cardamom pods, seeds only, lightly crushed
- 400g tin of chopped tomatoes, juice included
- 200ml vegetable stock 2 oranges, rind only, cut in large strips
- 10 dried apricots, thickly sliced
- 400g tin of cooked chickpeas, drained
- 2 fresh green chillies, deseeded and thinly sliced
- 2 tbsp chopped fresh parsley
- 2 tbsp chopped fresh coriander
At home
- Preheat the oven to 200°C/400°F In a large roasting dish, toss the squash in a little olive oil and roast in the oven for 30 minutes.
- After 15 minutes, give the squash a stir, add the courgettes, and roast for another 15 minutes.
- Heat about 2 tablespoons of olive oil in a large pot / casserole dish. Sauté the onion for 5 minutes over medium heat until soft.
- Add the garlic, chillies and spices and cook for another couple minutes.
- Add the tomatoes with their juice, the stock, orange rind, dried apricots and chickpeas. Bring to the boil, cover the pan and simmer for 40-50 minutes.
- Remove the pan from the oven and stir in the chopped herbs and roasted vegetables.
- Spread the tagine onto dehydrator trays lined with nonstick sheets or parchment paper. Dehydrate at 63°C / 145°F for 12-24 hours until totally dry.
- Vacuum pack or store in baggies until ready to use.
On the trail
- If you’re serving this with instant couscous then prep that first: boil water, pour over the couscous and cover it.
- Put your tagine in a pot and add water to cover. Bring water to boil. Turn down the heat and simmer for 5-10 minutes, until chickpeas are fully rehydrated. Add more water as necessary to achieve the desired consistency.
- Serve with couscous or bread. Top with optional extras such as yoghurt, a squeeze of lemon juice, fresh parsley or coriander, toasted almonds and slices of fresh chilli.
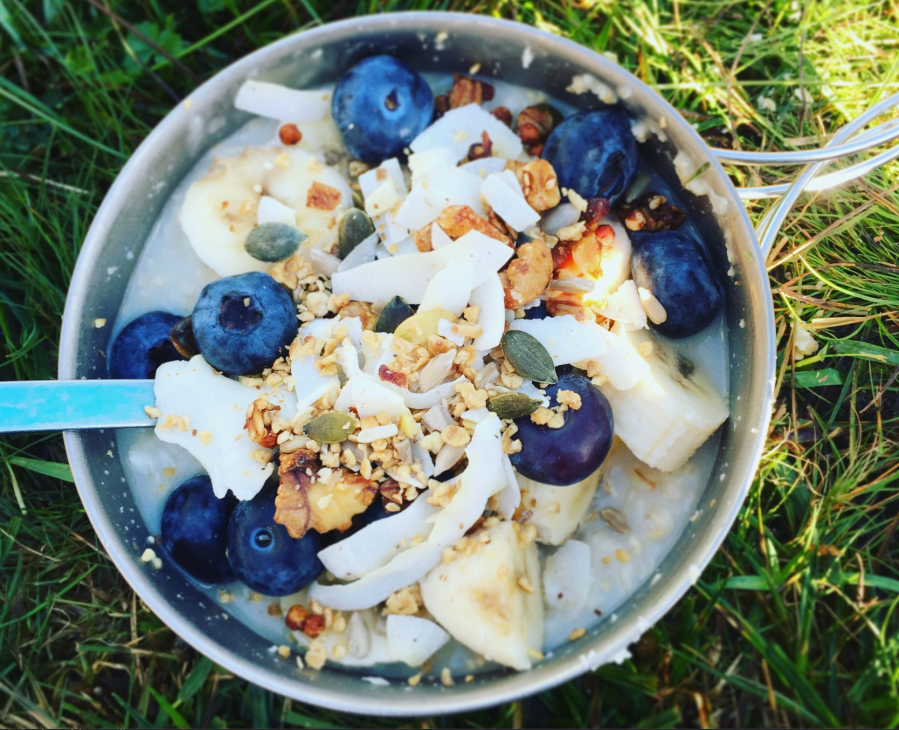
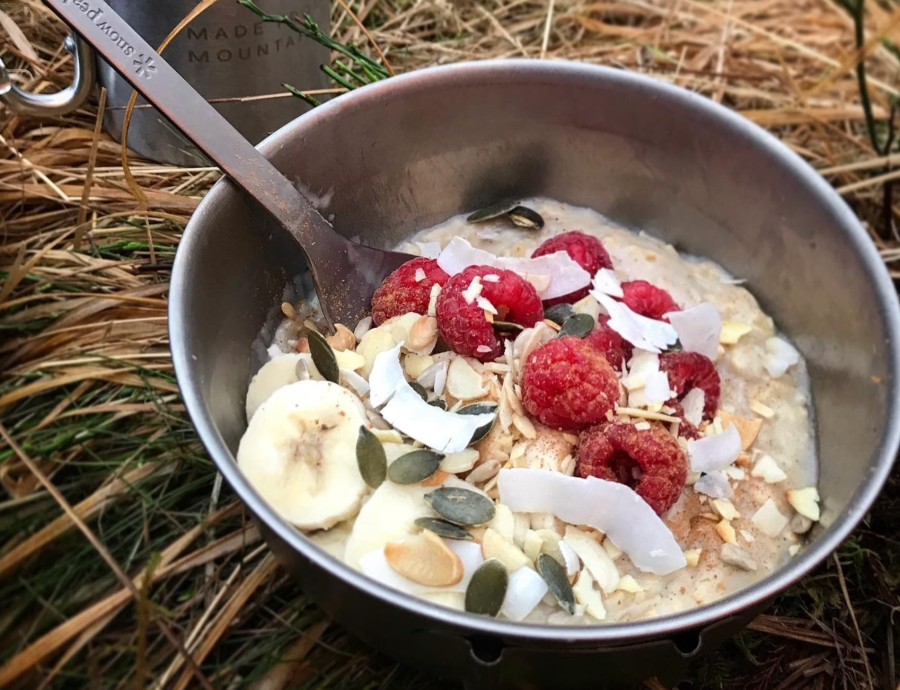
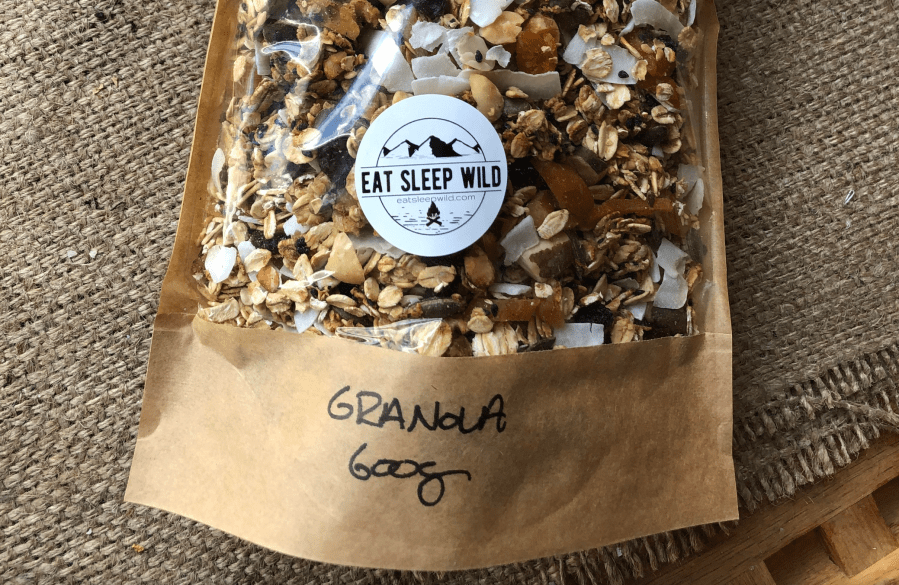
Ultimate trail granola: DIY backpacking food recipe
Makes 10 servings (350 calories per serving)
Ingredients
- 340g jumbo oats (or a mix of jumbo oats with barley flakes or other grain)
- 200g mixed nuts (I love pecans and almonds in particular)
- 50g seeds (pumpkin, sunflower, flax, or sesame)
- 100g dried fruit 90ml honey (or other liquid sweetener) pinch of salt
- Optional add-ins: spices, cacao nibs, coconut flakes, orange zest, freeze-dried berries
- 35g milk powder (for the trail)
At home
- Set the oven to a low heat (around 150°C / 300°C)
- Mix together all the ingredients other than the powdered milk, dried fruit and add-ins, making sure the dry ingredients are well coated with honey
- Spread the mixture thinly over greased baking trays and bake for 30 minutes or the ingredients are evenly toasted
- Stir every ten minutes during cooking
- Add the dried fruit 5 minutes before you remove the granola from the oven
- Allow to cool fully before dividing into 75g servings and transferring to storage containers.
On the trail
Simply combine with the milk and 120ml of filtered water – and enjoy!
Check out more DIY backpacking food recipes at www.eatsleepwild.com or read our expert’s verdict on the best ready-made dehydrated meals on the market.