Ian Battersby took the opportunity to visit the Hadrian’s Wall National Trail for the first time, and discovered a long length of breath-taking scenery and lung-busting undulations.
Hadrian’s Wall became a World Heritage Site in 1987, and the sense of history is as embedded now as were the Roman militia then, stationed here to fend off northern raiding parties. This was the extreme north-western limit of the empire, and certainly no place like Rome, but some argue that skirmishes were scarce, and it was better than risking life and limb elsewhere. And what a view they enjoyed! The wall follows the Whin Sill, a geological fault line of tough dolerite that parades as a rolling scarped edge stretching into the far-flung east. Dolerite is so robust the Romans didn’t use it for the wall, instead quarrying softer stone from nearby locations. The wall forms a natural linear walk, and the B6318 runs parallel at a discrete distance, with plenty of escape routes should the beauty of the area, or the unexpected gradient, make the uninitiated late for the last bus back.
Hadrian’s Wall: route description
START: Thirlwall Castle small car park; GR: NY658659 | FINISH: The Old Repeater Station bus stop; GR NY816701 | MAPS: OS Explorer OL43 (1:25k), Harvey National Trail Hadrian’s Wall Map (1:40k) | DISTANCE: 19.8km / 12.3 miles | ASCENT: 775m / 2,542ft | DURATION: 6.5 hours
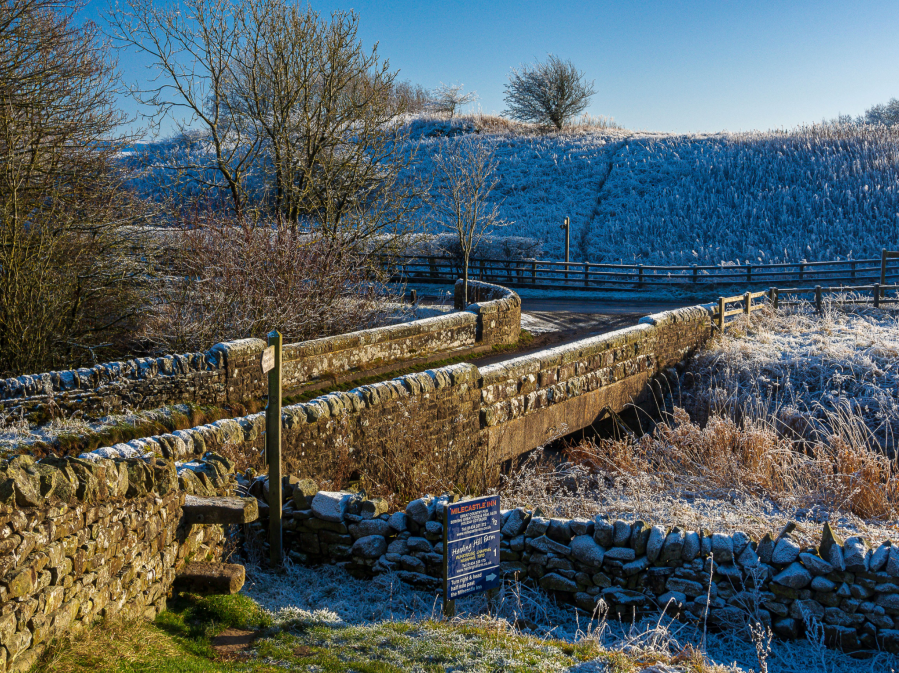
1. NY658659: From the parking area go north-west along the road to the National Trail signpost, indicated by an acorn symbol. Follow the sign east past the houses towards Thirlwall Castle, over a railway crossing to follow the north bank of a stream east then north to a track below the castle ruins.
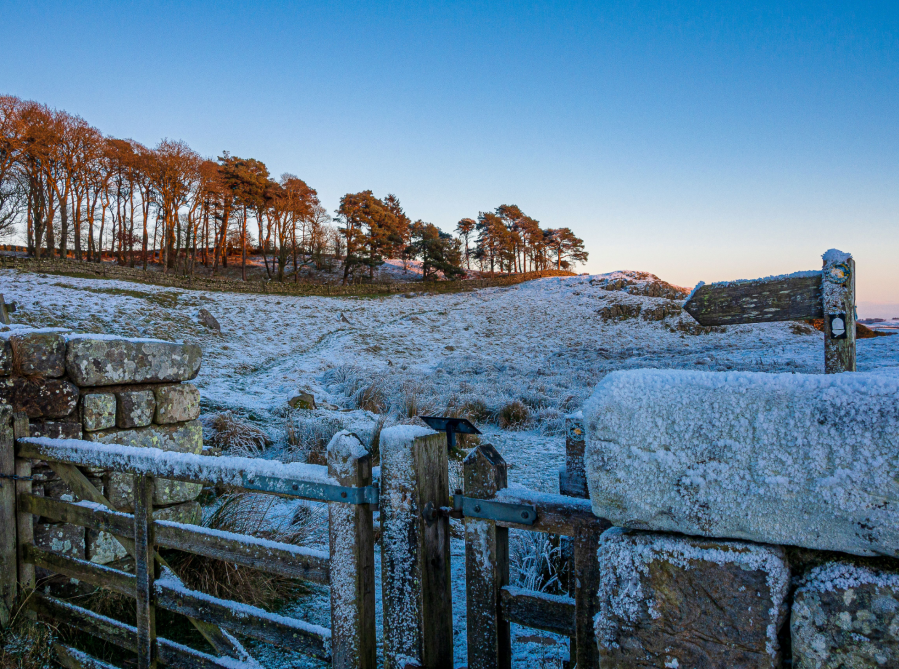
Woods around Thirlwall Castle at sunrise.
Credit: Ian Battersby
Return to the track after exploring the castle and head south-east between cottages, crossing the stream’s footbridge. Take the track south-east, then north at a hairpin bend, turning east, exiting trees and climb east onto open pasture for 1km to a lane. Turn south down the lane for 100m to the entrance to Walltown Country Park on the left.

Frozen pond at Walltown Country Park.
Credit: Ian Battersby
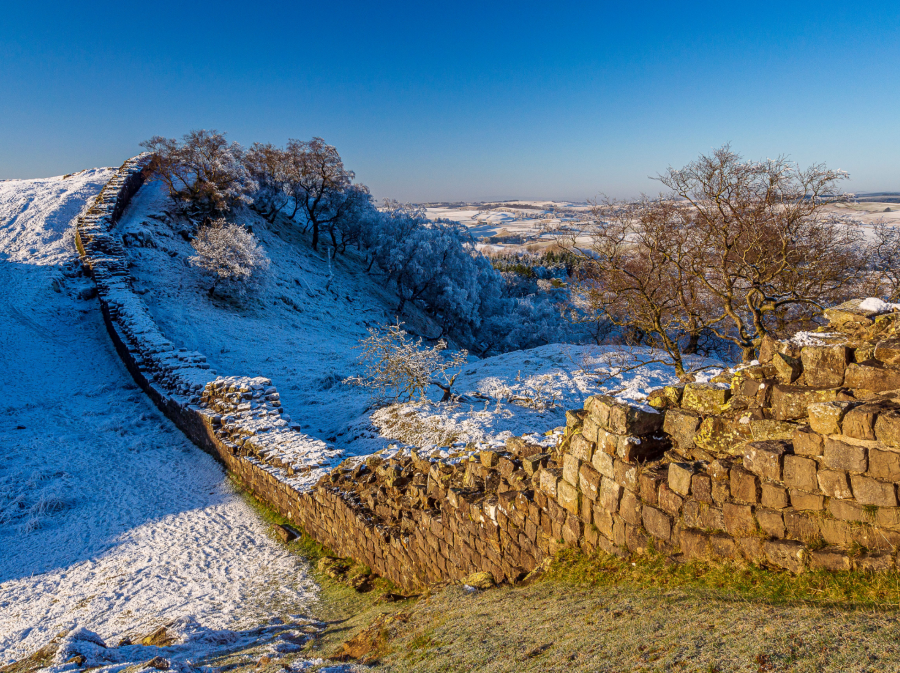
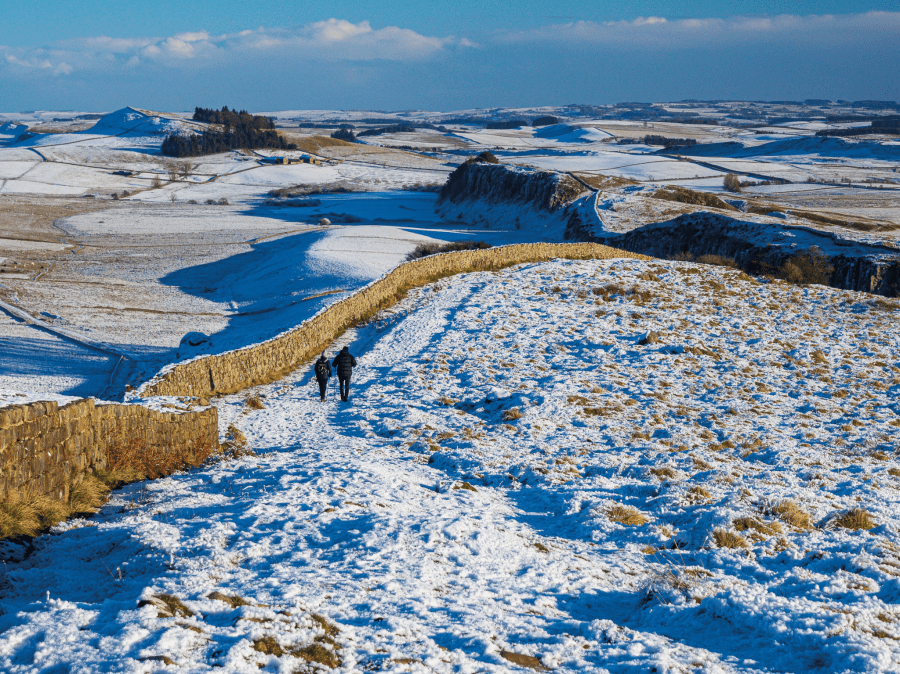
2. NY668659: Head east across the car park following Hadrian’s Wall signs along a path that turns north past a pond then east towards a prominent crag. Exit the park and climb the crag north-west then north-east alongside Hadrian’s Wall, with stunning views back over the park, surrounding hills and the line of Hadrian’s Wall following prominent ridges extending north-east. The true path hugs the wall, but for much of the way there is a Roman Military Way, which minimises the undulations, but also the stunning views over the wall and crags. This line of crags runs for 4km, soon turning east after Walltown Crags, passing through the southernmost of a pair of conifer woods. Exit the woods, and contour east to Great Chesters Farm, south of which lies Aesica Roman Fort. Cross the next field, then drop south-east to a road bridge.
Hadrian’s Wall at Walltown Crags.
Credit: Ian Battersby
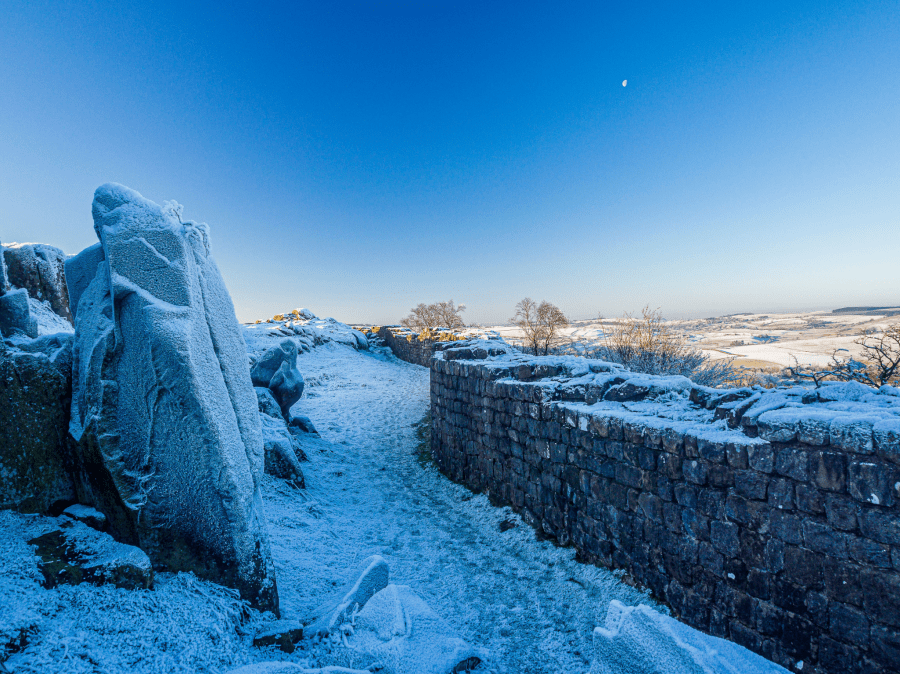
3. NY712666: Cross the bridge. Turn north-east into Cawfields Quarry, turning right into the car park. Follow the Hadrian’s Wall signpost through the quarry area, heading east north-east, then east around a pond. The wall becomes much grander hereabouts. Follow its line east, climbing along the line of Cawfield Crags, passing turrets 41B and 41A to reach the lane at Caw Gap.
Junction at Cawfields.
Credit: Ian Battersby
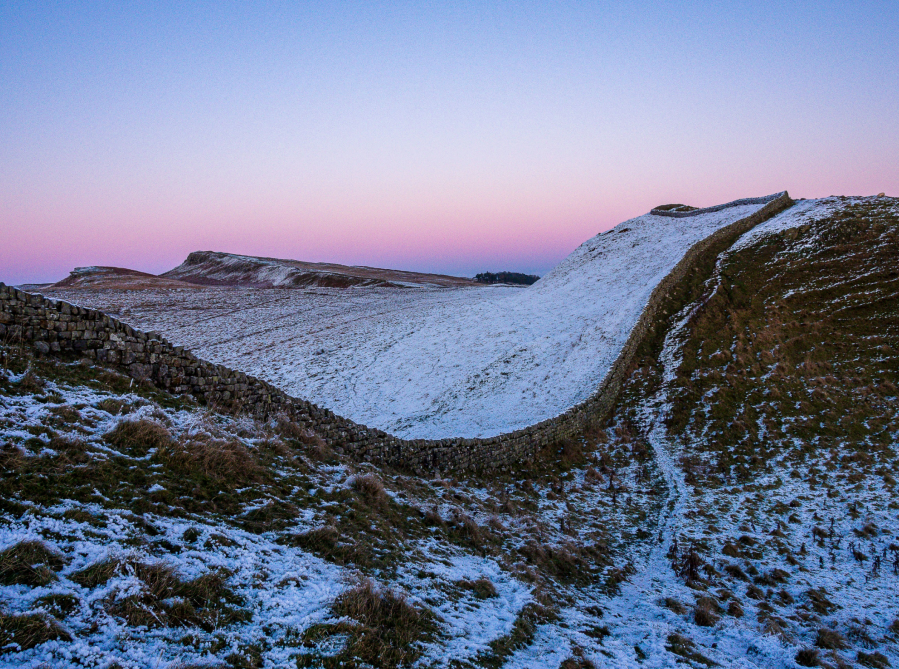
4. NY727669: Cross the lane and continue north-east, signposted Steel Rigg, following the wall for 1.5km to reach the trig point at Winshield Crags, highest point of Hadrian’s Wall, with a stunning panorama. The best views are along the ridges that support the wall, but looking north it’s easy to see why the wall was sighted here to thwart attacks coming from Scotland. The wall turns east, dropping to another road at turret 39B.
The descent from Winshield Crags towards Steel Rigg.
Credit: Ian Battersby
5. NY750676: Continue east then drop south-east into a dip before climbing north onto Steel Rigg. Head east north-east along Peel and Highshield Crags, passing Crag Lough, then climb north-east to Hotbank Crags, continuing to Housesteads Roman Fort, passing it on the north side of the wall, and dropping north-east to a gate back through the wall.
Clew Hill and Sewingshields Crags from Kennel Crags.
Credit: Ian Battersby
6. NY791689: Head north-east along the south side of the wall, climbing a stile, and continuing over Kennel Crags, Clew Hill and King’s Hill, dropping to a ladder stile in the wall at a path junction.
Knag Burn Gate.
Credit: Ian Battersby
7. NY798694: Follow the wall north steadily climbing to Sewingshields Crags, turning east north-east down a gentle descent to Sewing Shields Farm and a junction of paths.
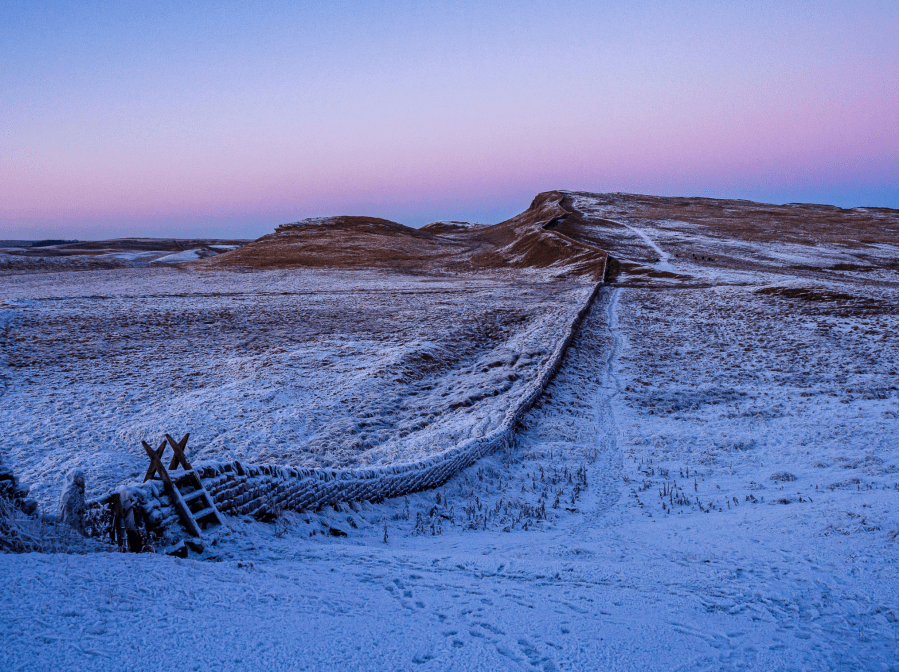
Path junction between King’s Hill and Sewingshields Crags.
Credit: Ian Battersby
Head west south-west, soon turning south, then east to meet the B6318. Turn left to the Old Repeater Station bus stop 300m along the road.
Further information
PUBLIC TRANSPORT: Train to Haltwhistle and reasonably frequent buses to return to start:
TOURIST INFORMATION: Haltwhistle Tourist Information Centre, 01432 321863
NEAREST YHA: The Sill at Hadrian’s Wall
Discover more walks in North England as mapped by The Great Outdoors’ expert contributors.